Unknown's avatar

About Paulina Constancia

Hi, my name is Paulina Constancia. I am a painter, writer,teacher,wife and mother. I have created this blog to highlight arts,crafts and all things beautiful whether it's in food, music, architecture, design or people's way of life. There is always joy and satisfaction in seeing, making or reflecting on art; and if experienced everyday in any way - it'll surely keep the doctor away! Join me for a daily dose of art! P.S. Please bear with me as DDoA transfers address, click here to see my older posts http://www.daily-dose-of-art.com

PRINTS CHARMING 1: The Foil Plate

I recently conducted a special workshop series at my son’s elementary school on simple ways children could do *monoprinting.
*Monoprinting – is a form of printmaking that has lines or images that can only be made once, unlike most printmaking, where there are multiple originals

I called the series PRINTS CHARMING and here are the techniques that I taught them in 3 different sessions.
Workshop 1-  Making Monoprints using a Foil Plate
Workshop 2- Making Monoprints using  a Foam Plate
Workshop 3- Making Monoprints using a Textured Plate
(*Plate- a surface upon which a printing process is carried out)

Let’s start with the first session PRINTS CHARMING 1: The Foil Plate
Yes, you heard that right…foil, as in aluminum foil. So, please next time you have some used foil, clean it and save it for a day of printing fun.

Materials needed:  aluminum foil mounted on something sturdy like cardboard or plexi-glass, tempera or acrylic paint, brushes, water dish and water color paper or plain index card works too…

Here are some images of the steps:


This slideshow requires JavaScript.

Check out the photos of my eager young participants at work…


This slideshow requires JavaScript.

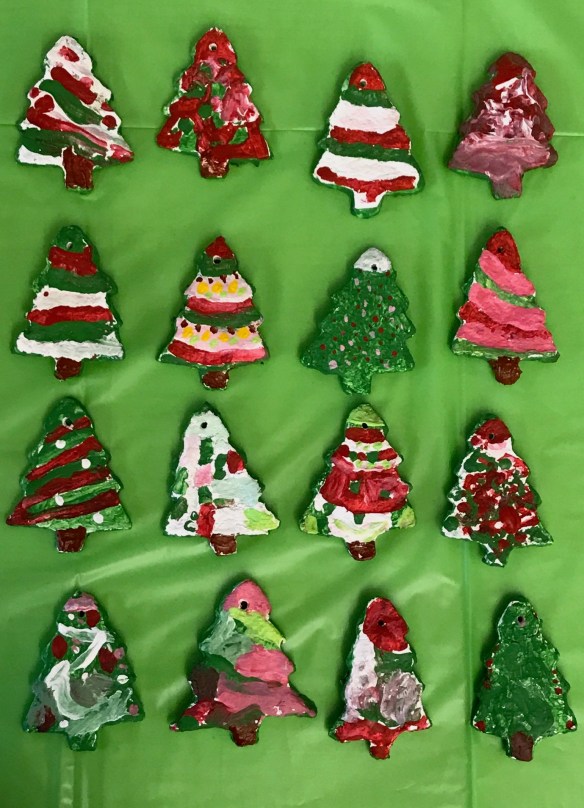
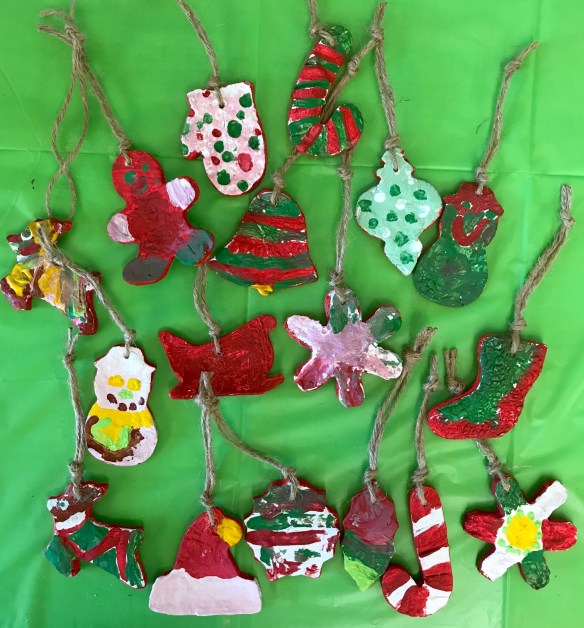
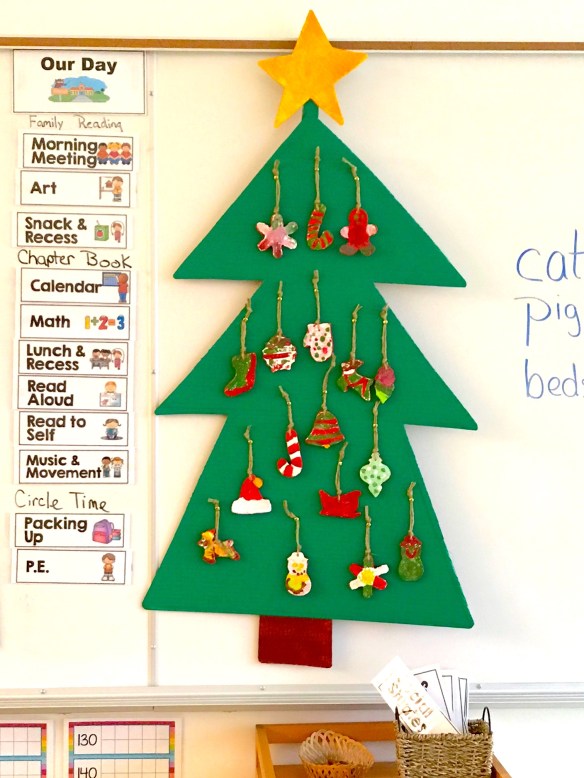
And here are the awesome creations of my little printmakers…


Try out this simple monoprinting technique and create lovely one-of-a-kind Valentine’s cards for the dearest people in your life.Cover 1 copy


Christmas Homemade Clay Ornaments 2

We continue with Part 2 of  our Christmas Homemade Clay Ornaments feature here on MoNA. We started with a variety of shapes. Here goes – you can focus on just one ornament shape. You can make all Christmas trees for example.

xmas tree

Make your homemade clay and use Christmas tree cookie cutter…

painting christmas tree ornaments

With just red, white, and green paint the kids were able to create some interesting designs…

trees after painting

Here are the painted trees…

the painted trees

And here they are —ready to hang with beautiful Christmasy baker’s twine…

When I did this Christmas crafting activity in my son’s grade 2 class I brought my ukulele and taught them the song Oh Christmas Tree. Here are the lyrics:

Oh Christmas Tree

Oh Christmas Tree, Oh  Christmas tree,
You stand in splendid beauty.

Oh Christmas Tree, O  Christmas tree,
You stand in splendid beauty.

Your branches green in summer’s glow
And evergreen in winter’s snow.

Oh Christmas Tree, Oh  Christmas tree,
You stand in splendid beauty.

Watch video on youtube

I also found a more meaningful version of the song that would be suitable for older kids or adults.. (try out the chords on your ukulele)

oh xmas tree chords

Lyrics and chords from Tabs by Ultimate Guitar

“O Christmas tree, your beauty green will teach me that hope and love will ever be the way to joy and peace for me…”

Christmas Homemade Clay Ornaments 1

Here is a Christmas project that I did with my son’s class. It all started in our kitchen with homemade clay using a recipe I found on Tips from a Typical Mom.

Homemade Clay recipe

Here are some photos from our kitchen while my 7 year old son and I prepared the homemade clay.

This slideshow requires JavaScript.

6

Allow to cool and let the Christmas painting fun begin!!!

8

Here are the ornaments painted by my son and his classmates…

9- classroom tree

They now hang on the cardboard tree I made for their class.

Wanna make this tree? It’s easy.  Just cut cardboard, paint and put a strip of of wood in the back of the tree  for support.  I drilled a hole on top of that wood strip so I could put string through for hanging. To hang the ornaments, use a roundhead paper fastener.

Spread the Christmas spirit — make your personalized clay ornaments in your home, classroom, or workplace… if my little boy and his classmates could do this project so can you.