About Paulina Constancia

Hi, my name is Paulina Constancia. I am a painter, writer,teacher,wife and mother. I have created this blog to highlight arts,crafts and all things beautiful whether it's in food, music, architecture, design or people's way of life. There is always joy and satisfaction in seeing, making or reflecting on art; and if experienced everyday in any way - it'll surely keep the doctor away! Join me for a daily dose of art! P.S. Please bear with me as DDoA transfers address, click here to see my older posts http://www.daily-dose-of-art.com

A Sweet Encounter with the Hormigas Bordadoras

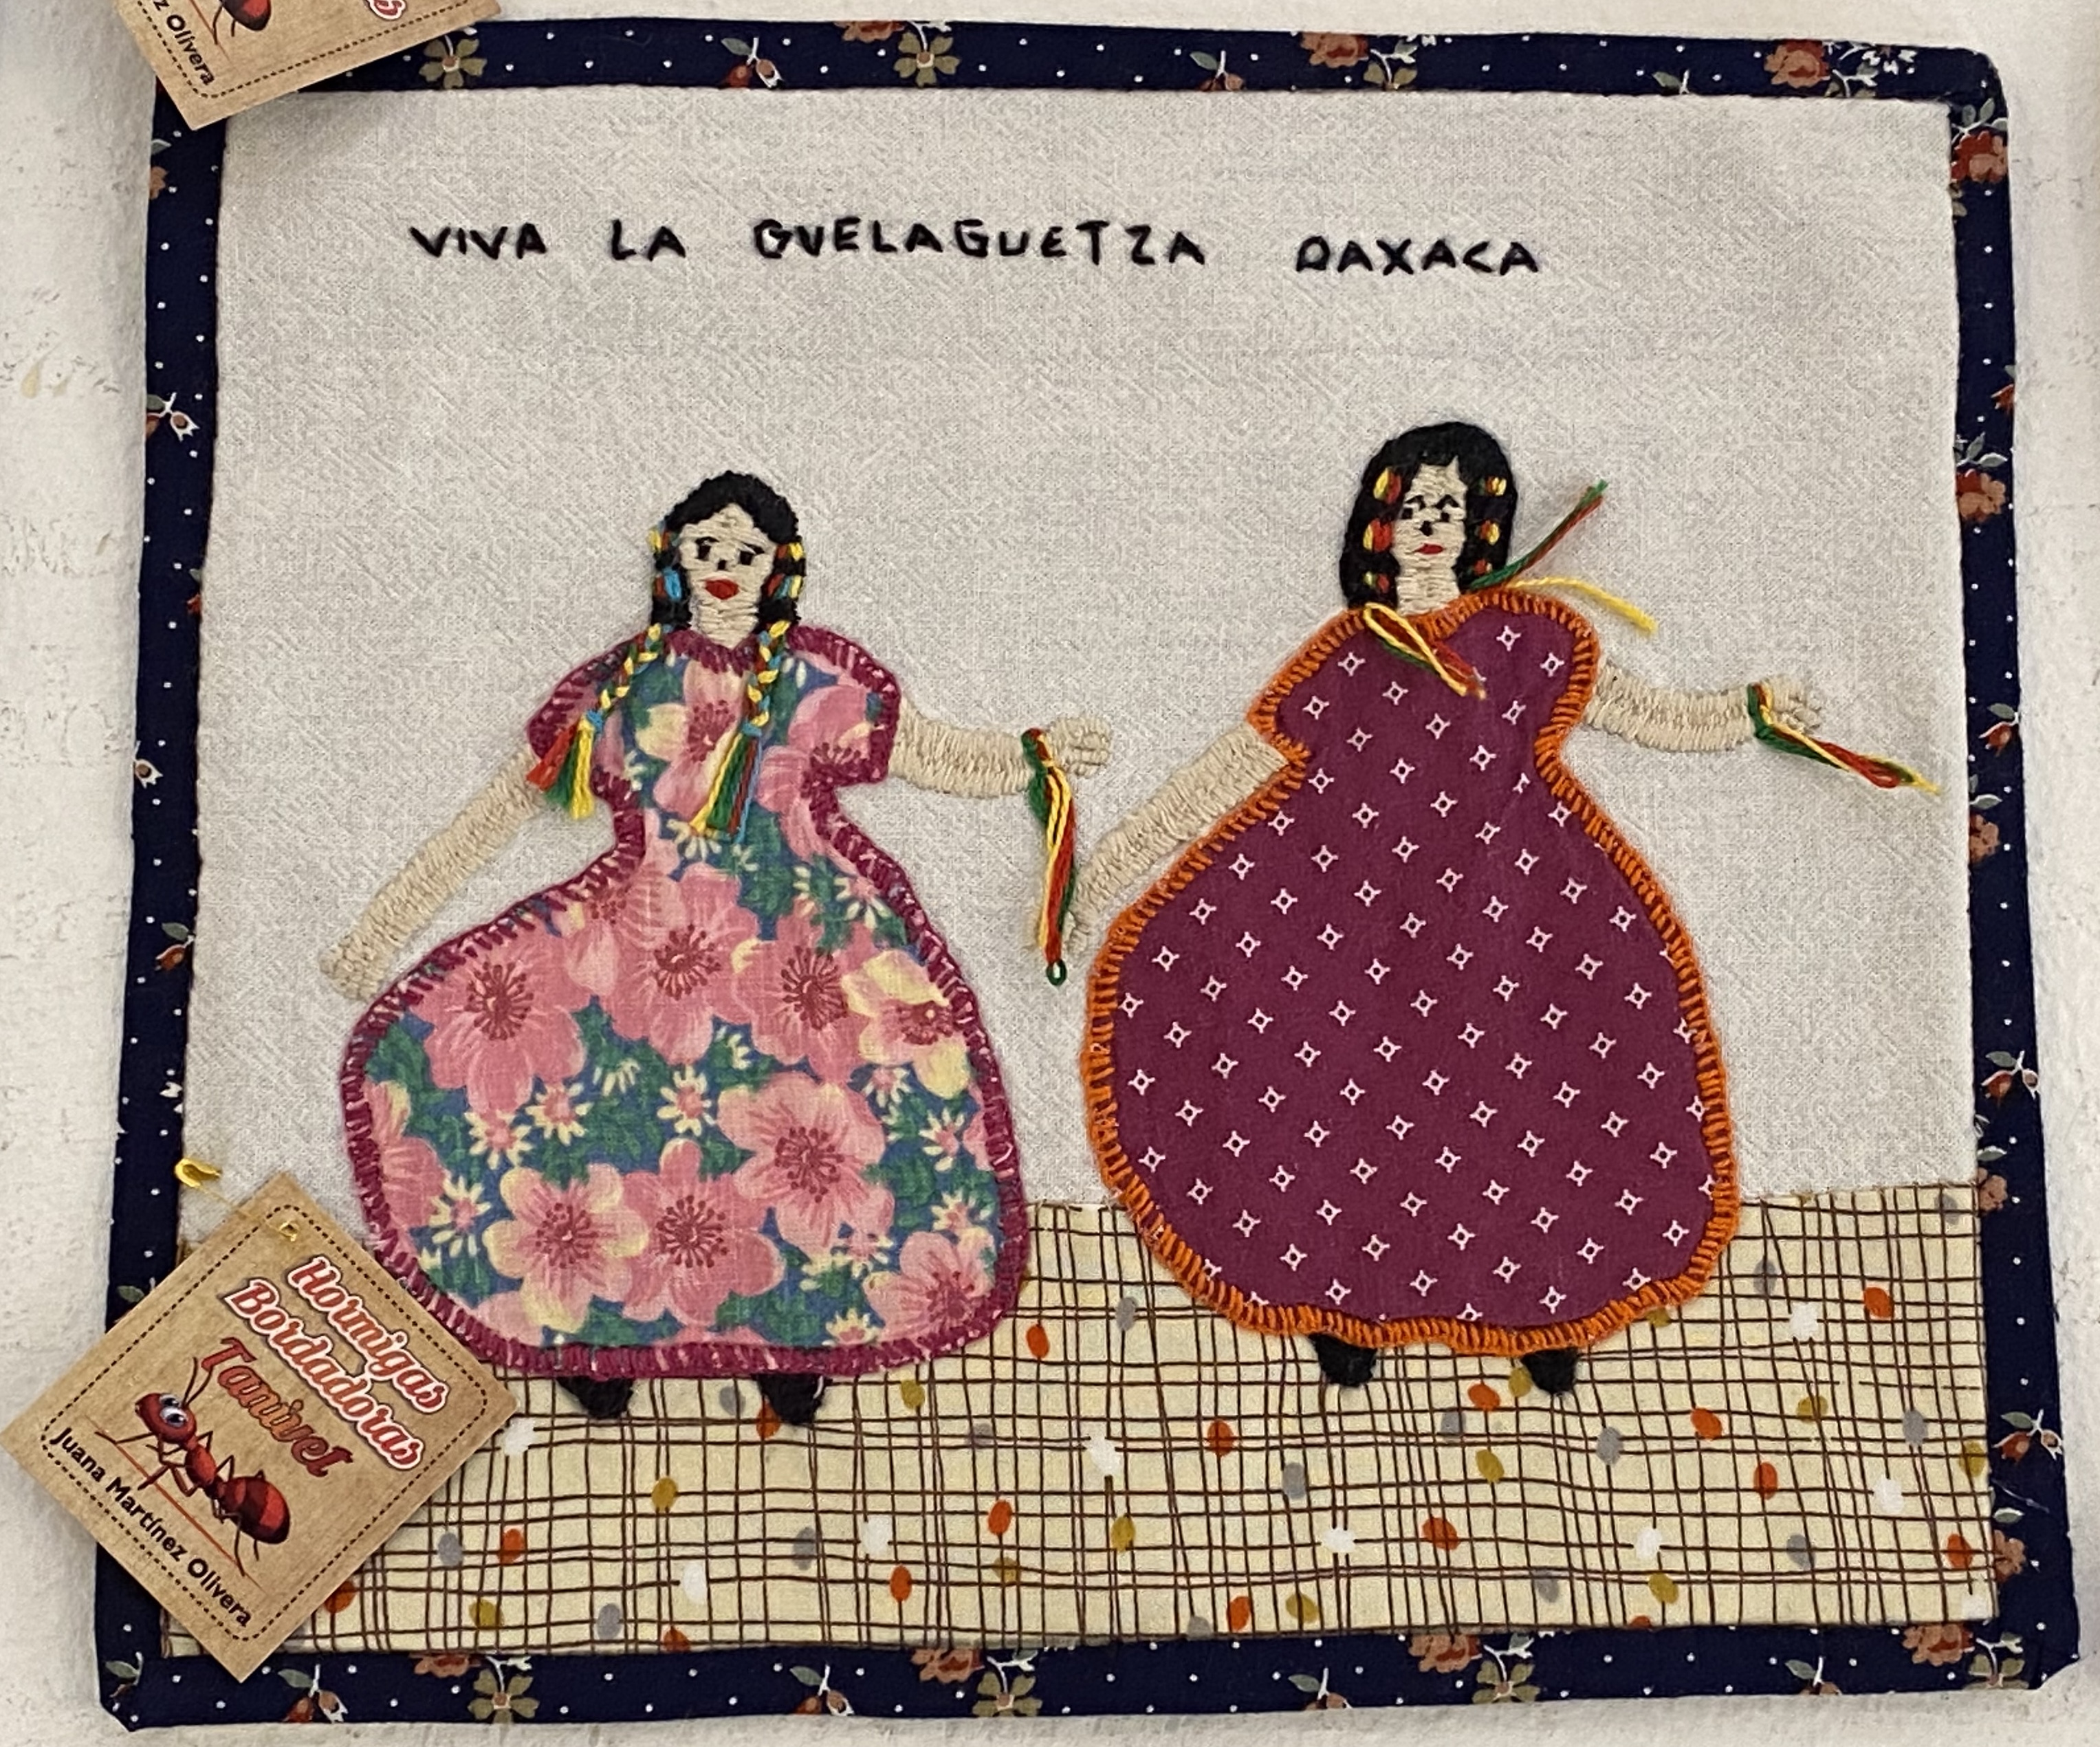
When I was doing my research on different textile art and workshops in Oaxaca, I chanced upon this group – Hormigas Bordadoras de San Francisco Tanivet Oaxaca. They are a “ group of women who use quilting and embroidery to create one-of-a-kind art pieces that narrate moments from their lives. Each woman draws, designs and sews her own pieces (“story cloths”)with themes ranging from playful everyday moments to powerful messages about the impact of immigration.” (Madison Public Library).

Last month, The Centro de Artes Textiles de Oaxaca (CATO) organized a workshop at their centre, bringing the “hormiguitas” to town to teach fabric appliqué to express different themes on canvas. Since I missed the workshop, I reached out to Atonio Peña, CATO Program Coordinator, if there was a way I could have a few hours’ workshop/engagement with the hormiguitas in their town. Luckily, Antonio was able to make arrangements with the ladies and he was even happy to drive me there and back.

The artists, who call themselves Las Hormigas Bordadoras de Tanivet—the “embroidering ants” of Tanivet—have gained international recognition for their fabric art, which expresses the pain of family separation and immigration to the United States. They have traveled to exhibits in London and Los Angeles and are featured in a documentary film. More fundamentally, they are now generating a steady income from their work.

Tanivet has lost more than half of its residents through migration to the United States. The town has a population of 250, but about 300 former residents live in the Los Angeles area. One of the themes of the hormigas’ work is their sense of loss as their own children have left to cross the border illegally. Read more on progressive.org

I have never been one who was fascinated by technique or the mastery thereof. The artist’s journey and the stories behind the art are what intrigue me above anything else. The hormiguitas’ work is full of love, sincerity and they bring a warm feeling in the heart. It invites the viewer to embrace one’s truths (the pains, the joys, the struggles and the triumphs) and carry on! And as I witnessed with the hormiguitas – it is important to find, connect, build your community—to work, eat, laugh together! Laugh till you cry or till your tummy hurts! 🤣🤪

I feel so honored and privileged to have spent a little time with some of the hormiguitas – Juana, Leo, Luz and Rosalba. They shared embroidery techniques, prepared a sumptuous homemade (and homegrown) lunch, and we also sang and danced together. It was a very memorable and complete experience- our heads and hearts filled, and stomachs too!!!

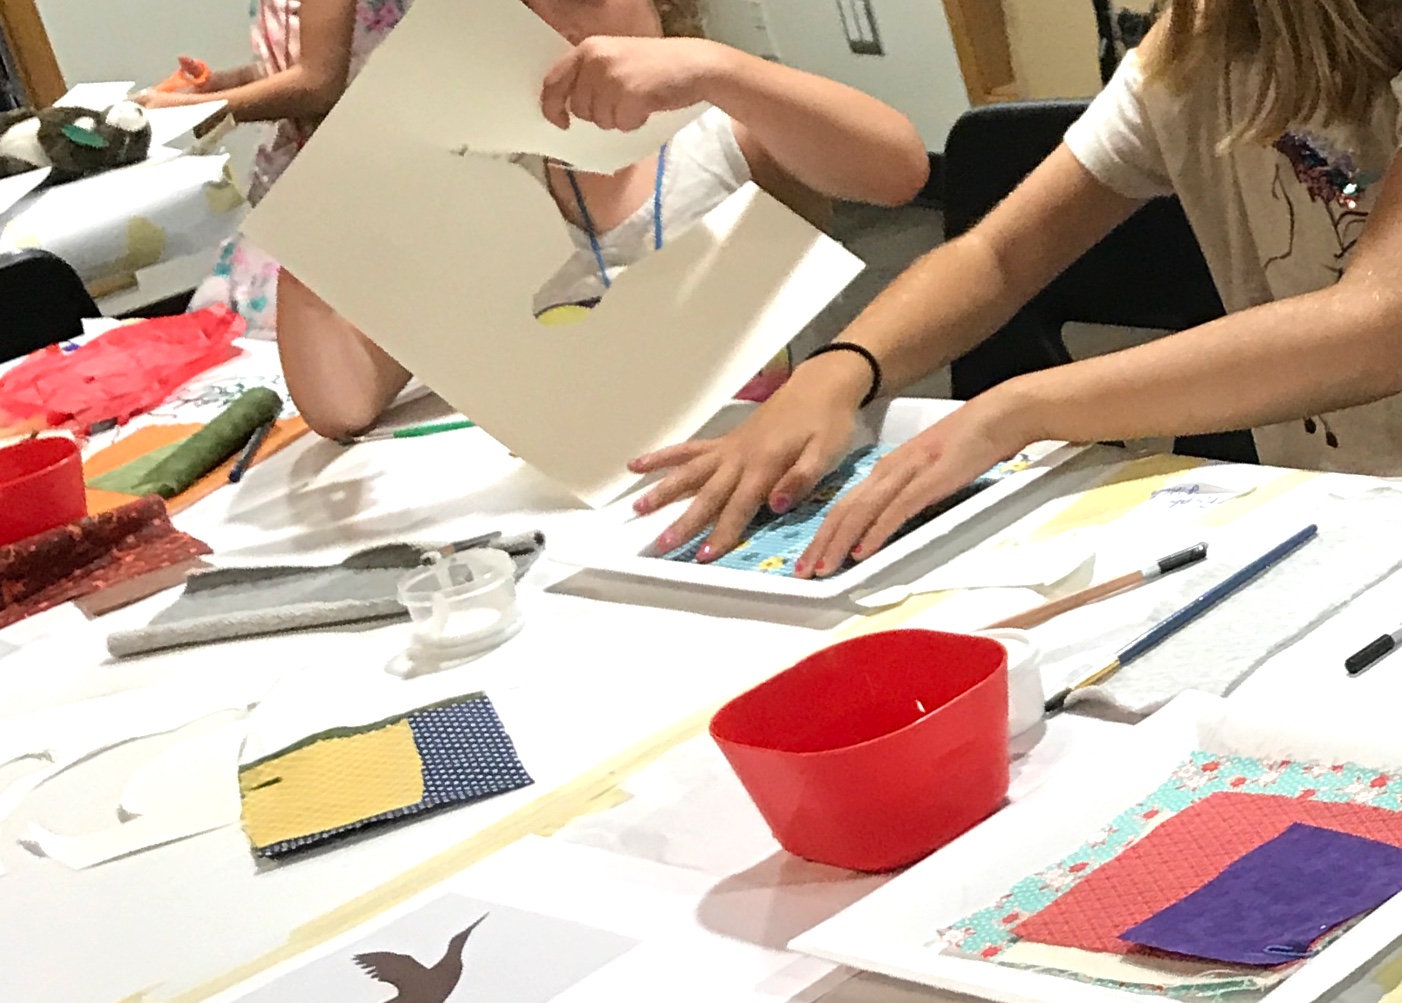
The hormiguitas sharing their ongoing projects with me, plus demonstrating some appliqué and embroidery techniques.

Together we do the Fruit Salad action song, a popular one in the Philippines which I translated to Spanish for the hormiguitas to enjoy. Watch us in action here
Sandía, sandía
papaya, papaya
plátano,plátano, plátano,plátano-
ensalada de frutas!
———
Watermelon, watermelon
papaya, papaya,
banana, banana, banana, banana-
fruit salad!

Sharing “Bahay Kubo”, a Philippine folk song.

L-R – Rosalba, Luz and Leo, getting our special lunch set up.

Everything homemade, and the veggies are from Juana’s garden. Not shown here but we also enjoyed some freshly squeezed orange juice, another sharing from Juana’s garden.

I brought a hamburger as I didn’t know Juana and the ladies were making a special lunch for all of us. The feast they prepared was so healthilicious I didn’t even touch my burger.

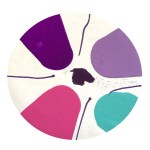
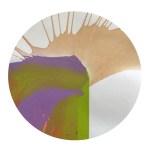
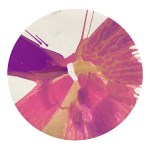
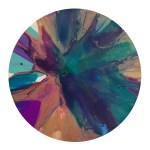
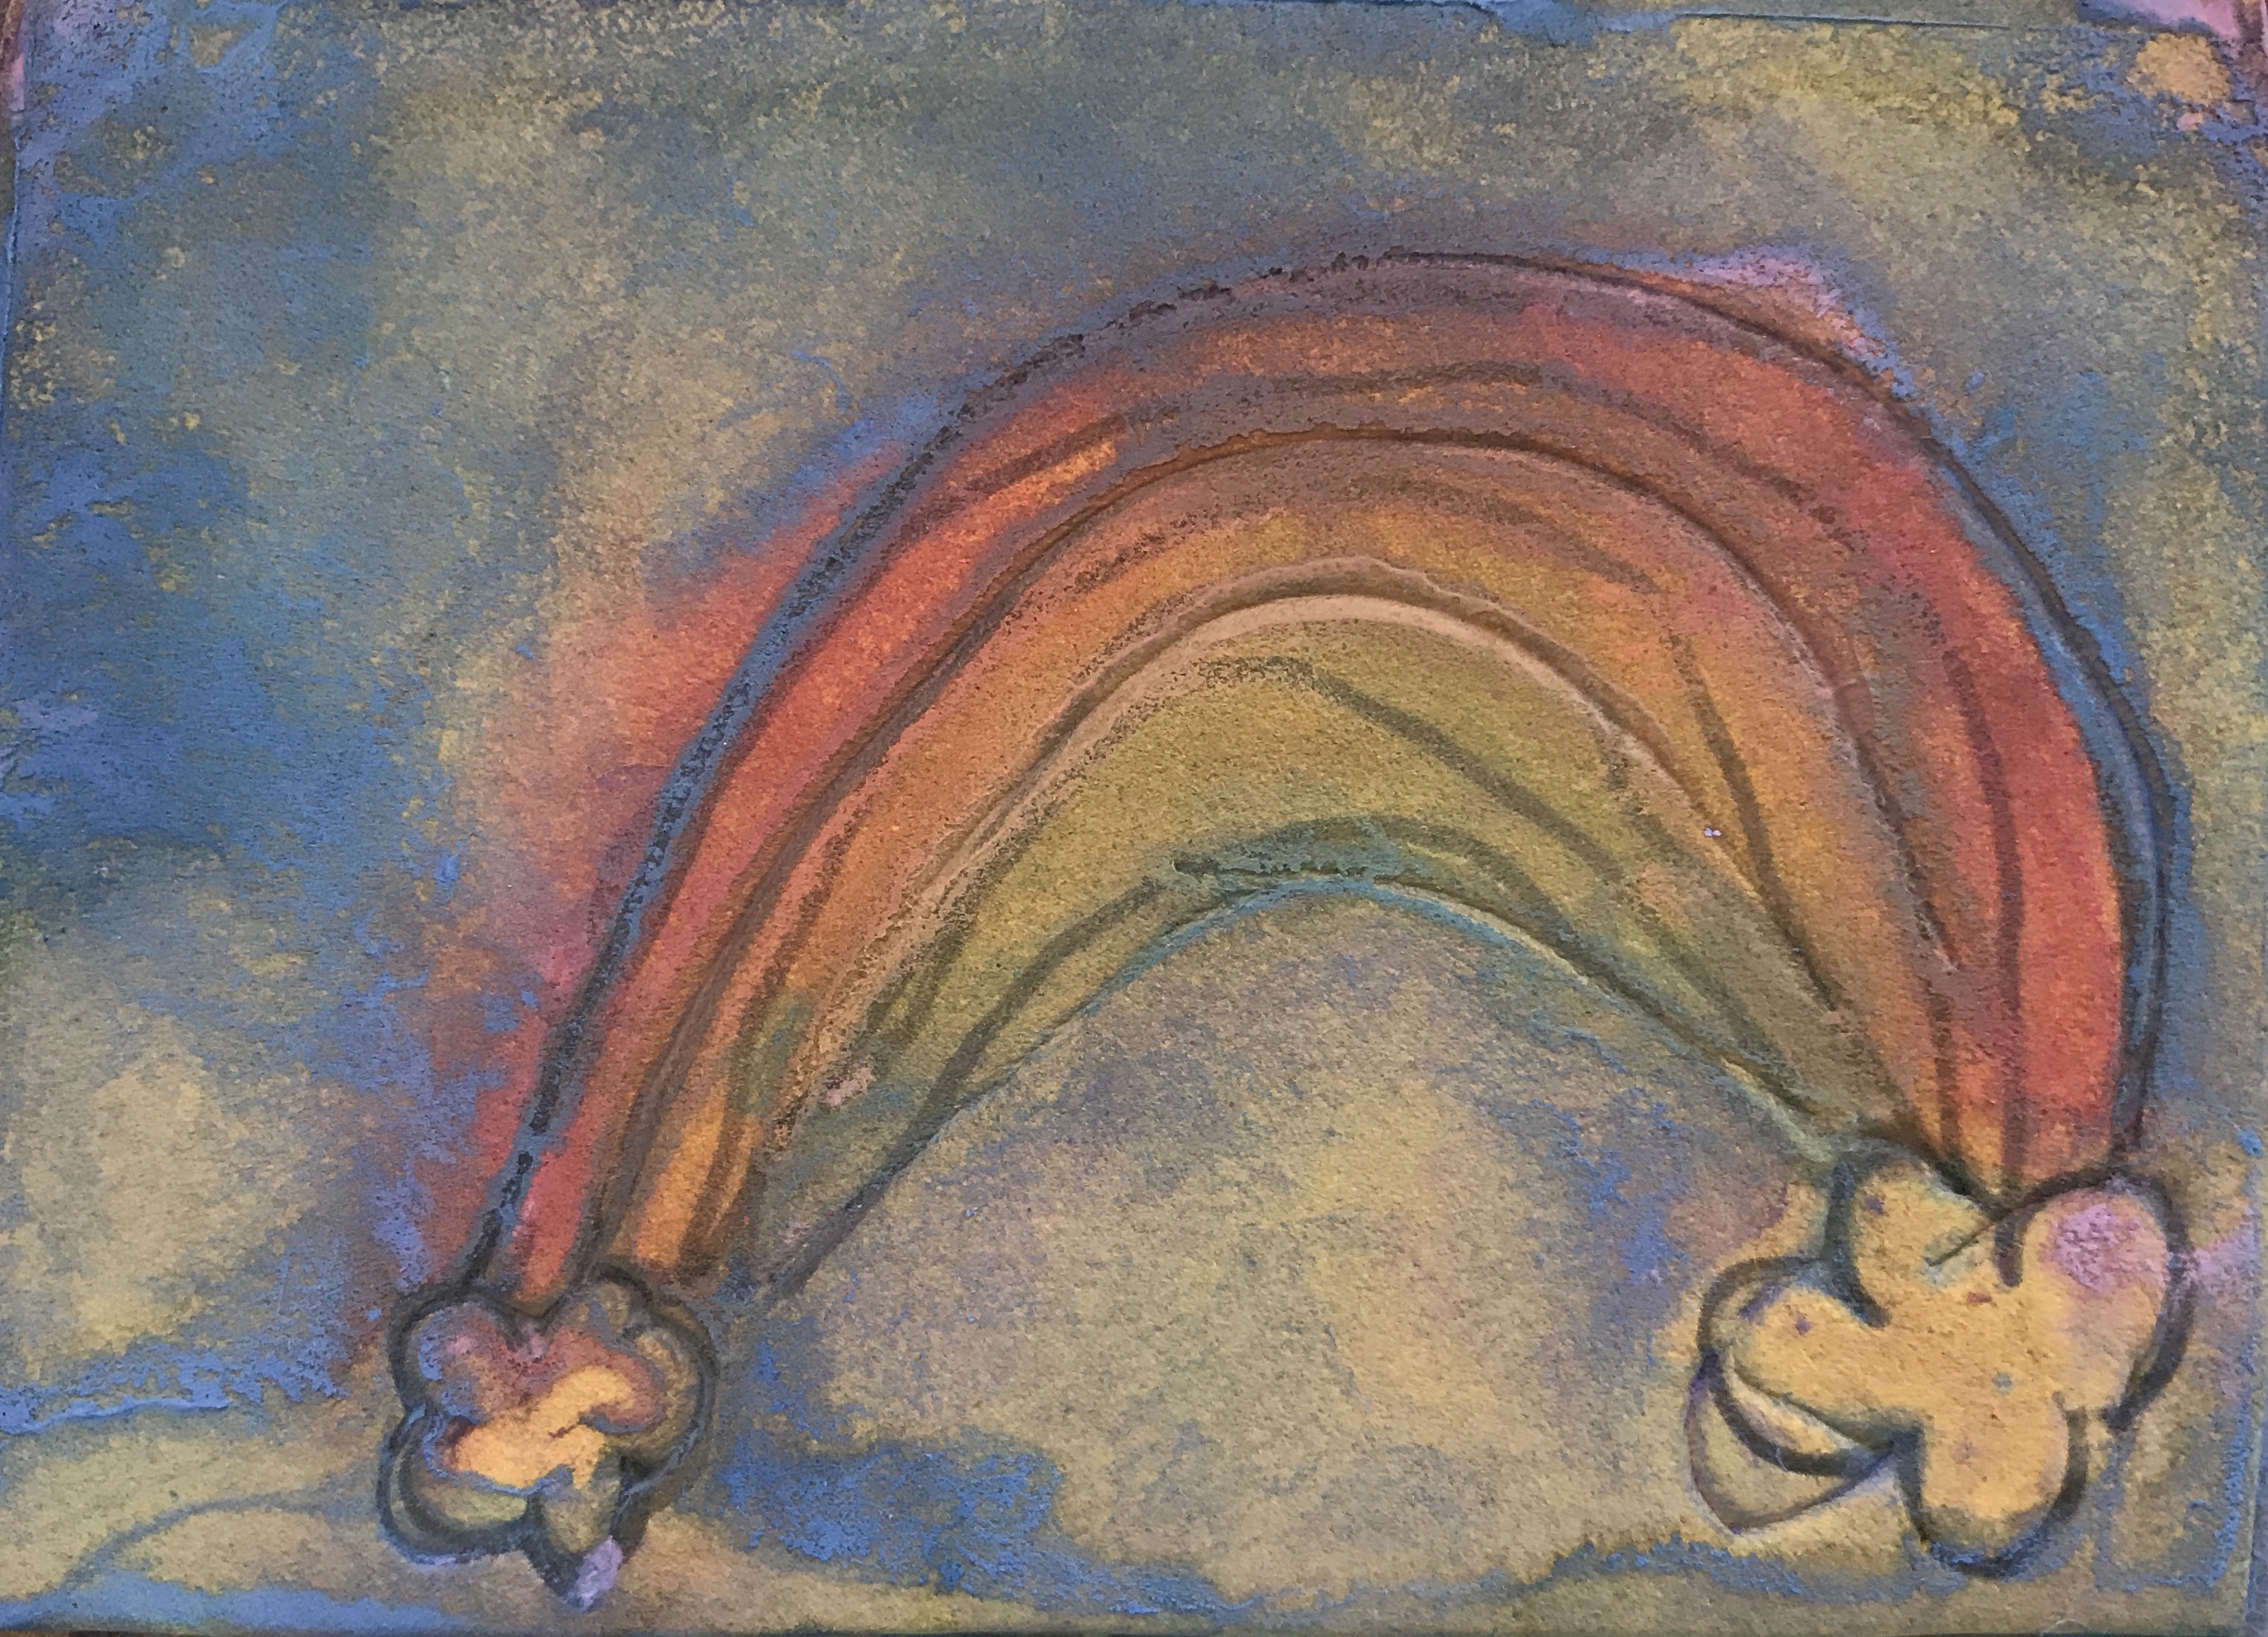
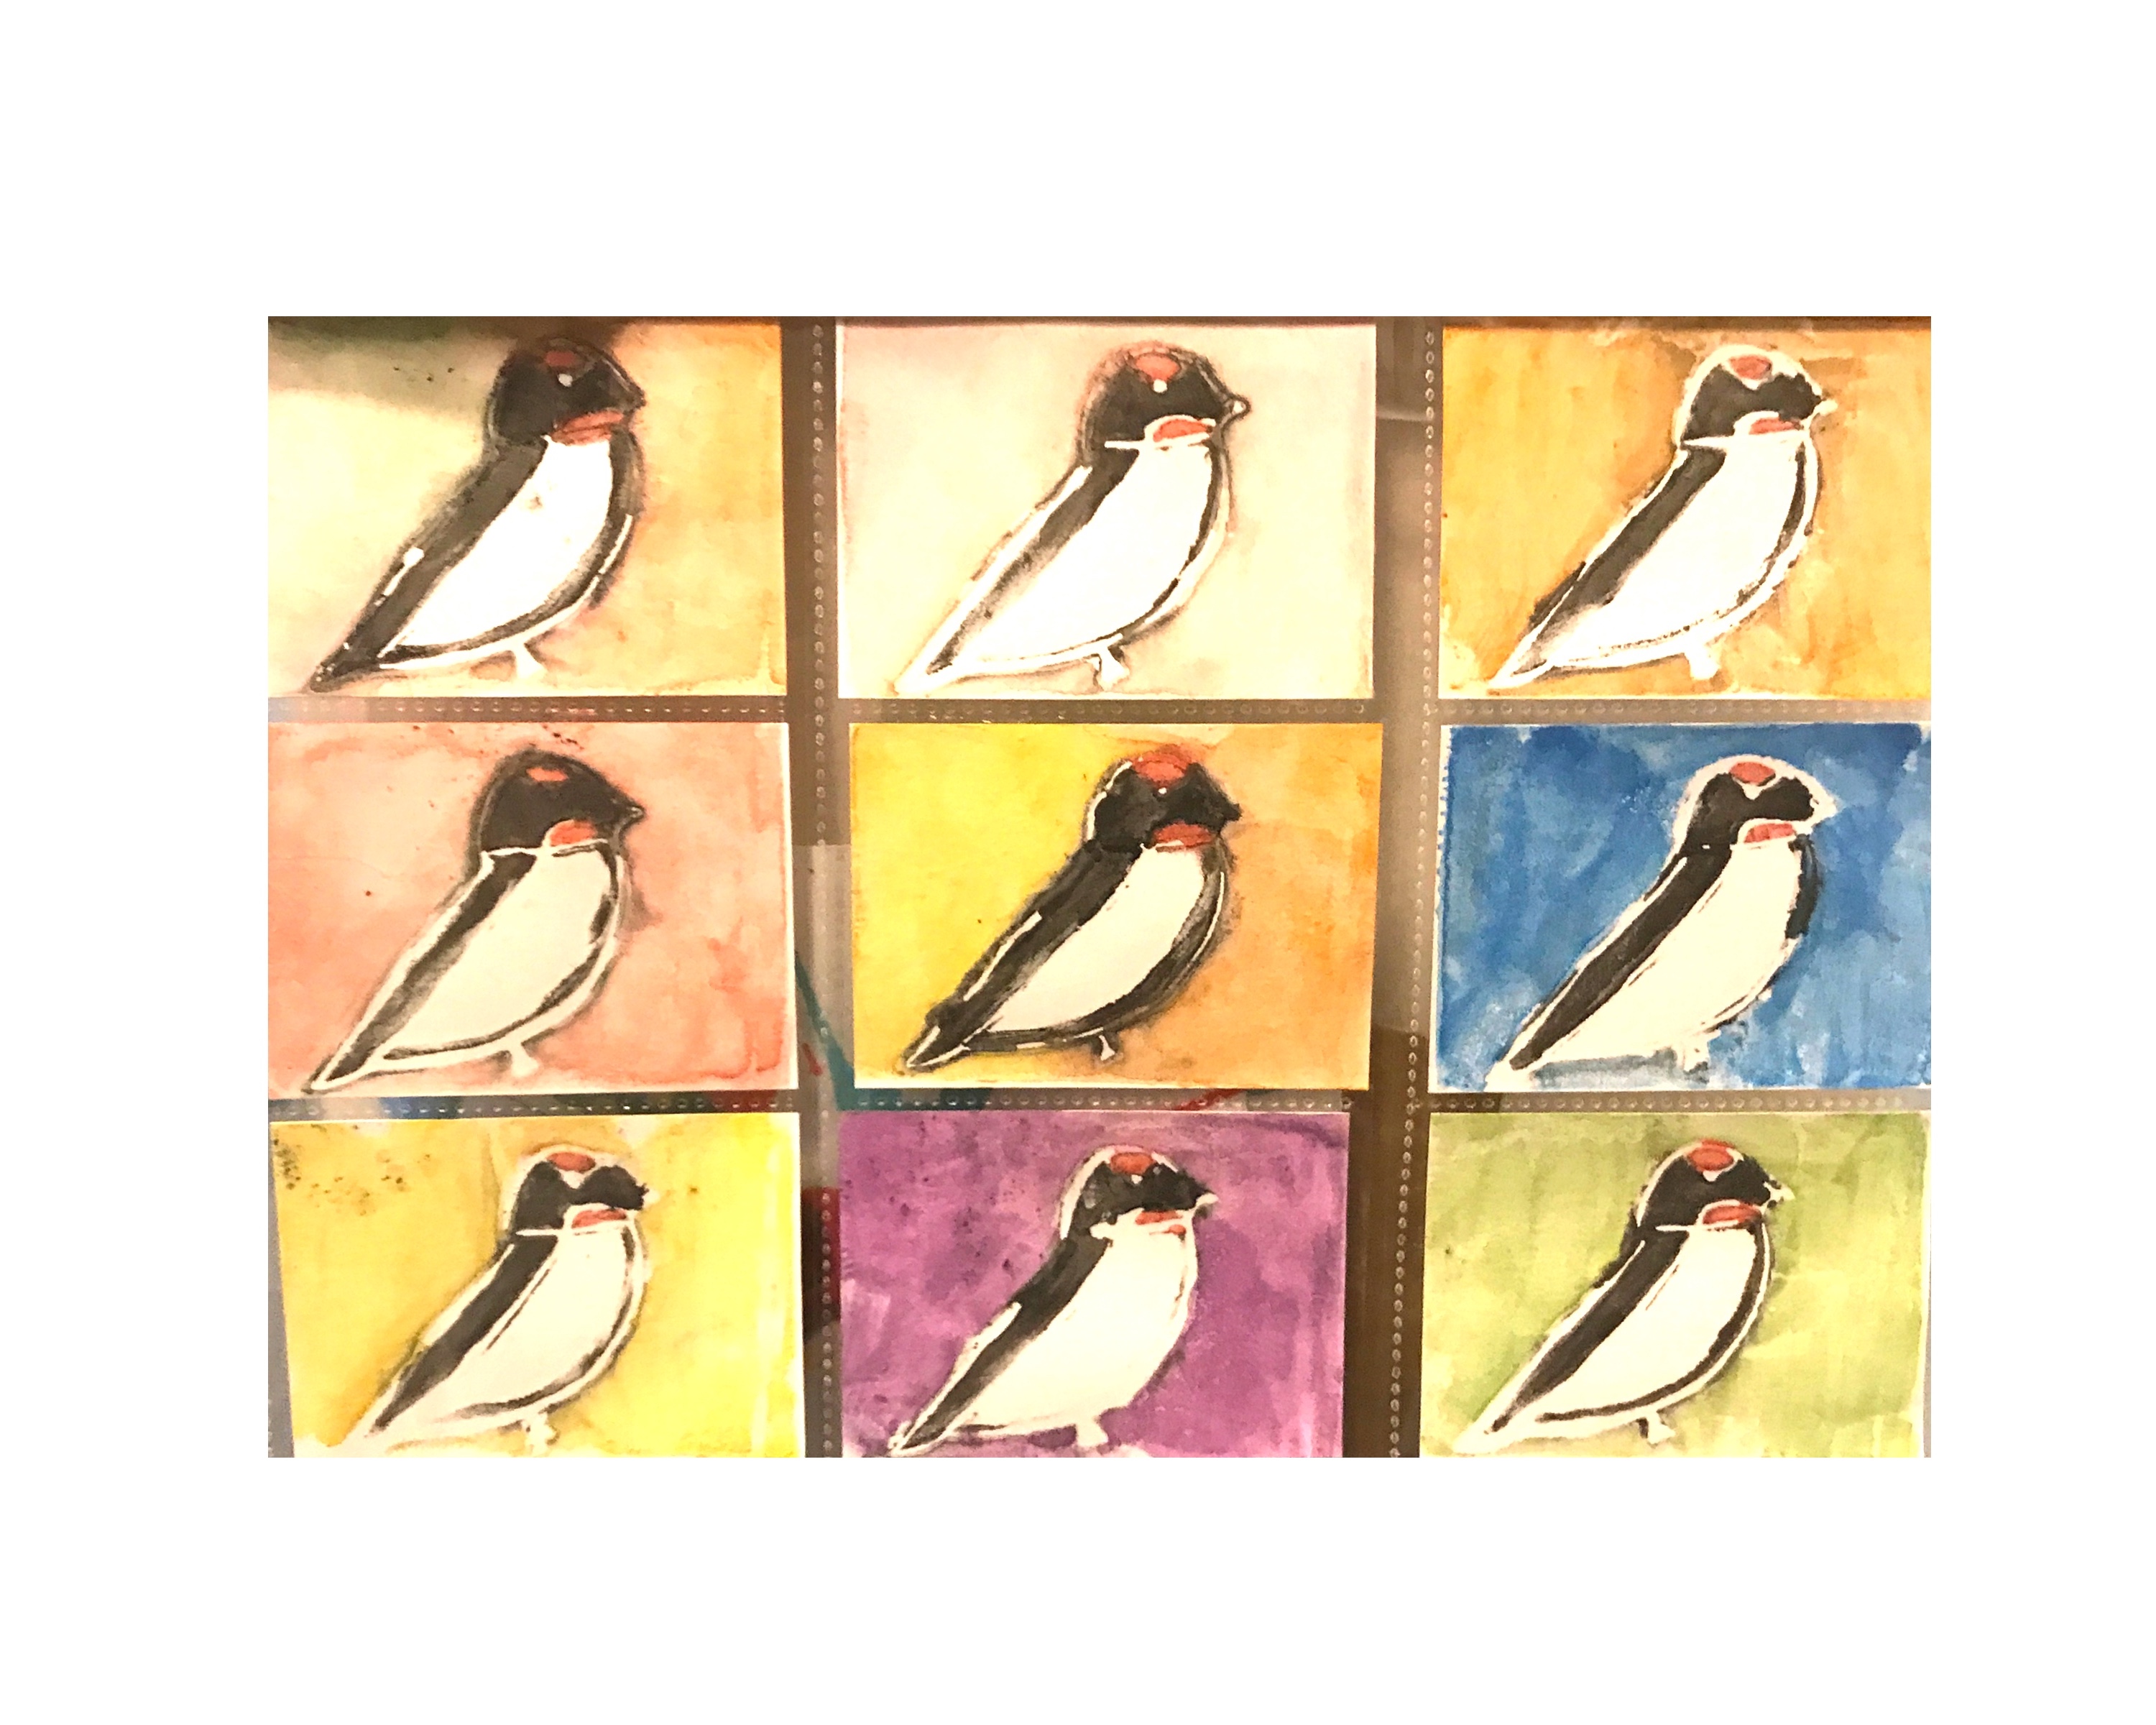
The pieces we were working on, I wanted a little memento of my time with the hormiguitas so took this pic even if ‘my seeing heart’ is not complete. I hope one day to visit them again or perhaps meet them in one of their future exhibitions abroad.

Thank you so much/Muchísimas gracias, hormiguitas! (And to Antonio of CATO!) I’m so glad that our paths have crossed/Me alegro mucho de que nuestros caminos se hayan cruzado! Till next time/Hasta la próxima vez!

Read an in-depth feature of the Hormigas Bordadoras de San Francisco Tanivet Oaxaca

Watch this video to learn more about the story of the hormiguitas

LEARNING FROM NATURE’S RESILIENCE 3: TREES

On Saturday, my siblings and I co-taught  part 3 of our Learning from Nature’s Resilience workshop series. This time we took inspiration from the surviving trees and the regrowth of their leaves and worked with a group of teenage scholars from the St Alfonso Maria Fusco Home, Compostela.

My brother Joel Lee, Permaculture and Aprotech Solutions educator, facilitated the warmup laughter yoga and encouraged its regular practice as a way to health and relaxation. 

My sister Eddy Lee, a conservation educator and ecotherapist, led the nature walk, inviting our teen participants to pay attention to the various species of the trees that survived Super-Typhoon Odette and their leaf patterns. They were able to identify most of our fruit trees and surprisingly some of the native trees. When asked why they had some familiarity with the native trees, most of them said that they still had these trees in their mountain villages.

The ME Tree Self-Portrait
(the camote stamps)

We were recently gifted with some camote (sweet potato) and I thought of using this as a medium for the day’s expressive arts session which is the making of The Me Tree Self Portrait.  

I used two medium camote and cut them into thick slices and distributed them among the participants.  They were each provided a dull knife as a simple carving tool to make their leaf stamps.

Paulina Constancia demonstrates how to make the camote stamp and design The ME TREE Self-Portrait

P.Constancia sample ME TREE

The instruction for the activity was :
If you were a tree, what kind would you be, what leaves would you bear and as you createyour portrait focus on your pesonal resilient trait and be ready to share this with the group.

How to Make Your Stamped ME TREE Self Portrait using a camote slice:

  1. Choose leaf design (shape, veins,etc)
  2. Cut the camote slice to shape/margin of your leaf of choice
  3. Using the dull knife provided start carving out the pattern, bearing in mind that the part you remove from the camote is what won’t print or register on your paper.
  4. Practice stamping on scrap paper before doing your prints and composition on the artboard.
  5. Use watercolor or stamp pad for the color and allow to dry before adding design details with ballpen and pencil crayons
  6. Prepare to share your work and personal resilient trait with the group.
Our camote carvers…
Stampin’ away…
Museum visit after the workshop (inside the MONA)
Our teenage participants in front of the museum
Teenage scholars from the St Alfonso Maria Fusco Home at the
Justice Lee Nature Sanctuary. With them are Paulina Constancia, Sr. Vicenta “Inday” Yap, Sr. Salve Narvaja, Eddy Lee and the goldens- Gabby and Sunny

Thank you Sr. Inday, Sr Salve and our teenage workshop participants for the learning adventure that we shared at the sanctuary. Till the next time!

LEARNING FROM NATURE’S RESILIENCE 2: FLOWERS

Yesterday my sister and I co-taught  part 2 of our Learning from Nature’s Resilience workshop series. This time we took inspiration from flowers, and worked with a younger group – teenage survivors of difficult situtations.

My sister Eddy Lee, a conservation educator and ecotherapist, led the nature walk and discussion on nature’s resilience while I facilitated the art session on the making of floral assemblage self portraits.

The group with Eddy Lee, conservation educator and ecotherapist.

I went on an early morning walk at the Sanctuary to gather the variety of flowers to be used for the art session. I was expecting a group of 17, so it was quite a challenge since this is post-typhoon times and there’s not many kinds of flowering plants left. Despite that I am proud to say that i managed to gather more than enough variety for the participants.

Since this was an exercise on resilience, the participants were not allowed to choose from the floral selection and had to make the most out of the flower assigned to them. However,  they were free to choose the other natural add-ons (stones, twigs, leaves, cowrie shells,etc) to complete their assemblage piece.

Creating the Assemblage Portrait

It was fun watching the girls so focused on creating the assemblage then recreating it on another sheet of paper using watercolor as a medium. Later when each of them had the chance to share their process and their reflections, some said they enjoyed making the assemblage better than painting.  Others said the two versions of the portrait were equally fun to create and complete.

Recreating the portraits using water-color

My thoughts on this is that the medium of flowers and other natural elements was a more relaxing medium for the teens, once they drew and painted they started becoming critical of their work (and themselves). Suddenly, i could hear some saying, ‘I’m not good at drawing!’
My reflection on this is that the closer we work with nature and what’s natural, the more we are free and spontaneous, the more we can be our true selves, and without a doubt creativity is at the core of our human nature.

The artists with their assemblage art at the Roundhouse of the Nature Sanctuary
Museum visit after the workshop to see Paulina’s FLORAL CHORUS collection and other works

The teenage participants with the workshop facilitators – Far left expressive arts educator Paulina Constancia and conservation educator and ecotherapist Eddy Lee. Photo also shows a golden retriever named GABBY, the Nature Sanctuary ambassador.

The Resilient Leaf Self-Portrait Art Workshop

Today I thought I’d show more photos of the art making component of our “Learning from Nature’s Resilience” training the trainors workshop which was participated by head teachers and principals of Cluster 7- Carcar City DepEd.

It was a fun and inspiring day learning about resilience through nature’s example.   From a previous post, I shared the enormous damage caused by Odette to the Justice Lee Nature Sanctuary here in Carcar. Below is a photo of our beloved Acacia tree right after Odette.

It appears that the super-typhoon basically “claimed its life”, but picture below shows what our beloved acacia tree looks like now…fresh new branches and leaves have emerged.

It is a living example of resilience. It may have been hurt and broken by Odette, but it has evidently bounced back and is now thriving!

About the WORKSHOP

Inspired by the re-emergence of leaves amongst the trees that were originally thought to have been completely damaged by the super-typhoon, we initiated a resilience art workshop using leaves as base material.

We had a tray of various pre-cut leaves and distributed them among the participating head teachers and principals. They were not allowed to choose because this is a workshop on resilience. You have to find a way to make good use of your “givens”. I was amazed by what the teachers came up with.

The instruction was: Using the leaf provided make a leaf self-portrait that shows this..”I am resilient because I am _________” (participants choose their key personal resilient trait)

This teacher painted a background of rainbow colours before making the leaf imprint.

This teacher made a few two-colour imprint of her leaf and then drew her portrait using a pen once the water-colour imprint had completely dried

This teacher made several leaf imprints using three different colours and turned it into hair for her self-portrait.
Tri-colored leaf hair for her self-portrait.
Head teachers and principals of Cluster 7- Carcar City DepEd busy creating their Leaf Self-Portraits
Here is an image summary of the works of all the participants from Cluster 7 of Carcar City DepEd
Our tall acacia tree may have fallen but it is definitely not dead. Now lowered closer to the pond, its bent trunk is more accessible and serves as an awesome rest and recreation spot for our farm felines. Once again –All’s well (actually “better” according to our cats’ meows.)😹

LEARNING FROM NATURE’S RESILIENCE 1:LEAVES

Yesterday I had the great honour and joy of co-facilating a training the trainors workshop with my siblings — Learning from Nature’s Resilience. Participants of the workshop were head teachers and principals of Cluster 7- Carcar City DepEd. Workshop program included an introduction to permaculture, a silent nature walk, a discussion on nature’s resilience based on their observations during the nature walk, making Leaf Portraits, and a tour of the Museum of Naïve Art. Why leaf portraits? During Super typhoon Odette (aka Typhoon Rai), all the plants and trees lost their leaves from her fury. The first sign of visible recovery is the emergence of new leaves. The participants made their portraits using leaf imprints and stated their resilient trait. It was a hectic morning filled with nature, art, stories, reflections and laughter.

As shared by one of the participants Sir Guilbert “Miski unsa ka kusog sa unós, naay pagluráng!”
(Translation: “No storm lasts forever”… or you can say.. “no matter how heavy the storm, the moment of calm will eventually come”)
A teacher’s training with the DepEd Carcar City Division- Cluster 7 on learning from nature’s resilience
Participating Schools: Kalam Elem School, Kalangyawon Elem and High School, Ocaña Elem School,
Can-asuhan Elem and High School
Intro to Permaculture with Eddy Lee
Silent Nature Walk
Leaf Self-Portrait Art Demo by Paulina Constancia
Leaf Self-Portrait Art Session
I am resilient because I am…..
The group’s leaf self-portraits, I guess you can call this a “group shot”🤣
Museum Tour
Reading about Paulina Constancia’s art, and taking wings at the museum
Happy spirits and winged hearts
Happy, enthusiastic teacher-learners
The whole group with the facilitators: Joel, Eddy and Paulina
Sanctuary Ambassador GABBY

We join Gabby in thanking you, DepEd Carcar City Division- Cluster 7, head teachers and principals for joining us for a fun and inspiring learning experience at the Sanctuary. Till the next time!

(Gabby wants to remind you that one of the secrets of resilience is being proactive… remember the ‘active voice’ – The dog ate the sandwich… not The dog was eaten by the sandwich)

SOME HELPFUL TIPS ON RESILIENCE from Tasimba
Listen. Watch. Learn. There is so much wisdom and wonder in Nature that strengthens our resilience.

Have a purpose – where do you want to be when this is over?

Be proactive – don’t dwell and overthink things; just make stuff happen

Remain hopeful – look forward to and work towards your goal lines

Learn from the past – act on what has served you well in previous adversity

Focus on wellness – (mental AND physical); it is essential for survival

Stay connected – ‘Together we are strong’ – find ways to stay connected through challenging times (adversity)

Super Typhoon Odette hits Cebu

I have experienced many typhoons in my life but Odette of Dec 2021 was the first of its mega kind to hit Cebu. I was overseas when it hit my beloved Cebu (FYI -Carcar City, Cebu -where the MoNA is located was badly hit). Below is my brother’s personal experience with the fury of Odette (aka Typhoon Rai)

My First Supertyphoon Experience

I have experienced many strong typhoons in the past. and i was kinda relaxed as the typhoon got closer. in fact i even went out for a short bike ride at 5am of 16 Dec2021, knowing well from the multiple news feeds that Typhoon Odette was closing in. The storm tracker maps showed a path that passed right through the center of Cebu island. The day before as I was working with our staff Todio & Delfin, i even joked that the typhoon may pass right in front of the door of Todio’s house.

There was some light rain when i got back to the Nature Sanctuary around 730am, and my instinct led me to ask Delfin, if he would like to go home and be with his family when the typhoon would arrive later that evening. He was actually preparing to work his normal day, when i got to ask him. He realized it was the best thing to do, especially as it would be easier to return to his mountain village in Alcoy before it starts raining. He also said, that he could do some preparation for the typhoon by trimming some trees. When Todio arrived at 8am, I asked him the same thing, and he also decided to head back home and prepare for the typhoon.

And so i was left alone at the Sanctuary the whole day of 16 December 2021.
I started my preparations, by getting my emergency gear together: flashlights, chargers & cables, multi-tools, harness, ropes, life jacket, life buoy, food provisions, water, raincoat, spare clothes, and put them together in a waterproof bag.

By 2pm electricity was shut down. after my personal emergency items were ready, i went around to check, close windows, etc. by 6pm i was having my dinner.
I stayed in my upstairs room after dinner, and thought that i could see the typhoon pass while starying in my room, which had a roof made of semi-light materials: bamboo and onduline (asphalt-bitumen roofing)
By 8pm the winds started to whine. And i decided that it seemed the best thing to do was to move downstairs where the concrete ceiling would provide the best protection.
By 9pm the winds were getting stronger, and it sounded like a dozen jet liners hovered overhead while revving their engines to the full. Based on my past experience, i allowed the wind to pass through, instead of blocking it. so i kept the inside doors open so the wind could flow freely. I struggled to keep those doors open as they were banging about, until i fastened them in place with some tie-downs. But where there were no window panes, the typhoon wind blew fiercest at the GF residence. i soon had to take away the many decorative items that lined the window: printed metal boxes, art pieces, etc. later, since i could not do anything else, i went to my Mom’s room and just lay in bed. i was not really worried about my personal safety as i knew i was in a very safe place. but banging, cracking, smashing sounds just made me wonder exactly what was happening around. i noticed that water was slowly appearing on the floor of the room. but that did not seem a major issue.
By around 1030pm it was all quiet, and i decided to venture out to see what happened. and i was greatly surprised that the main door was now blocked by the branches of the huge acacia tree that had fallen down, with many branches blocking the main entrance. anyway i was able to get through the debris and proceeded to check the other areas. the biggest damage i saw was a mango tree that got uprooted and had fallen on the roof of the MoB.(newly transferred Museum of Bicycling) all that i could do was to shut off the main circuit breaker. The vehicles that were parked there seemed safe. with that i hurried back inside the Pavilion ground floor knowing that the tail end of the typhoon was arriving very soon. part of the pavilion roof had fallen and the gutter was sending water right in front of the main door. i had to quickly make a path for the rainwater to the pond, so that the water would not flow inside the residence.

By 11pm the tail end of the typhoon arrived. and with much greater fury than the head of typhoon Odette. i removed the lighter glass jars that lined the window ledge, thinking that the heavier ones could not be blown away. too bad, that i did not take them down as they were soon smashed onto the floor by Odette’s fury. I went back to my Mom’s room, only to find that the water on the floor was at least 1.5 inch, despite the fact that it really did not rain that much.

so i just lay in bed and waited for the typhoon to abate. by around 3am the strong winds were gone, but intermittent gusts of strong winds continued to blow. i just stayed in the room until around 5am, 17 December 2021, the day after, when i prepared to head out tho check the damage brought by the typhoon. My main goal was to shut down the main power entrance breaker, so that there was no risl that power could be resotred without having been able to check out our electrical systems.

I found it almost impossible to get to the main entrance breaker located near gate one, as the pathways were all blocked by fallen trees. i had to dodge, climb over, crawl under several tree branches, sometimes i had to walk through water filled swales. it was quite disorienting to move through that terrain, as i could barely recognize my usual markers. after around half an hour i was able to reach the breaker and turn it off. then i went out of the gate just to see what had happened outside. it was just daybreak. and i could see fallen trees lying on our access road, but also 2 or the 3 electrical posts that brought the power to our place. well my major effort to shut off the main entrance breaker turned out to be futile, as we would not be having power for quite sometime.

so i made my way back, but throught the back side of the our cimcumferential road. with much effort i reached the store rooms only to find out another tree had fallen and broken another part of the roof. and then to my great sadness, i saw all our 3 vehicles parked at the basketball court, pressed down by one mango tree that broke at the base of its trunk. i thought, i could have parked the vehicles elsewhere, but where? i would not know where i could be sure they were safe from the typhoon.

when i reached the pavilion, i finally saw that the typhoon had totally demolished the roof, and thrown about the furniture, turned down shelves and so on. it was a total disaster.

in retrospect, i realize that the typhoon was not properly identified as the SUPERTYPHOON that it really was. since i have experienced category 5 in the past, i would rate Odette as a Category 8. should that have been clear in our minds, our preparation would have been so different, and levelled up. we had the time, but we, including myself could not and did not prepare sufficiently for the kind of storm that was coming.

The extent of the damage it has caused everywhere, is proof of this underpreparedness.

joel lee
953pm, 26 December 2021
Justice German Lee Jr. Nature Sanctuary
Bacsije, Barangay Ocaña, Carcar City
CEBU

The PAVILION at the Justice German Lee Jr Nature Sanctuary, before and after Supertyphoon Odette
(L) Our beloved Acacia tree by the pond, and mango tree crushing our three vehicles at the Sanctuary

So many in Cebu were severely affected/impacted by Odette. Some organizations reached out to help those badly affected in our barangay in Ocaña and for their kindness and generosity our barangay folks are deeply grateful.
—————

Damage to the Sanctuary:

1)Odette claimed so much plant life at the Sanctuary. What took many decades of planting and nurturing, Odette destroyed in a few hours. Priority now is clearing the fallen trees and rescuing the plant life that can still be rescued.

2)MONA (Museum of Naïve Art): Thankfully, the museum was spared, and other than some damaged prints and signages, the museum is still standing and in good shape.

3)MOB (Museum of Bicycling): Just recently relocated/transfered to the Sanctuary from ELICON (Ecological Living Conservation House), most of the items were tossed around by Odette and there was some considerable damage. A lot of work has to be done to bring it back. Yes, lots of hard work and patience. All the best with the restoration and revitalizing efforts to the MOB curator, Eddy Lee.

Whimsical Art Challenge 2

A few nights ago, my sister Edna asked my brother Joel and my 9 year old son Lucas to do a whimsical art challenge. Here’s what came out, really fun, really naïf, and totally  nature-inspired!!!

I will post Joel’s first then Lucas’.

A MUDSKIPPER FISHING
(mudskipper is Filemon’s TAMBASAKAN)

7

8

A DUCK SUNBATHING

910

A FANTAIL BIRD ON FREE THROW LINE

1112

RABBIT PLAYING FRISBEE

1314

DOG COOKING PANCAKES
-only Lucas did this one… looks like the customer being served is a kitty and there’s two doggy customers waiting for their order

15

Creative Remix 7: The Art Display

Here we have the last of the Creative Remix feature – the art display at the Exhibition Hall at the Roundhouse.

Below is the original display concept  that I proposed to Roundhouse with my own sample projects.
sample display

It was great to see the kids so excited to be involved in setting up the CREATIVE REMIX exhibition which took place on: Friday, July 13 at the Roundhouse Exhibition Hall

simple poster for show

You may be wondering about the other art forms on the poster. The Creative Remix workshop also had daily guest artists offering a variety of opportunities for creative self-expression. Here they are:
Dianna David -movement storytelling workshop
Gamelan Bike Bike – Fieldhouse visit and workshop
Alanna Ho – deep play workshop
Lenore R S Lim– audience with exhibiting printmaker
Kids Yoga – (sorry, I forgot the name of the guest teacher)
Birds in Residence – bird puppet making led by Carmen Rosen

——————————————————————————————————————-
Below are the individual art displays arranged by the kids themselves, literally minutes before their special guests arrived at the exhibition hall.

Here are a couple of photos taken at the event.

show 1

Families and friends of our beloved young artists gather for this special presentation…

show 2

Our young artists proudly presenting their works to their parents…

Special thanks to DB Boyko, Arts Programmer at Roundhouse and  to Sonia Nikitin, my assistant during the whole run of Creative Remix. Most of all, my deep gratitude to our young workshop participants who gave their best in this wonderful creative journey.

Creative Remix 6 -Painting with Fabric

Here is the 6th art-ivity at my Creative Remix workshop at the Roundhouse…Painting with Fabric! Yes, you heard that right..not with paint but with fabric and we went with the bird theme.

Here are the materials we used:

  • square paper plate (as canvas)
  • textile combo (2 coordinated prints and 2 plains)
    (precut and pre-mixed & matched; kids choose from an assortment of combos)
  • water dish
  • Mode Podge glue, matte
  • brush
  • pencil
  • bond paper
  • bird books and cliparts for inspiration
  • rags
  • scissors

materials

And here are the steps:

  1. Choose the bird you want to make. Draw it ‘big!’ on the bond paper provided, making sure it fits as centrepiece of square plate.
  2. Hold bond paper (top) and selected fabric (underneath), and then cut.

Tip: For bigger kids,  you could use some dressmaking pins to secure the two layers together for easier cutting.

kids at work 2

kids at work 1

3.  Continue following this method to cut the other elements of your design.

4. Cut to size  and  glue on biggest fabric provided onto the middle of plate using Modge Podge. (Brush glue onto plate)

5. Glue on main body of bird, then continue with other bird features and background embellishments. Note that Modge Podge dries clear so use it under and over your fabric. No worries!

6. When completed, mount on plate/frame stand and delight with pride with your family and friends!

sample on stand

Each unique and colourful. Well done, kids!

Here are the masterpieces of my students. Great work, kids!

Soon after we finished the art plates, we went downstairs to the exhibition hall to prepare for the special showing of the kids’ works. They all helped mount the exhibition and were all excited to show their families and friends all the work they created in the Creative Remix sessions. Check out their art display, up next…

Creative Remix 5-Outdoor Mandala

We come to the 5th art-ivity in my Creative Remix workshop at Roundhouse Centre…Outdoor Mandala.

Originally, we were going to try making one at the park or near a beach but in the end we just did one right outside the Roundhouse.

Here are some of the components of our mandala:

  • hangers
  • mini toy components
  • cut cardboard shapes (rounds and strips)
  • big multicoloured blanket yarns
  • pompoms (we had an abundant supply from a previous  pompom workshop at Roundhouse)
  • giant coloured plastic buttons
  • chenille (craft pipe cleaners)
  • golf tees

-basically all things colourful and wonderful (in great numbers) are a welcome addition
materials

Steps

  1. Determine the size of mandala you are making. It is best you mark the pavement with a chalk to guide the kids.
  2. Group kids and assign component to add onto mandala. Designate which part of circle they are filling.

1-the making.jpg

3. Stop and assess. Do you need more components? Are the kids expanding the circle too much? Is it even still looking like a circle, hahahah. (FYI-This was just a spontaneous design and free flow mandala.)

4. Take group photo and enjoy the group’s outdoor masterpiece.

3-group pic
(Sorry to blur their little faces but I don’t have photo/social media consent from their parents so that’s why you only see my face)

2-detail.jpg

5. Then of course, everybody helps in tidying up after.

Bear in mind again, these are kids ages 5 to 10 working on an outdoor mandala for the first time. I think they did an amazing job. Bravo, kids!


Creative Remix 4 – Mini Monoprints

I share with you the sixth art-ivity that my students and I did in the Creative Remix sessions I facilitated at the Roundhouse Centre… Mini Monoprints!

The materials we used:

  • foam sheet, preferably with stickie back
  • card stock/drawing/watercolour paper (whatever you have)
    (ATC/artist trading card size – 2 1/2 x 3 1/2 inches
  • ballpoint pen
  • scissors
  • brushes
  • watercolour
  • water dish
  • rag/towel
  • 9-card Artist Trading Card Plastic Sleeve

materials

Learn about the history of ARTIST TRADING CARDS

STEPS

1. The Printing Plate —Cut the foam sheet to ATC size 2 1/2 x 3 1/2 inches, mount on cardboard or anything sturdy.

foam printing plate setup

2. Using a ballpoint pen, draw on the foam printing plate. Try to create just one big image rather than a multitude of little figures/details.

1

A simple rainbow-design on a mini foam printing plate

3. Using a brush, apply watercolor onto the foam plate, then quickly press the paper onto the plate. It is best to rub palm onto paper to ensure that it picks up as much detail from the plate.

4. Pull your paper/print, and try another color combination, and make more prints.

2

Nine mini monoprints from one foam printing plate

I asked my students to make a minimum of 9 prints each. It was fun to see the different color combinations they came up with. Check out their creations below:

9

This is a great example of a simple and very focused design that creates a most striking effect. The bird’s colors do not change just the background.

5

POPSICLE – what a perfect summer print (and treat)!!!

Here are six more print series by my students. Bear in mind that these are kids ages 5 to 10 making monoprints for the first time.


The children were quite proud of their mini monoprints. At first they thought I was asking too much when I said they have to produce a minimum of 9 prints, but they did it!  CONGRATS kids!

Creative Remix 3 -Spin Art

We continue with the art-ivities at the Creative Remix workshop that I facilitated at the Roundhouse Centre. Today I bring you SPIN ART!

Turn things you already have at home into fun spin art machines! Try what we used in class — a mini toy gear and a salad spinner…

A- Spin Art using a Mini Toy Gear

Untitled 13

I was looking for something I could use to make spin art. I found this toy gear at a Thrift Store. Here goes…

  1. Using masking tape, secure the mini round paper to the platform of mini machine
  2. Press/use different coloured markers onto the paper while the machine is spinning
  3. Keep adding colors until you are satisfied with the results.

Here are some of my students’ works:

spin art

Then we turned them into key rings, by using self-adhesive laminating sheets, strings and rings… check out their final creations

This slideshow requires JavaScript.

B- Spin Art using a Salad Spinner

41ys4xHgBmL
Here is another fun and simple tool to use to create beautiful spin art…the salad spinner.

  1. Using masking tape, secure the paper onto the basket of the salad spinner 
  2. Apply paint (acrylic or tempera) by hand, brush or by squirting it onto the paper, cover and then spin away!!!
  3. Open spinner, check results, keep adding paint and spin until you get desired results.

steps
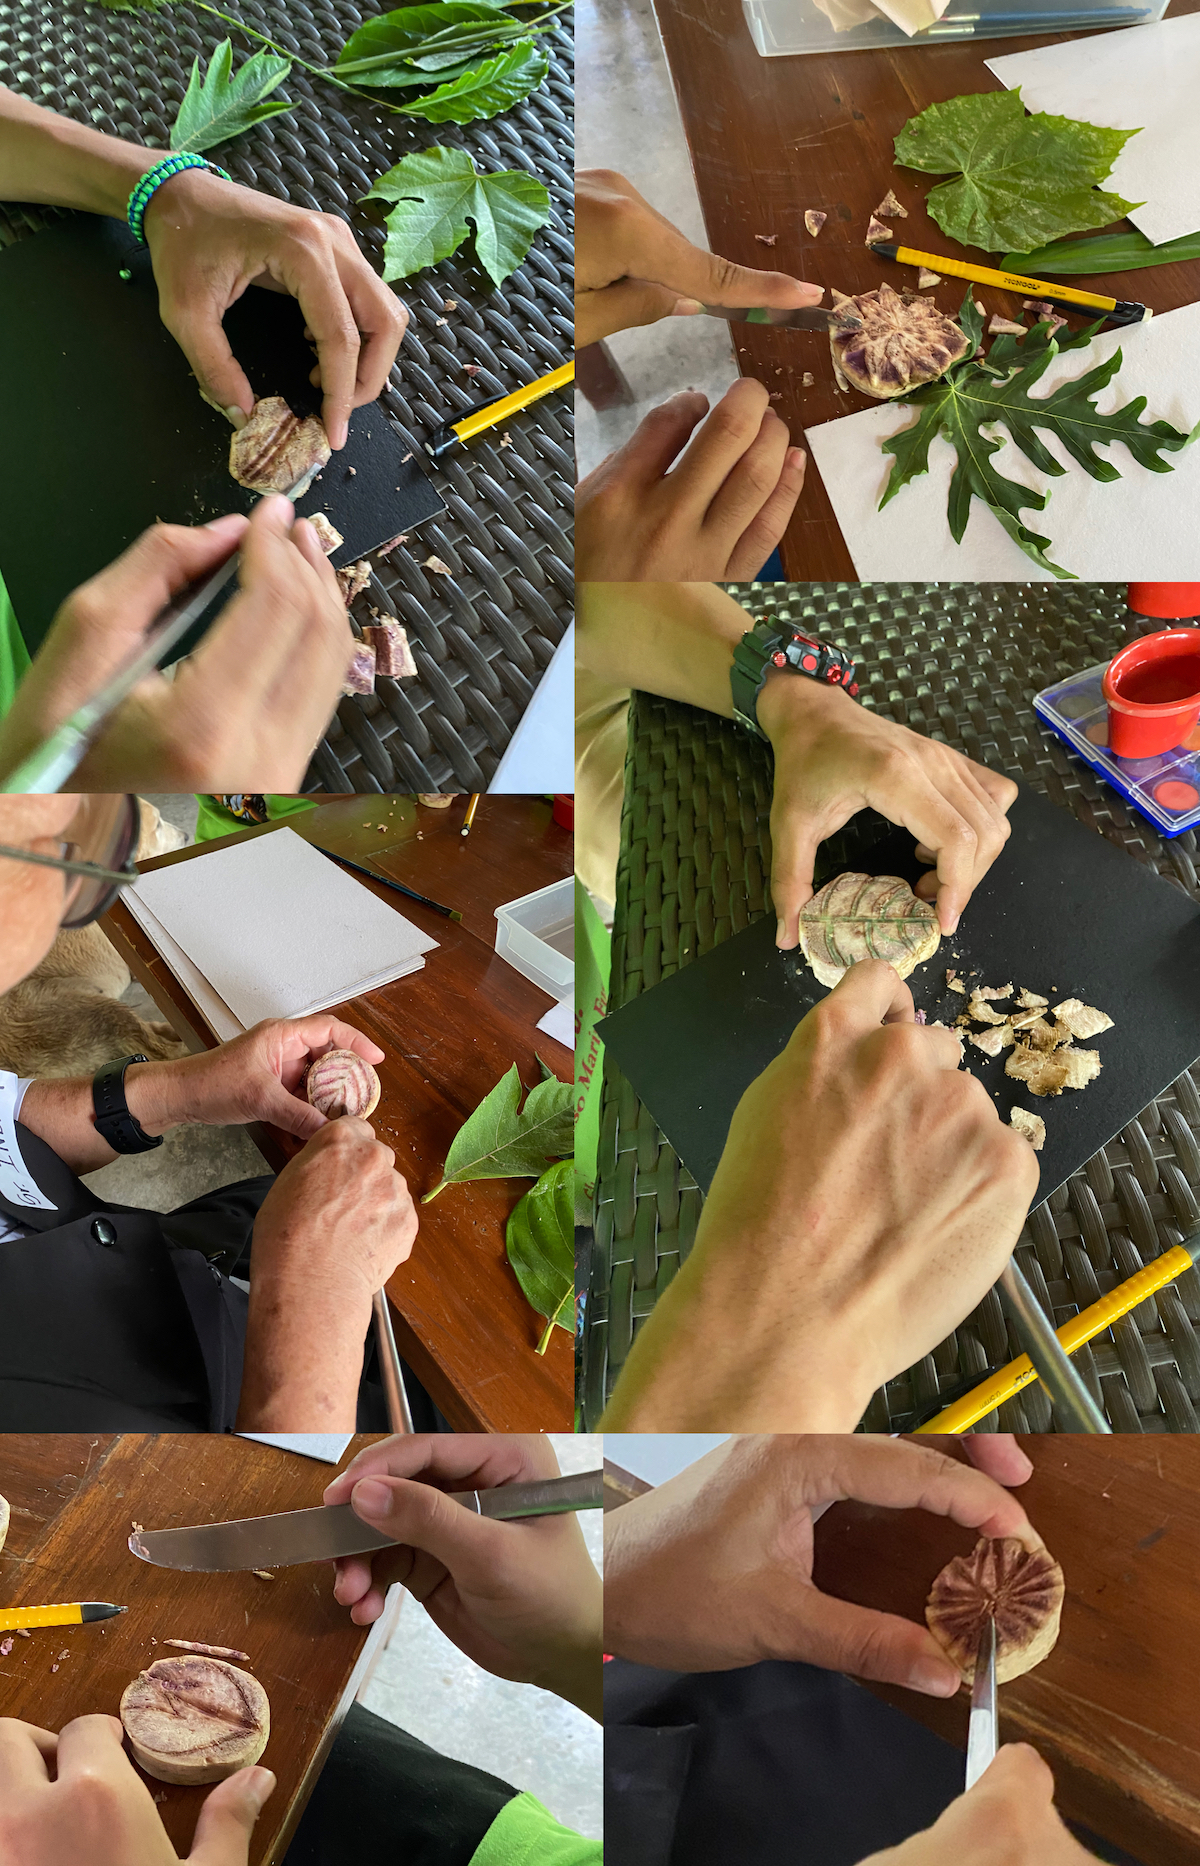
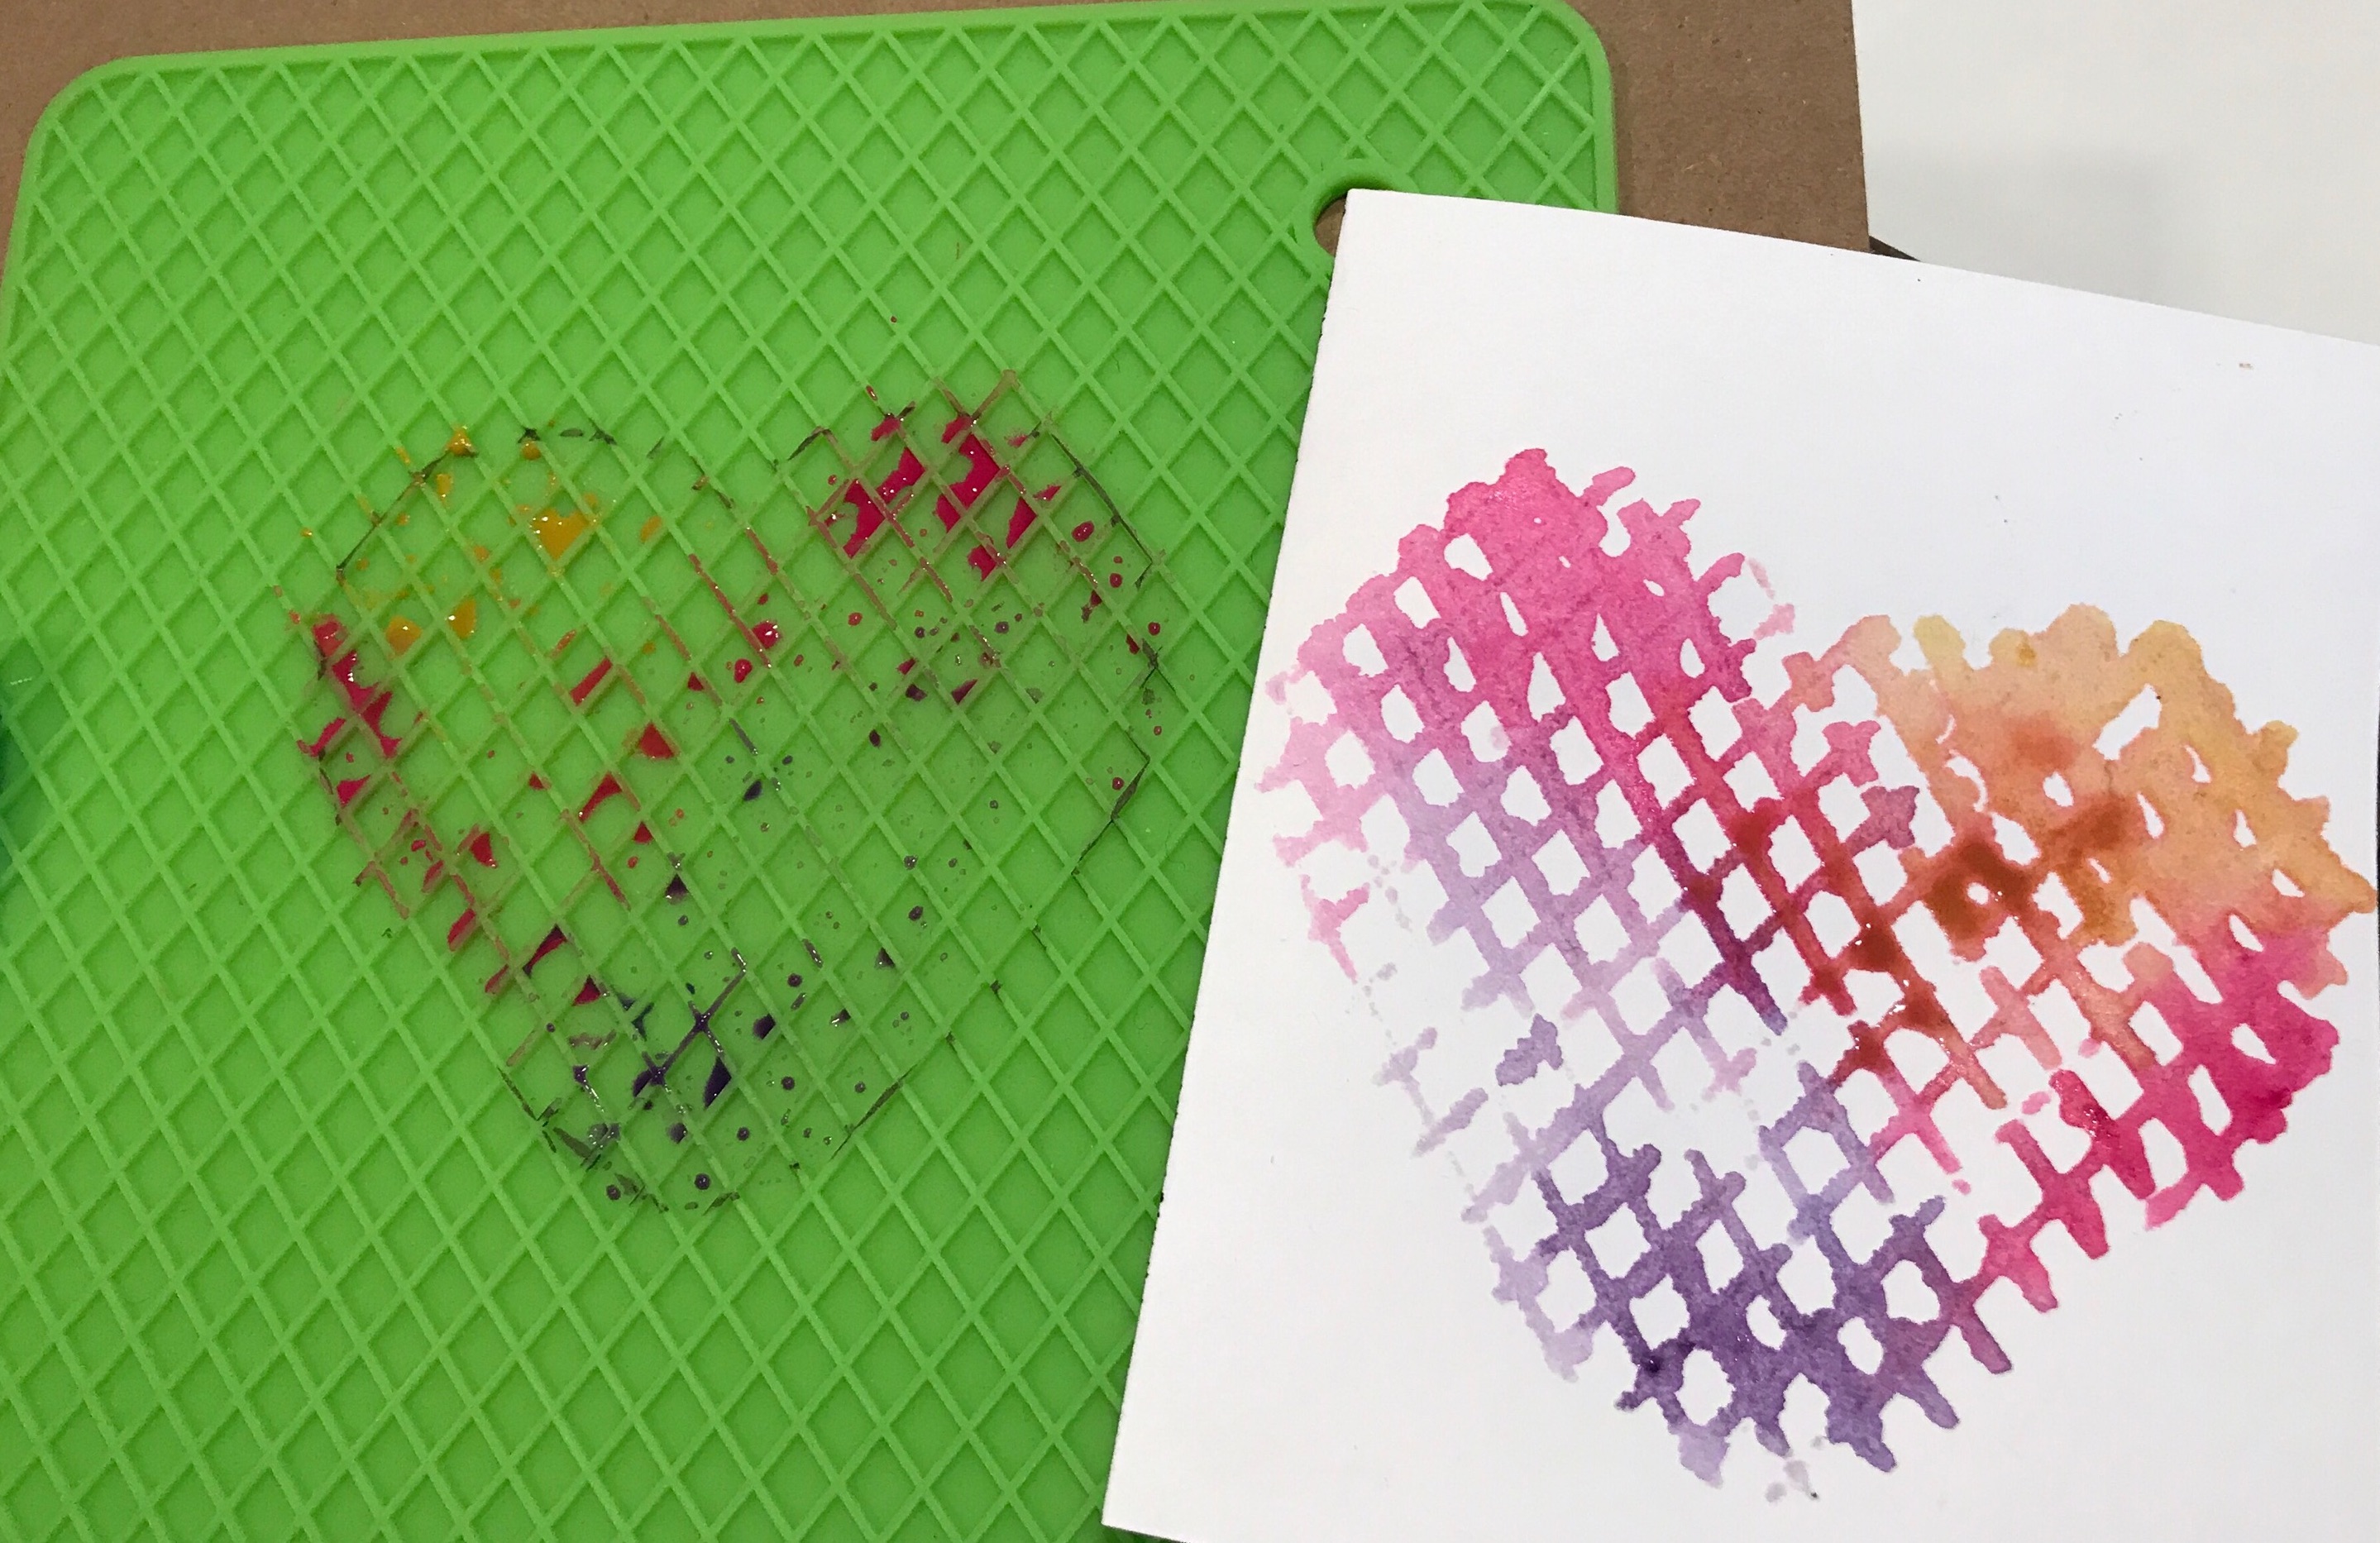
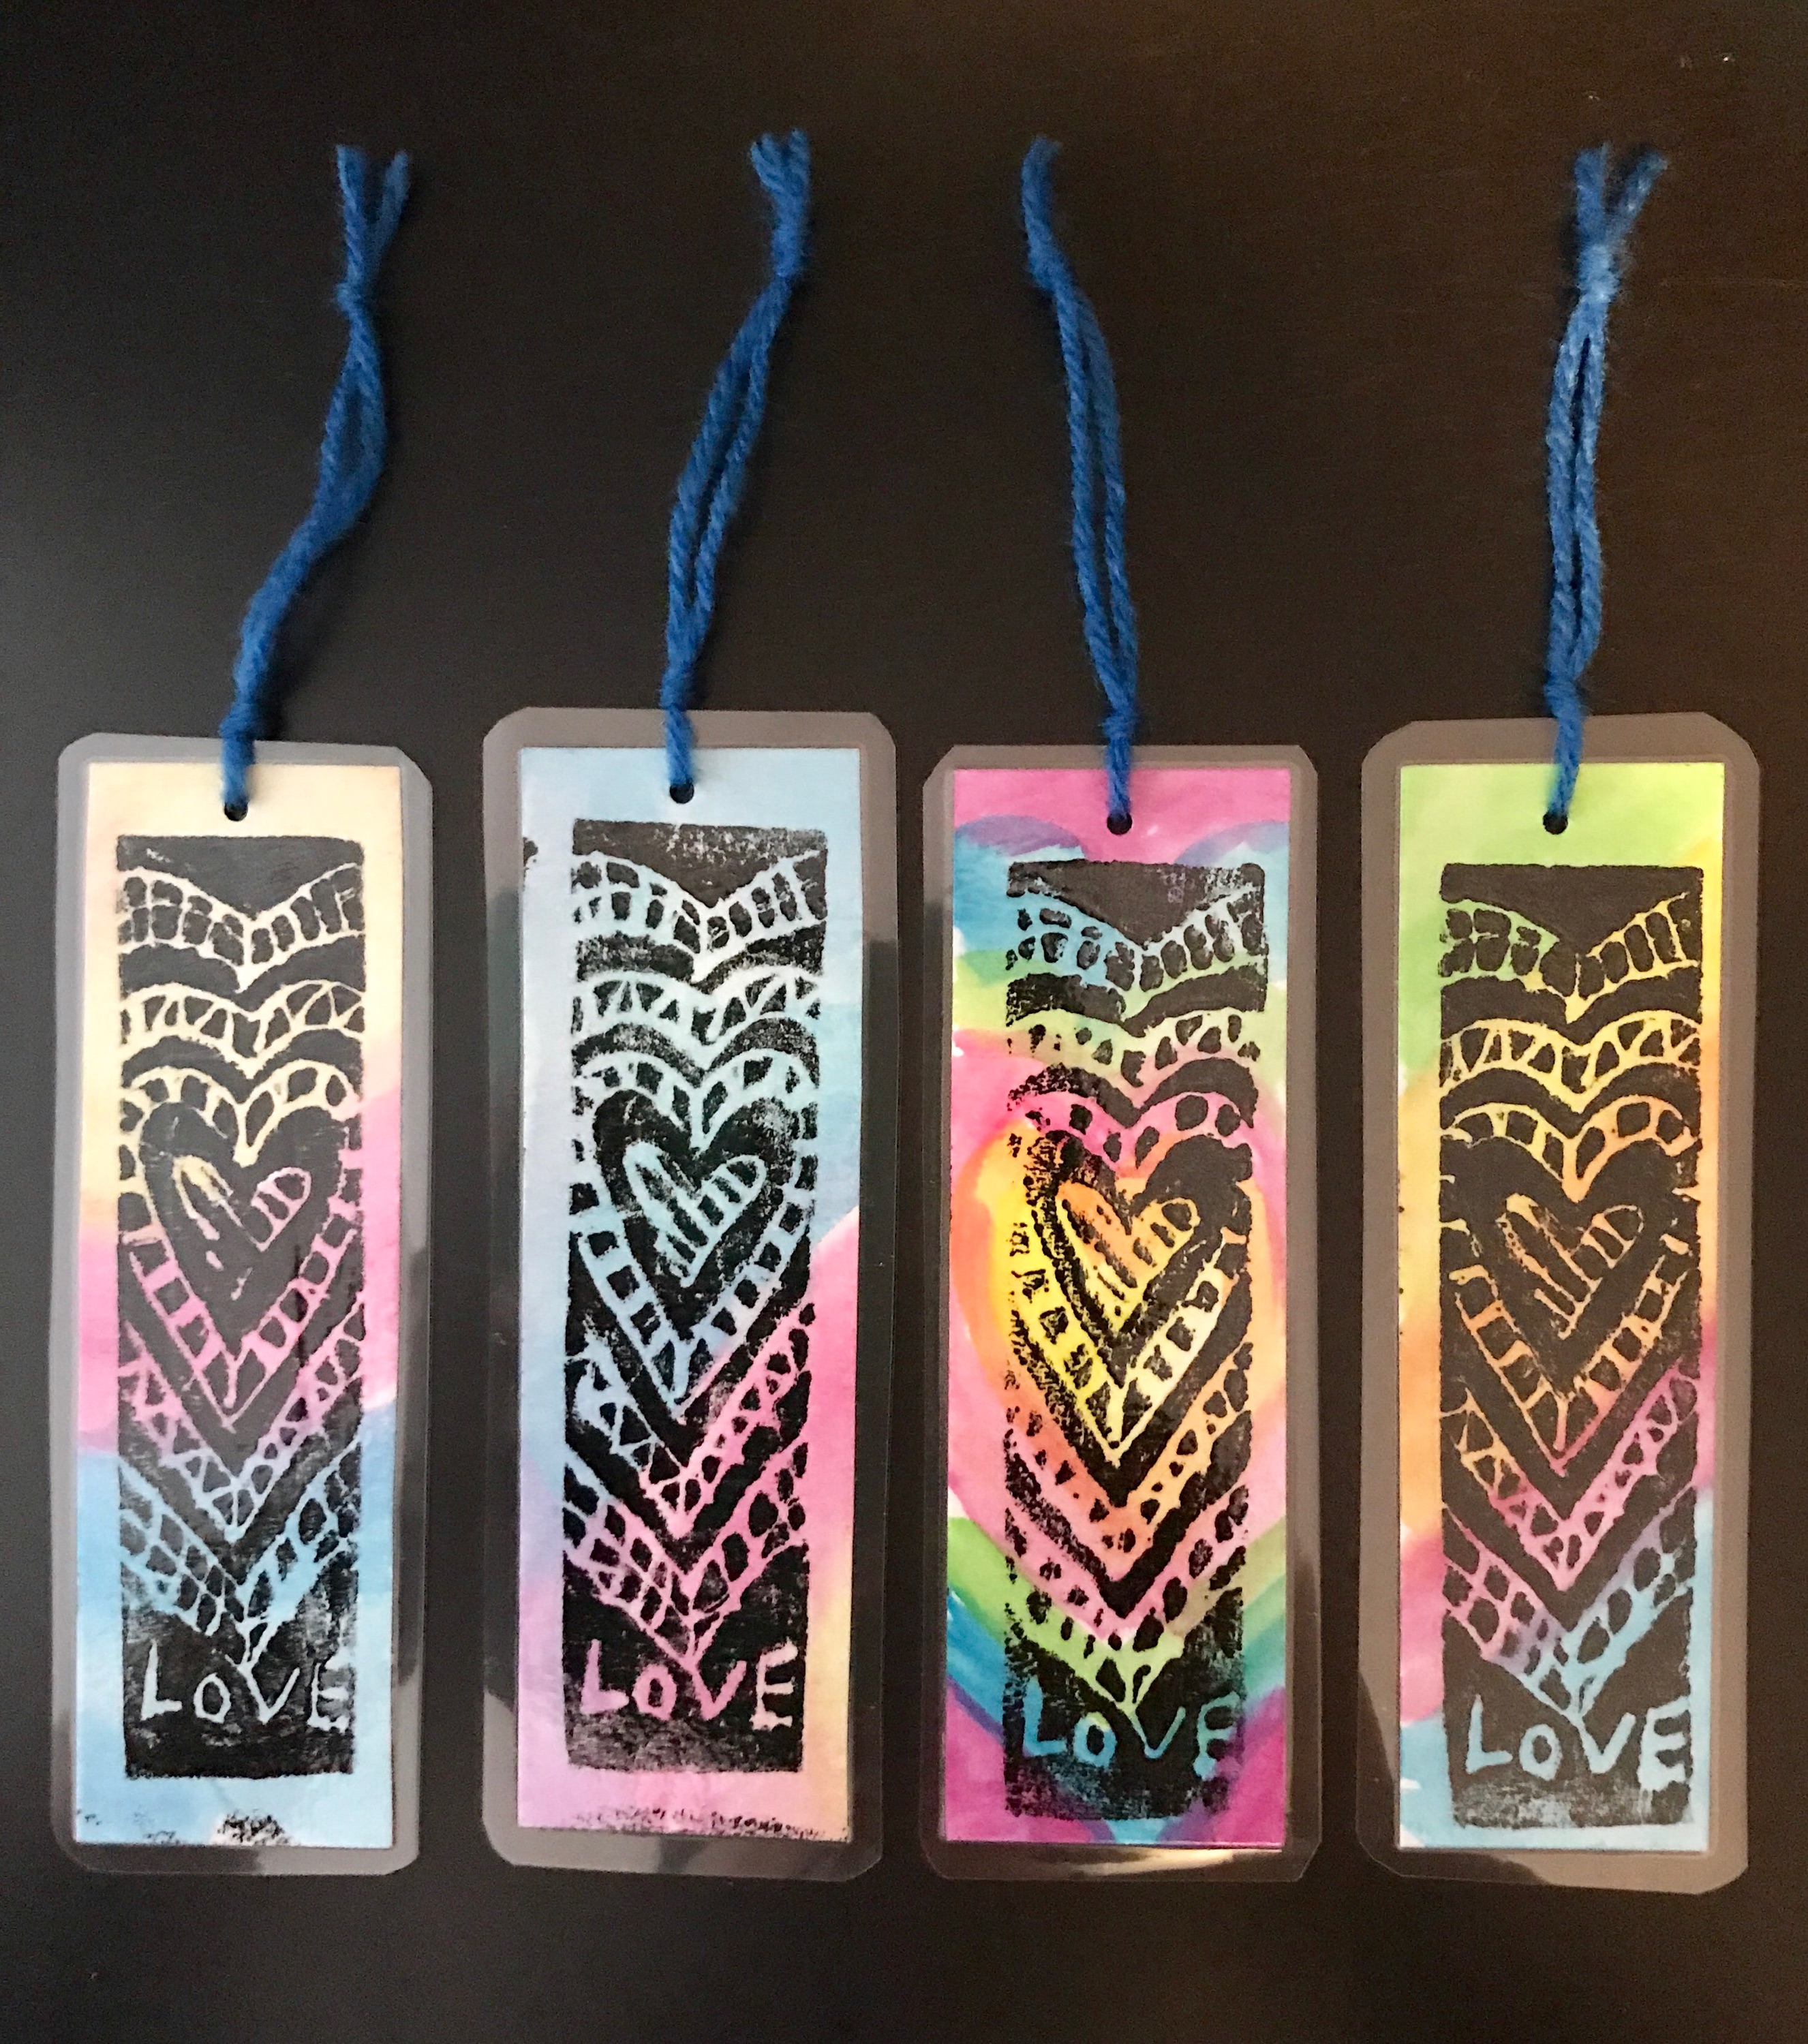
Optional: Spritz a bit of water if you want the paint to flow more (as long as paper quality allows it).

Here are some of my students’ fabulous salad spinner creations:

Here is an option as a post-spinning activity… “Figure it out!” Get the students to look at their spin art and find the figure or hidden image in their work and highlight it with a black sharpie. This is a great activity for expressive arts therapy.

before-after-expressive arts

Here is my spin art figure: “Dreaming of Flight”

Creative Remix 2-Flying Superheroes

Here is the second activity we did in Creative Remix at the Roundhouse Centre… The Flying Superheroes.

To create your superhero follow these steps:

  1. Create your superhero identity and origin story

your superhero name

Here is a fun guide to making your own superhero name that I found on-line.

superhero identity

Here is a sample of a template for writing a Superhero Identity and Origin Story. There are many on-line, here is one that simpler ones I found.

2. Colour and cut template.
Template inspired by the Free Flying Superhero Father’s Day Craft  on 
kidscraftroom

template flying hero 2

Notice there are two options for the cape.


origami-paper-double-sided-color-assorted-150-mm-44-sheets

Check out the beautiful color combinations of double-sided origami paper.

3. Glue front and back pieces together, leaving enough room in the middle to fit straw hero launcher. Then adhere cape over the shoulders.

IMG_5356IMG_5357

4. Insert straw. Allow to dry. And launch your Superhero!

Lava Boy

Here is a sample made by my son – he calls this “Lava Boy”

Lava Boy-in lfight

Ready, set, fly, my hero! *use whatever straw you have- paper, stainless steel or bamboo, perhaps.

IMG_5549

Super Rainbow

IMG_5550

Blue-blue Lemon

I think the double-sided Origami cape really makes the costume more interesting. And you know how kids are – they love colors.  It’s like choosing crayons or frozen yogurt toppings just in paper form, hahaha

Creative Remix 1-Magnetic Puppetry

Hello friends of the MoNA and lovers of naïve art! I bring to you a series of kids art that were created at the CREATIVE REMIX summer workshop that I facilitated at the Roundhouse Arts and Recreation Centre in Vancouver. The kids were ages 5 to 10.

I bring you 6 art-ivities from the workshop:

  • Magnetic Puppetry
  • Flying Superheroes
  • Spin Art
  • Monoprinting
  • Outdoor Mandala
  • Painting with Fabric


We begin with MAGNETIC PUPPETRY:

  1. Two or more animals that would not normally meet, are stranded on a tropical beach…what will they talk about?
  2. Colour, cut and attach magnet to your paper animal puppet
  3. Create a dialogue between the animals
  4. Present dialogue to class and animate your magnetic puppets on the mini stage provided.

IMG_5530

You can see the magnet attached to the back…

IMG_5536

A bear and an octopus ..hmmm u have to wonder what they might talk about?

The kids each held a magnet to control their paper puppets.

IMG_5539

How about a kangaroo and a dolphin — “G’Day Mate!”

IMG_5540

How about an elephant, a pelican and a moose? What could they possibly talk about?

IMG_5543

Here’s a giraffe and a turtle, crossing paths on a sandy beach.

Magnets are tricky to use. However with some practice, the children enjoyed controlling the animal-puppets behind the backdrop and performing before the class.

Feed the Right Wolf

As  my personal interpretation of the Cherokee Tale of Two Wolves entitled ” A Heart’s Choice” hangs at the Window Gallery of the Roundhouse Community Centre in Vancouver, I would like to invite us all to reflect on the enlightening words of PEMA CHÖDRÖN.

Feed the Right Wolf
by PEMA CHÖDRÖN

…A Native American grandfather was speaking to his grandson about violence and cruelty in the world and how it comes about. He said it was as if two wolves were fighting in his heart. One wolf was vengeful and angry, and the other wolf was understanding and kind. The young man asked his grandfather which wolf would win the fight in his heart. And the grandfather answered, “The one that wins will be the one I choose to feed.”

So this is our challenge, the challenge for our spiritual practice and the challenge for the world—how can we train right now, not later, in feeding the right wolf? How can we call on our innate intelligence to see what helps and what hurts, what escalates aggression and what uncovers our good-heartedness? With the global economy in chaos and the environment of the planet at risk, with war raging and suffering escalating, it is time for each of us in our own lives to take the leap and do whatever we can to help turn things around. Even the slightest gesture toward feeding the right wolf will help. Now more than ever, we are all in this together.

Taking the leap involves making a commitment to ourselves and to the earth itself-making a commitment to let go of old grudges, to not avoid people and situations and emotions that make us feel uneasy, to not cling to our fears, our closed-mindedness, our hardheartedness, our hesitation. Now is the time to develop trust in our basic goodness and the basic goodness of our sisters and brothers on this earth; a time to develop confidence in our ability to drop our old ways of staying stuck and to choose wisely. We could do that right here and right now.

In our everyday encounters, we can live in a way that will help us learn to do this. When we talk to someone we don’t like and don’t agree with — maybe a family member or a person at work — we tend to spend a great amount of energy sending anger their way. Yet our resentments and self-centeredness, as familiar as they are, are not our basic nature. We all have the natural ability to interrupt old habits. All of us know how healing it is to be kind, how transformative it is to love, what a relief it is to have old grudges drop away. With just a slight shift in perspective, we can realize that people strike out and say mean things for the same reasons we do. With a sense of humor we can see that our sisters and brothers, our partners, our children, our coworkers are driving us crazy the same way we drive other people crazy.

The first step in this learning process is to be honest with ourselves. Most of us have gotten so good at empowering our negativity and insisting on our rightness that the angry wolf gets shinier and shinier, and the other wolf is just there with its pleading eyes. But we’re not stuck with this way of being. When we’re feeling resentment or any strong emotion, we can recognize that we are getting worked up, and realize that right now we can consciously make the choice to be aggressive or to cool off. It comes down to choosing which wolf we want to feed.

Of course, if we intend to test out this approach, we need some pointers. We need ways to train in this path of choosing wisely. This path entails uncovering three qualities of being human, three basic qualities that have always been with us but perhaps have gotten buried and been almost forgotten. These qualities are natural intelligence, natural warmth, and natural openness. When I say that the potential for goodness exists in all beings, that is acknowledging that everyone, everywhere, all over the globe, has these qualities and can call on them to help themselves and others.

Natural intelligence is always accessible to us. When we’re not caught in the trap of hope and fear, we intuitively know what’s the right thing to do. If we’re not obscuring our intelligence with anger, self-pity, or craving, we know what will help and what will make things worse. Our well-perfected emotional reactions cause us to do and say a lot of crazy things. We desire to be happy and at peace, but when our emotions are aroused, somehow the methods we use to achieve this happiness only make us more miserable. Our wishes and our actions are, all too frequently, not in synch. Nevertheless, we all have access to a fundamental intelligence that can help to solve our problems rather than making them worse.

Natural warmth is our shared capacity to love, to have empathy, to have a sense of humor. It is also our capacity to feel gratitude and appreciation and tenderness. It’s the whole gamut of what often are called the heart qualities, qualities that are a natural part of being human. Natural warmth has the power to heal all relationships — -the relationship with ourselves as well as with people, animals, and all that we encounter every day of our lives.

The third quality of basic goodness is natural openness, the spaciousness of our sky-like minds. Fundamentally, our minds are expansive, flexible, and curious; they are pre-prejudice, so to speak. This is the condition of mind before we narrow down into a fear-based view where everyone is either an enemy or a friend, a threat or an ally, someone to like, dislike, or ignore. Fundamentally, this mind that we have, that you and I each have, is open.

We can connect with that openness at any time. For instance, right now, for three seconds, just stop reading and pause.

If you were able to stop briefly like that, perhaps you experienced a thought-free moment.

Another way to appreciate natural openness is to think of a time when you were angry, when someone said or did something that you didn’t like, a time when you wanted to get even or you wanted to vent. Now, what if you had been able to stop, breathe deeply, and slow the process down? Right on the spot you could connect with natural openness. You could stop, give space, and empower the wolf of patience and courage instead of the wolf of aggression and violence. In that moment when we pause, our natural intelligence often comes to our rescue. We have time to reflect: why do we want to make that nasty phone call, say that mean word, or for that matter, drink the drink, or smoke the substance or whatever it might be?

…To honestly face the pain in our lives and the problems in the world, let’s start by looking compassionately and honestly at our own minds. We can become intimate with the mind of hatred, the mind that polarizes, the mind that makes somebody “other” and bad and wrong. We come to know, unflinchingly, and with great kindness, the angry, unforgiving, hostile wolf. Over time, that part of ourselves becomes very familiar, but we no longer feed it. Instead, we can make the choice to nurture openness, intelligence, and warmth. This choice, and the attitudes and actions that follow from it, are like a medicine that has the potential to cure all suffering.

Excerpted  from Taking the Leap by Pema Chödrön © 2009 by Pema Chödrön.  Published by arrangement with Shambhala Publications, Inc. Boulder, CO. www.shambhala.com

Read the complete  “Feed the Right Wolf” chapter online on lions roar 

Roundhouse-Feed the Right Wolf- Chodron words

Dino Sock Puppet Workshop

What’s a T-Rex’s favourite number? Eight (ate!) And yes, that’s the same number my son is at. For his 8th birthday he asked for a Dinosaur-themed party.  He decided on a crafts and cupcakes party in his school.  So today I will share with you the Dino sock puppets that he and his friends created during the workshop that I facilitated for his class.

Here are the steps in pictures:

This slideshow requires JavaScript.

The socks were pre-sewn and most of the embellishments had sticky backs. Other embellishments had to be adhered (like spikes, pompoms, etc) using a hot glue gun. The kids would come to us and the teacher and I were the only ones allowed to handle the hot glue gun. So we did that part for them while they waited.

Craft Supplies Buffet

Here is the craft supplies buffet table. Each of the kids got a tray and then they picked socks and embellishment for their Dino puppet.

Here are the puppets my son and his classmates handcrafted during his birthday crafting workshop:

Click on image to enlarge.

It was so much fun for all of us… and to add to the birthday fun here are some dinosaur jokes. Here’s to some ROARing laughter for you folks!

Q: Can you name 10 dinosaurs in 10 seconds?
A: Yes, 8 Iguanadons and 2 Stegasaurus.

Q: What do you call a dinosaur that never gives up?
A: Try and try and try and try-ceratops

Q: Why can’t you hear a pterodactyl using the bathroom?
A: Because the ‘p’ is silent

Q: What do you call it when a dinosaur gets in a car accident?
A: Tyrannasaurus wreck!

Q: What do you call a dinosaur with an extensive vocabulary?
A: a thesaurus.

DINO JOKES Source: www.jokes4us.com

PRINTS CHARMING 3: The Textured Plate

I bring you the the last of the 3 part printmaking workshop series that I recently conducted at my son’s elementary school – Monoprinting with a Textured *Plate.
(*a surface upon which a printing process is carried out)

Materials needed:
textured materials like silicon trivets, bubble wrap, plastic mats, plastic fruits trays with raised textured patterns
watercolor paper or card stock (plain index card works perfectly fine, too)
watercolor, tempera or acrylic paint
brushes
water dish
heart-shaped plastic

Here are the steps in photos:

This slideshow requires JavaScript.

If you figure out a registration system for your printmaking process then it will be much easier for you to do more stuff to your print. Example, after this step, allow paint to dry then go back and print more design over that heart.

2- texture plate

Monoprint using a trivet and watercolor

Here are some of the hearts created by the young printmakers (6 to 7 year olds) at the workshop – absolutely stunning work!

This slideshow requires JavaScript.

heart poster

A Parade of Hearts for your folks. Happy Valentine’s…from our hearts to yours!


PRINTS CHARMING 2: The Foam Plate

We continue with our  PRINTS CHARMING series.This time we will use a Foam Plate.
Yes, foam, but not just any foam. What I find to be the best one as mono printing *plate is the material used in foam take out containers.  So, please next time you get those foam food boxes or containers… clean it and save it for a day of printing fun. (*Plate- a surface upon which a printing process is carried out)

Materials needed:
Foam
Ballpoint pen for making impression on foam
printing ink
cardstock or watercolor paper
watercolor, tempera or acrylic colors for background color on paper
inking plate (plexiglass)
rubber brayer

Here are some images of the steps:

This slideshow requires JavaScript.

Here are some photos of my students foam plates ( impressions on the foam were made using a ballpoint pen)

This slideshow requires JavaScript.

So to make the prints more interesting, I got the kids to paint the paper using watercolor. When watercolor dried, we then did the printing with the foam plate and printing ink.
Look at this slideshow of all the works of my young printmakers…

This slideshow requires JavaScript.

This slideshow requires JavaScript.

FullSizeRender.jpg-10-4

Paint your paper and then do the actual monoprint with foam plate and black printing ink.

DSCF7151 2

Notice the letters on the foam plate are on reverse…

FullSizeRender.jpg-4

Make a lovely monoprint to frame or some mini monoprints to make bookmarks for your loved ones this Valentine’s.

Try out this simple monoprinting technique…if my 6 and 7 year old students could do it, so can you!!!