Creative Remix 7: The Art Display

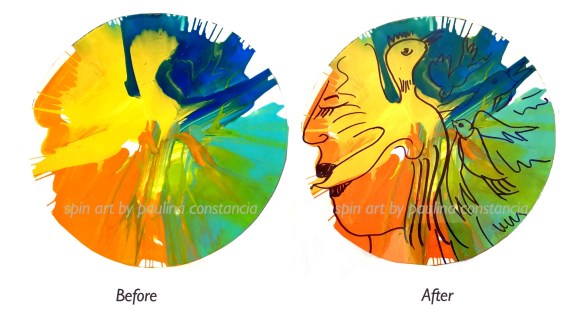
Here we have the last of the Creative Remix feature – the art display at the Exhibition Hall at the Roundhouse.

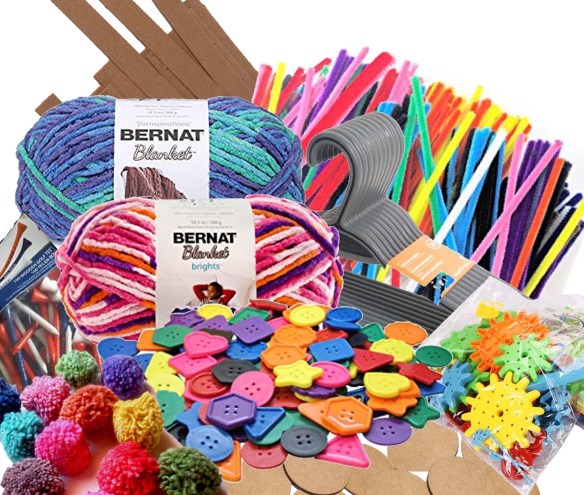
Below is the original display concept  that I proposed to Roundhouse with my own sample projects.
sample display

It was great to see the kids so excited to be involved in setting up the CREATIVE REMIX exhibition which took place on: Friday, July 13 at the Roundhouse Exhibition Hall

simple poster for show

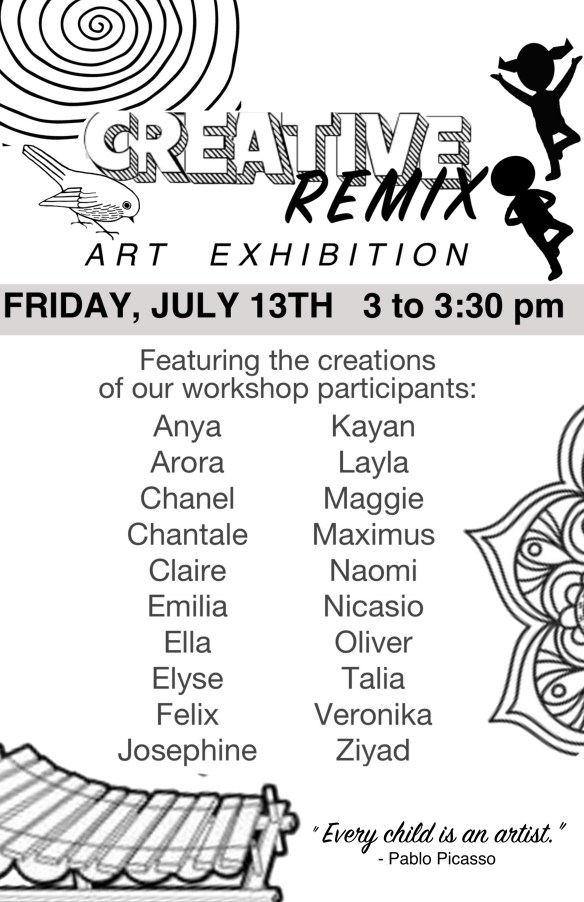
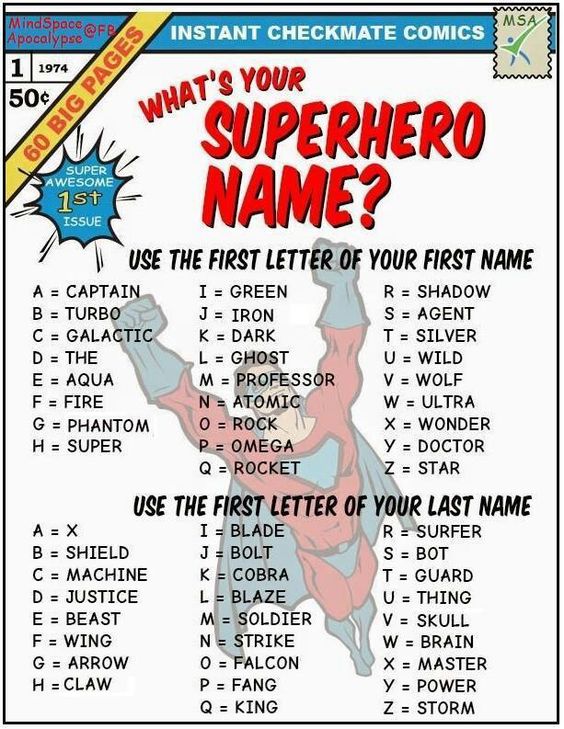
You may be wondering about the other art forms on the poster. The Creative Remix workshop also had daily guest artists offering a variety of opportunities for creative self-expression. Here they are:
Dianna David -movement storytelling workshop
Gamelan Bike Bike – Fieldhouse visit and workshop
Alanna Ho – deep play workshop
Lenore R S Lim– audience with exhibiting printmaker
Kids Yoga – (sorry, I forgot the name of the guest teacher)
Birds in Residence – bird puppet making led by Carmen Rosen

——————————————————————————————————————-
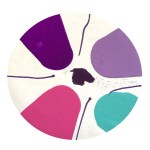
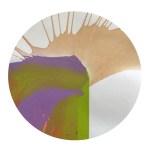
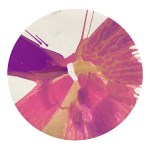
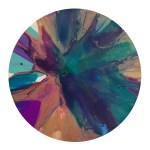
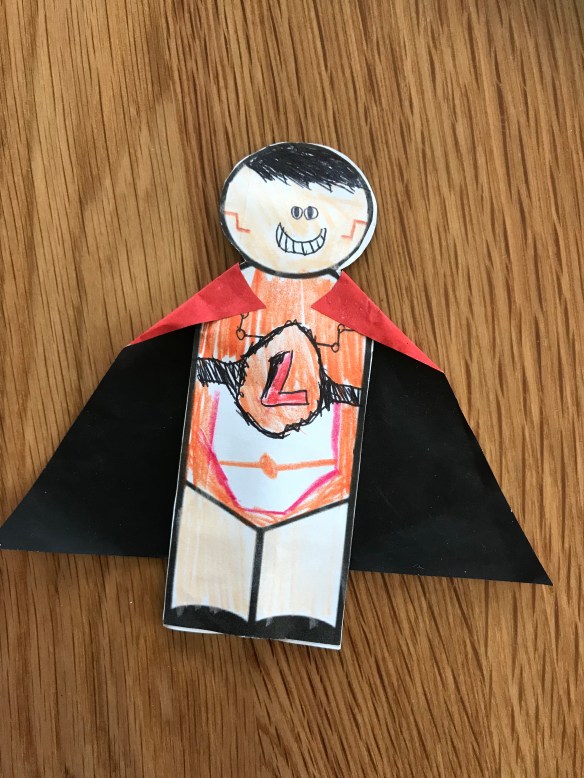
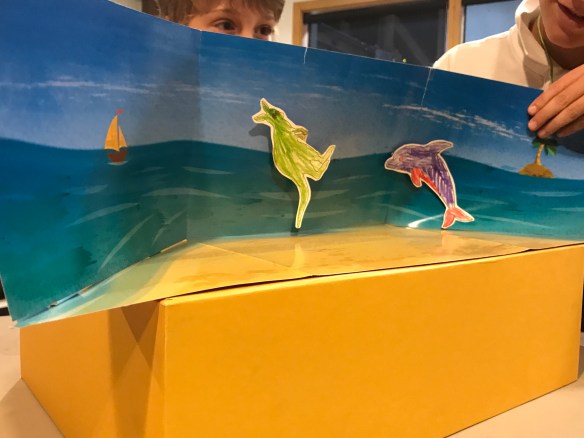
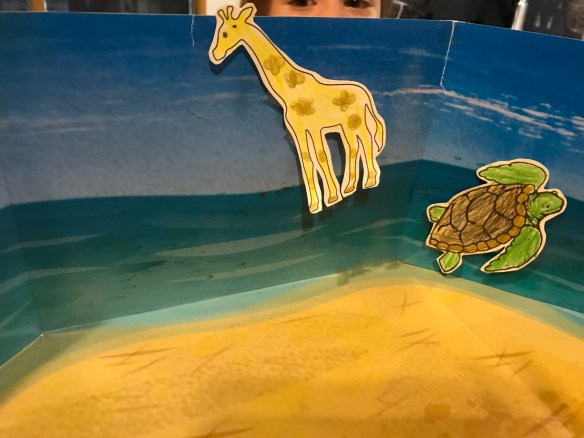
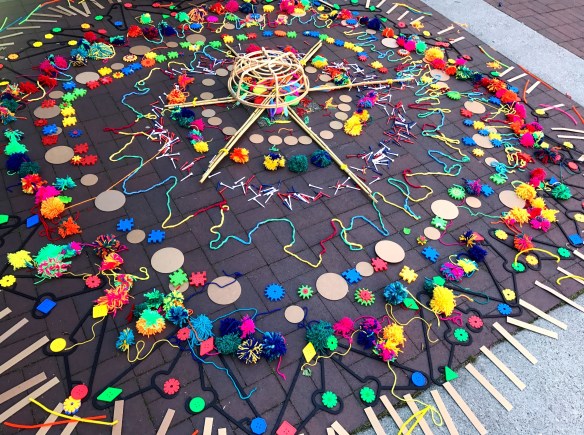
Below are the individual art displays arranged by the kids themselves, literally minutes before their special guests arrived at the exhibition hall.

Here are a couple of photos taken at the event.

show 1

Families and friends of our beloved young artists gather for this special presentation…

show 2

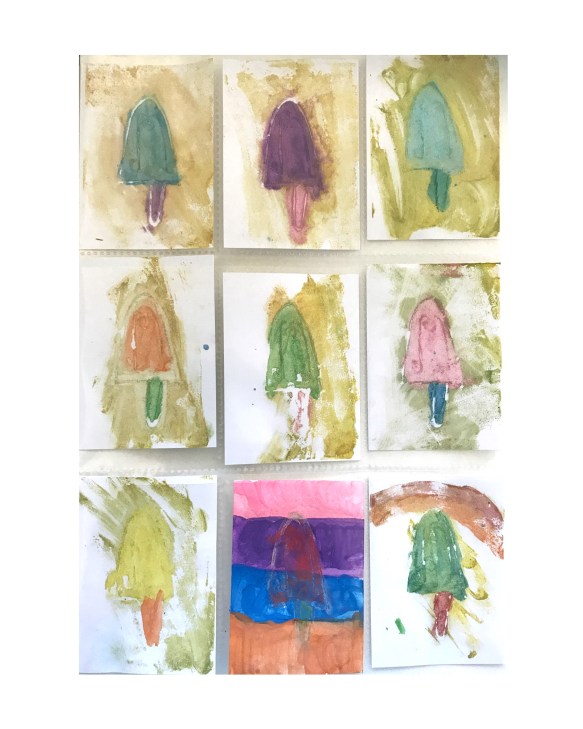
Our young artists proudly presenting their works to their parents…

Special thanks to DB Boyko, Arts Programmer at Roundhouse and  to Sonia Nikitin, my assistant during the whole run of Creative Remix. Most of all, my deep gratitude to our young workshop participants who gave their best in this wonderful creative journey.

Advertisement

Creative Remix 6 -Painting with Fabric

Here is the 6th art-ivity at my Creative Remix workshop at the Roundhouse…Painting with Fabric! Yes, you heard that right..not with paint but with fabric and we went with the bird theme.

Here are the materials we used:

  • square paper plate (as canvas)
  • textile combo (2 coordinated prints and 2 plains)
    (precut and pre-mixed & matched; kids choose from an assortment of combos)
  • water dish
  • Mode Podge glue, matte
  • brush
  • pencil
  • bond paper
  • bird books and cliparts for inspiration
  • rags
  • scissors

materials

And here are the steps:

  1. Choose the bird you want to make. Draw it ‘big!’ on the bond paper provided, making sure it fits as centrepiece of square plate.
  2. Hold bond paper (top) and selected fabric (underneath), and then cut.

Tip: For bigger kids,  you could use some dressmaking pins to secure the two layers together for easier cutting.

kids at work 2

kids at work 1

3.  Continue following this method to cut the other elements of your design.

4. Cut to size  and  glue on biggest fabric provided onto the middle of plate using Modge Podge. (Brush glue onto plate)

5. Glue on main body of bird, then continue with other bird features and background embellishments. Note that Modge Podge dries clear so use it under and over your fabric. No worries!

6. When completed, mount on plate/frame stand and delight with pride with your family and friends!

sample on stand

Each unique and colourful. Well done, kids!

Here are the masterpieces of my students. Great work, kids!

Soon after we finished the art plates, we went downstairs to the exhibition hall to prepare for the special showing of the kids’ works. They all helped mount the exhibition and were all excited to show their families and friends all the work they created in the Creative Remix sessions. Check out their art display, up next…

Creative Remix 5-Outdoor Mandala

We come to the 5th art-ivity in my Creative Remix workshop at Roundhouse Centre…Outdoor Mandala.

Originally, we were going to try making one at the park or near a beach but in the end we just did one right outside the Roundhouse.

Here are some of the components of our mandala:

  • hangers
  • mini toy components
  • cut cardboard shapes (rounds and strips)
  • big multicoloured blanket yarns
  • pompoms (we had an abundant supply from a previous  pompom workshop at Roundhouse)
  • giant coloured plastic buttons
  • chenille (craft pipe cleaners)
  • golf tees

-basically all things colourful and wonderful (in great numbers) are a welcome addition
materials

Steps

  1. Determine the size of mandala you are making. It is best you mark the pavement with a chalk to guide the kids.
  2. Group kids and assign component to add onto mandala. Designate which part of circle they are filling.

1-the making.jpg

3. Stop and assess. Do you need more components? Are the kids expanding the circle too much? Is it even still looking like a circle, hahahah. (FYI-This was just a spontaneous design and free flow mandala.)

4. Take group photo and enjoy the group’s outdoor masterpiece.

3-group pic
(Sorry to blur their little faces but I don’t have photo/social media consent from their parents so that’s why you only see my face)

2-detail.jpg

5. Then of course, everybody helps in tidying up after.

Bear in mind again, these are kids ages 5 to 10 working on an outdoor mandala for the first time. I think they did an amazing job. Bravo, kids!


Creative Remix 4 – Mini Monoprints

I share with you the sixth art-ivity that my students and I did in the Creative Remix sessions I facilitated at the Roundhouse Centre… Mini Monoprints!

The materials we used:

  • foam sheet, preferably with stickie back
  • card stock/drawing/watercolour paper (whatever you have)
    (ATC/artist trading card size – 2 1/2 x 3 1/2 inches
  • ballpoint pen
  • scissors
  • brushes
  • watercolour
  • water dish
  • rag/towel
  • 9-card Artist Trading Card Plastic Sleeve

materials

Learn about the history of ARTIST TRADING CARDS

STEPS

1. The Printing Plate —Cut the foam sheet to ATC size 2 1/2 x 3 1/2 inches, mount on cardboard or anything sturdy.

foam printing plate setup

2. Using a ballpoint pen, draw on the foam printing plate. Try to create just one big image rather than a multitude of little figures/details.

1

A simple rainbow-design on a mini foam printing plate

3. Using a brush, apply watercolor onto the foam plate, then quickly press the paper onto the plate. It is best to rub palm onto paper to ensure that it picks up as much detail from the plate.

4. Pull your paper/print, and try another color combination, and make more prints.

2

Nine mini monoprints from one foam printing plate

I asked my students to make a minimum of 9 prints each. It was fun to see the different color combinations they came up with. Check out their creations below:

9

This is a great example of a simple and very focused design that creates a most striking effect. The bird’s colors do not change just the background.

5

POPSICLE – what a perfect summer print (and treat)!!!

Here are six more print series by my students. Bear in mind that these are kids ages 5 to 10 making monoprints for the first time.


The children were quite proud of their mini monoprints. At first they thought I was asking too much when I said they have to produce a minimum of 9 prints, but they did it!  CONGRATS kids!

Creative Remix 3 -Spin Art

We continue with the art-ivities at the Creative Remix workshop that I facilitated at the Roundhouse Centre. Today I bring you SPIN ART!

Turn things you already have at home into fun spin art machines! Try what we used in class — a mini toy gear and a salad spinner…

A- Spin Art using a Mini Toy Gear

Untitled 13

I was looking for something I could use to make spin art. I found this toy gear at a Thrift Store. Here goes…

  1. Using masking tape, secure the mini round paper to the platform of mini machine
  2. Press/use different coloured markers onto the paper while the machine is spinning
  3. Keep adding colors until you are satisfied with the results.

Here are some of my students’ works:

spin art

Then we turned them into key rings, by using self-adhesive laminating sheets, strings and rings… check out their final creations

This slideshow requires JavaScript.

B- Spin Art using a Salad Spinner

41ys4xHgBmL
Here is another fun and simple tool to use to create beautiful spin art…the salad spinner.

  1. Using masking tape, secure the paper onto the basket of the salad spinner 
  2. Apply paint (acrylic or tempera) by hand, brush or by squirting it onto the paper, cover and then spin away!!!
  3. Open spinner, check results, keep adding paint and spin until you get desired results.

steps
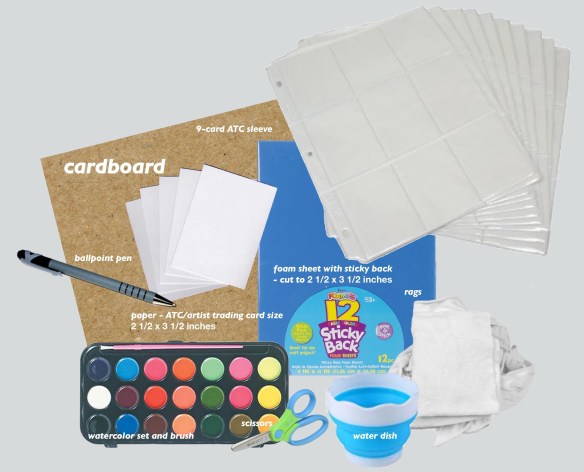
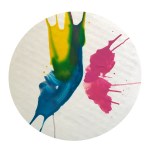
Optional: Spritz a bit of water if you want the paint to flow more (as long as paper quality allows it).

Here are some of my students’ fabulous salad spinner creations:

Here is an option as a post-spinning activity… “Figure it out!” Get the students to look at their spin art and find the figure or hidden image in their work and highlight it with a black sharpie. This is a great activity for expressive arts therapy.

before-after-expressive arts

Here is my spin art figure: “Dreaming of Flight”

Creative Remix 2-Flying Superheroes

Here is the second activity we did in Creative Remix at the Roundhouse Centre… The Flying Superheroes.

To create your superhero follow these steps:

  1. Create your superhero identity and origin story
your superhero name

Here is a fun guide to making your own superhero name that I found on-line.

superhero identity

Here is a sample of a template for writing a Superhero Identity and Origin Story. There are many on-line, here is one that simpler ones I found.

2. Colour and cut template.
Template inspired by the Free Flying Superhero Father’s Day Craft  on 
kidscraftroom

template flying hero 2

Notice there are two options for the cape.


origami-paper-double-sided-color-assorted-150-mm-44-sheets

Check out the beautiful color combinations of double-sided origami paper.

3. Glue front and back pieces together, leaving enough room in the middle to fit straw hero launcher. Then adhere cape over the shoulders.

IMG_5356IMG_5357

4. Insert straw. Allow to dry. And launch your Superhero!

Lava Boy

Here is a sample made by my son – he calls this “Lava Boy”

Lava Boy-in lfight

Ready, set, fly, my hero! *use whatever straw you have- paper, stainless steel or bamboo, perhaps.

IMG_5549

Super Rainbow

IMG_5550

Blue-blue Lemon

I think the double-sided Origami cape really makes the costume more interesting. And you know how kids are – they love colors.  It’s like choosing crayons or frozen yogurt toppings just in paper form, hahaha

Creative Remix 1-Magnetic Puppetry

Hello friends of the MoNA and lovers of naïve art! I bring to you a series of kids art that were created at the CREATIVE REMIX summer workshop that I facilitated at the Roundhouse Arts and Recreation Centre in Vancouver. The kids were ages 5 to 10.

I bring you 6 art-ivities from the workshop:

  • Magnetic Puppetry
  • Flying Superheroes
  • Spin Art
  • Monoprinting
  • Outdoor Mandala
  • Painting with Fabric


We begin with MAGNETIC PUPPETRY:

  1. Two or more animals that would not normally meet, are stranded on a tropical beach…what will they talk about?
  2. Colour, cut and attach magnet to your paper animal puppet
  3. Create a dialogue between the animals
  4. Present dialogue to class and animate your magnetic puppets on the mini stage provided.
IMG_5530

You can see the magnet attached to the back…

IMG_5536

A bear and an octopus ..hmmm u have to wonder what they might talk about?

The kids each held a magnet to control their paper puppets.

IMG_5539

How about a kangaroo and a dolphin — “G’Day Mate!”

IMG_5540

How about an elephant, a pelican and a moose? What could they possibly talk about?

IMG_5543

Here’s a giraffe and a turtle, crossing paths on a sandy beach.

Magnets are tricky to use. However with some practice, the children enjoyed controlling the animal-puppets behind the backdrop and performing before the class.