The Floral Bouquet Self-Portraits

Today we share with you more detail on the expressive arts session on Sunday which was the making of The Floral Bouquet Self-Portraits.
Click here to learn more about this workshop from previous post

Below is the step by step process in pictures…

Below are the individual portraits of our teenage participants:

Very creative use of the fruit stamps and stencils to make these awesome portraits, young ladies! Thank you for sharing your insights and reflections too. We wish you all the best in your learning and development. Till the next time!

Advertisement

LEARNING FROM NATURE’S RESILIENCE 4: FLOWERS & FRUITS

Yesterday, my siblings and I co-taught  part 4 of our Learning from Nature’s Resilience workshop series. This time we took inspiration from the surviving trees and other flowering plants that have recovered and started to bloom, and some are even bearing fruit again!!!

Our participants were homeschooled teenage survivors of difficult situations traveling all the way from Northern Cebu.

My brother Joel Lee, Permaculture and Aprotech Solutions educator, facilitated the warm up laughter yoga and encouraged its regular practice as a way to health and relaxation. 

My sister Eddy Lee, a conservation educator and ecotherapist,  led the tour of the sanctuary’s food forest, higlighting the effect of Typhoon Odette on the fruit trees that were bent, and broken and uprooted. They noticed how the trees are starting to recover because the leaves have sprouted back.  Some of the surviving trees, including a few mango trees, are even flowering. The meditation and vegetable gardens have also recovered and are blooming.

Here are the tools for the expressive arts session: Floral Bouquet Self-Portraits

Before starting the expressive arts segment of our Learning from Nature’s Resilience workshop I distributed the flower quotes below for the participants to discuss within their groups:

“Happiness held is the seed; happiness shared is the flower.” -John Harrigan
Flowers grow back even after they are stepped on, so will I!” – Author Unknown
“Nothing in nature blooms all year. Be patient with yourself!”
“A flower does not think of competing with the flower next to it. It just blooms.” – Zen Shin

Paulina Constancia demonstrates how to make the Floral Bouquet Self-Portraits using fruit stamps
(slices of the following fruit were provided: okra, cucumber, eggplant and balimbing aka starfruit or carambola)

The instruction for the expressive art session was :
Your life is God’s gift to you and what you make of it is like a bouquet of flowers that you give back to God, the earth and humanity.  What kind of blossoms will you bear?
 As you create your floral bouquet portrait focus on your pesonal resilient trait and be ready to share this with the group.

How to Make Your Floral Bouquet Self-Portrait

  1. Use fruit slices provided: (okra, cucumber, eggplant and balimbing aka starfruit, carambola,) and watercolor to make prints on paper of flowers.
  2. Practice with your stamps and layout on scrap paper provided before doing your final layout on the artboard provided
  3. Allow work to dry completely before adding design details with ballpen and pencil crayons. Feel free to do freehand drawing or use some of the stencils available to add details to your work.
  4. Prepare to share your work and personal resilient trait with the group.
Floral Bouquet Self-Portraits in the making
Quick sample floral portrait made by Paulina Constancia
Tools used: carambola (balimbing), cucumber (pepino), bird stencil, water-colour, brush, ballpen

MONA -Museum visit

Our teenage participants gather at the meditation garden at the Justice German Lee Nature Sanctuary

Thank you for joining us for a fun learning adventure at the Sanctuary. We hope you will apply the things you learned here today – Care for the earth, care for each other, care for the future and care to laugh, lots! And believe that you are resilient, you have the capacity to bounce back from the adversities life may throw your direction.

The ME TREE Self Portraits

Today we share with you more detail on the expressive arts session on Saturday which was the making of the Me Tree Self-Portraits.
Click here to learn more about this workshop from previous post

Here you will find the individual creations of our teenage workshop participants from the St Alfonso Maria Fusco Home, Compostela.

The portraits with their corresponding hand carved camote stamps

Awesome camote carving and leaf pattern prints, young men! Thank you for sharing your insights and reflections too. We wish you all the best in your learning and development. Care for the earth, care for each other, care for the future and care to laugh, lots!

LEARNING FROM NATURE’S RESILIENCE 3: TREES

On Saturday, my siblings and I co-taught  part 3 of our Learning from Nature’s Resilience workshop series. This time we took inspiration from the surviving trees and the regrowth of their leaves and worked with a group of teenage scholars from the St Alfonso Maria Fusco Home, Compostela.

My brother Joel Lee, Permaculture and Aprotech Solutions educator, facilitated the warmup laughter yoga and encouraged its regular practice as a way to health and relaxation. 

My sister Eddy Lee, a conservation educator and ecotherapist, led the nature walk, inviting our teen participants to pay attention to the various species of the trees that survived Super-Typhoon Odette and their leaf patterns. They were able to identify most of our fruit trees and surprisingly some of the native trees. When asked why they had some familiarity with the native trees, most of them said that they still had these trees in their mountain villages.

The ME Tree Self-Portrait
(the camote stamps)

We were recently gifted with some camote (sweet potato) and I thought of using this as a medium for the day’s expressive arts session which is the making of The Me Tree Self Portrait.  

I used two medium camote and cut them into thick slices and distributed them among the participants.  They were each provided a dull knife as a simple carving tool to make their leaf stamps.

Paulina Constancia demonstrates how to make the camote stamp and design The ME TREE Self-Portrait

P.Constancia sample ME TREE

The instruction for the activity was :
If you were a tree, what kind would you be, what leaves would you bear and as you createyour portrait focus on your pesonal resilient trait and be ready to share this with the group.

How to Make Your Stamped ME TREE Self Portrait using a camote slice:

  1. Choose leaf design (shape, veins,etc)
  2. Cut the camote slice to shape/margin of your leaf of choice
  3. Using the dull knife provided start carving out the pattern, bearing in mind that the part you remove from the camote is what won’t print or register on your paper.
  4. Practice stamping on scrap paper before doing your prints and composition on the artboard.
  5. Use watercolor or stamp pad for the color and allow to dry before adding design details with ballpen and pencil crayons
  6. Prepare to share your work and personal resilient trait with the group.
Our camote carvers…
Stampin’ away…
Museum visit after the workshop (inside the MONA)
Our teenage participants in front of the museum
Teenage scholars from the St Alfonso Maria Fusco Home at the
Justice Lee Nature Sanctuary. With them are Paulina Constancia, Sr. Vicenta “Inday” Yap, Sr. Salve Narvaja, Eddy Lee and the goldens- Gabby and Sunny

Thank you Sr. Inday, Sr Salve and our teenage workshop participants for the learning adventure that we shared at the sanctuary. Till the next time!

The Floral Assemblage Self Portraits

We are proud to share with you the creations of our recent Learning from Nature’s Resilience 2 workshop. Taking inspiration from the resilience of flowering plants and trees, the teenage participants were invited to create a floral assemblage self-portrait. They were also asked to focus on personal traits that make them resilient. Some of the traits mentioned were STRONG, UNIQUE, CONFIDENT, PRO-ACTIVE, …
(Click on this link to see workshop process and instructions.)

Here is a gallery of the group’s works. Left image is the actual floral assemblage, right image is the water-colour recreation of the assemblage portrait.

We thank the teenage participants for joining us for a fun learning experience at the Nature Sanctuary.

LEARNING FROM NATURE’S RESILIENCE 2: FLOWERS

Yesterday my sister and I co-taught  part 2 of our Learning from Nature’s Resilience workshop series. This time we took inspiration from flowers, and worked with a younger group – teenage survivors of difficult situtations.

My sister Eddy Lee, a conservation educator and ecotherapist, led the nature walk and discussion on nature’s resilience while I facilitated the art session on the making of floral assemblage self portraits.

The group with Eddy Lee, conservation educator and ecotherapist.

I went on an early morning walk at the Sanctuary to gather the variety of flowers to be used for the art session. I was expecting a group of 17, so it was quite a challenge since this is post-typhoon times and there’s not many kinds of flowering plants left. Despite that I am proud to say that i managed to gather more than enough variety for the participants.

Since this was an exercise on resilience, the participants were not allowed to choose from the floral selection and had to make the most out of the flower assigned to them. However,  they were free to choose the other natural add-ons (stones, twigs, leaves, cowrie shells,etc) to complete their assemblage piece.

Creating the Assemblage Portrait

It was fun watching the girls so focused on creating the assemblage then recreating it on another sheet of paper using watercolor as a medium. Later when each of them had the chance to share their process and their reflections, some said they enjoyed making the assemblage better than painting.  Others said the two versions of the portrait were equally fun to create and complete.

Recreating the portraits using water-color

My thoughts on this is that the medium of flowers and other natural elements was a more relaxing medium for the teens, once they drew and painted they started becoming critical of their work (and themselves). Suddenly, i could hear some saying, ‘I’m not good at drawing!’
My reflection on this is that the closer we work with nature and what’s natural, the more we are free and spontaneous, the more we can be our true selves, and without a doubt creativity is at the core of our human nature.

The artists with their assemblage art at the Roundhouse of the Nature Sanctuary
Museum visit after the workshop to see Paulina’s FLORAL CHORUS collection and other works

The teenage participants with the workshop facilitators – Far left expressive arts educator Paulina Constancia and conservation educator and ecotherapist Eddy Lee. Photo also shows a golden retriever named GABBY, the Nature Sanctuary ambassador.

International Mangrove Day Workshop 1

To celebrate International Day for the Conservation of the Mangrove Ecosystem (July 26) The Sanctuary and The MONA held a one-day workshop for a local youth group.

Here are the mangrove birds that inspired this workshop which was facilitated by artist Paulina Constancia. (Photos by perpetual collaborator at The Sanctuary -Mishka Watin)

birds
birds - 2

This slideshow requires JavaScript.

Main activities were: Sound Walk/Birdwatching, Drawing Mangrove birds, Role Play and Group singing of song Paulina wrote on the spot about the birds.

Below is the song:

In Cebuano

Mga Langgam sa Katunggan
to the tune She’ll be coming round the mountain (more or less)

Daghang langgam nga madunggan sa katunggan (2x)
Daghang langgam nga madunggan (2x)
Daghang langgam nga madunggan sa katunggan.

Talabon, Tamsi-pipit, Tikarol
Bangkiyod, Mayang Bungol
Ganciang, Tamsi, Maya
Kasadya gyud sa langgam sa katunggan.

In English
Birds in the Mangrove
to the tune of She’ll be coming round the mountain (more or less)

We hear lots of birds in the mangrove (2x)
We hear lots of birds (2x)
We hear lots of birds in the mangrove (2x)

Egret, Flyeater, Kingfisher
Pied Fantail, Chestnut Munia
Glossy Starling, Sunbird, Tree Sparrow.
Oh how joyful are the birds in the mangrove.

IMG_1759-edited

Creative Remix 6 -Painting with Fabric

Here is the 6th art-ivity at my Creative Remix workshop at the Roundhouse…Painting with Fabric! Yes, you heard that right..not with paint but with fabric and we went with the bird theme.

Here are the materials we used:

  • square paper plate (as canvas)
  • textile combo (2 coordinated prints and 2 plains)
    (precut and pre-mixed & matched; kids choose from an assortment of combos)
  • water dish
  • Mode Podge glue, matte
  • brush
  • pencil
  • bond paper
  • bird books and cliparts for inspiration
  • rags
  • scissors

materials

And here are the steps:

  1. Choose the bird you want to make. Draw it ‘big!’ on the bond paper provided, making sure it fits as centrepiece of square plate.
  2. Hold bond paper (top) and selected fabric (underneath), and then cut.

Tip: For bigger kids,  you could use some dressmaking pins to secure the two layers together for easier cutting.

kids at work 2

kids at work 1

3.  Continue following this method to cut the other elements of your design.

4. Cut to size  and  glue on biggest fabric provided onto the middle of plate using Modge Podge. (Brush glue onto plate)

5. Glue on main body of bird, then continue with other bird features and background embellishments. Note that Modge Podge dries clear so use it under and over your fabric. No worries!

6. When completed, mount on plate/frame stand and delight with pride with your family and friends!

sample on stand

Each unique and colourful. Well done, kids!

Here are the masterpieces of my students. Great work, kids!

Soon after we finished the art plates, we went downstairs to the exhibition hall to prepare for the special showing of the kids’ works. They all helped mount the exhibition and were all excited to show their families and friends all the work they created in the Creative Remix sessions. Check out their art display, up next…

Creative Remix 5-Outdoor Mandala

We come to the 5th art-ivity in my Creative Remix workshop at Roundhouse Centre…Outdoor Mandala.

Originally, we were going to try making one at the park or near a beach but in the end we just did one right outside the Roundhouse.

Here are some of the components of our mandala:

  • hangers
  • mini toy components
  • cut cardboard shapes (rounds and strips)
  • big multicoloured blanket yarns
  • pompoms (we had an abundant supply from a previous  pompom workshop at Roundhouse)
  • giant coloured plastic buttons
  • chenille (craft pipe cleaners)
  • golf tees

-basically all things colourful and wonderful (in great numbers) are a welcome addition
materials

Steps

  1. Determine the size of mandala you are making. It is best you mark the pavement with a chalk to guide the kids.
  2. Group kids and assign component to add onto mandala. Designate which part of circle they are filling.

1-the making.jpg

3. Stop and assess. Do you need more components? Are the kids expanding the circle too much? Is it even still looking like a circle, hahahah. (FYI-This was just a spontaneous design and free flow mandala.)

4. Take group photo and enjoy the group’s outdoor masterpiece.

3-group pic
(Sorry to blur their little faces but I don’t have photo/social media consent from their parents so that’s why you only see my face)

2-detail.jpg

5. Then of course, everybody helps in tidying up after.

Bear in mind again, these are kids ages 5 to 10 working on an outdoor mandala for the first time. I think they did an amazing job. Bravo, kids!


Creative Remix 3 -Spin Art

We continue with the art-ivities at the Creative Remix workshop that I facilitated at the Roundhouse Centre. Today I bring you SPIN ART!

Turn things you already have at home into fun spin art machines! Try what we used in class — a mini toy gear and a salad spinner…

A- Spin Art using a Mini Toy Gear

Untitled 13

I was looking for something I could use to make spin art. I found this toy gear at a Thrift Store. Here goes…

  1. Using masking tape, secure the mini round paper to the platform of mini machine
  2. Press/use different coloured markers onto the paper while the machine is spinning
  3. Keep adding colors until you are satisfied with the results.

Here are some of my students’ works:

spin art

Then we turned them into key rings, by using self-adhesive laminating sheets, strings and rings… check out their final creations

This slideshow requires JavaScript.

B- Spin Art using a Salad Spinner

41ys4xHgBmL
Here is another fun and simple tool to use to create beautiful spin art…the salad spinner.

  1. Using masking tape, secure the paper onto the basket of the salad spinner 
  2. Apply paint (acrylic or tempera) by hand, brush or by squirting it onto the paper, cover and then spin away!!!
  3. Open spinner, check results, keep adding paint and spin until you get desired results.

stepsOptional: Spritz a bit of water if you want the paint to flow more (as long as paper quality allows it).

Here are some of my students’ fabulous salad spinner creations:

Here is an option as a post-spinning activity… “Figure it out!” Get the students to look at their spin art and find the figure or hidden image in their work and highlight it with a black sharpie. This is a great activity for expressive arts therapy.

before-after-expressive arts

Here is my spin art figure: “Dreaming of Flight”

Creative Remix 2-Flying Superheroes

Here is the second activity we did in Creative Remix at the Roundhouse Centre… The Flying Superheroes.

To create your superhero follow these steps:

  1. Create your superhero identity and origin story

your superhero name

Here is a fun guide to making your own superhero name that I found on-line.

superhero identity

Here is a sample of a template for writing a Superhero Identity and Origin Story. There are many on-line, here is one that simpler ones I found.

2. Colour and cut template.
Template inspired by the Free Flying Superhero Father’s Day Craft  on 
kidscraftroom

template flying hero 2

Notice there are two options for the cape.


origami-paper-double-sided-color-assorted-150-mm-44-sheets

Check out the beautiful color combinations of double-sided origami paper.

3. Glue front and back pieces together, leaving enough room in the middle to fit straw hero launcher. Then adhere cape over the shoulders.

IMG_5356IMG_5357

4. Insert straw. Allow to dry. And launch your Superhero!

Lava Boy

Here is a sample made by my son – he calls this “Lava Boy”

Lava Boy-in lfight

Ready, set, fly, my hero! *use whatever straw you have- paper, stainless steel or bamboo, perhaps.

IMG_5549

Super Rainbow

IMG_5550

Blue-blue Lemon

I think the double-sided Origami cape really makes the costume more interesting. And you know how kids are – they love colors.  It’s like choosing crayons or frozen yogurt toppings just in paper form, hahaha

Creative Remix 1-Magnetic Puppetry

Hello friends of the MoNA and lovers of naïve art! I bring to you a series of kids art that were created at the CREATIVE REMIX summer workshop that I facilitated at the Roundhouse Arts and Recreation Centre in Vancouver. The kids were ages 5 to 10.

I bring you 6 art-ivities from the workshop:

  • Magnetic Puppetry
  • Flying Superheroes
  • Spin Art
  • Monoprinting
  • Outdoor Mandala
  • Painting with Fabric


We begin with MAGNETIC PUPPETRY:

  1. Two or more animals that would not normally meet, are stranded on a tropical beach…what will they talk about?
  2. Colour, cut and attach magnet to your paper animal puppet
  3. Create a dialogue between the animals
  4. Present dialogue to class and animate your magnetic puppets on the mini stage provided.

IMG_5530

You can see the magnet attached to the back…

IMG_5536

A bear and an octopus ..hmmm u have to wonder what they might talk about?

The kids each held a magnet to control their paper puppets.

IMG_5539

How about a kangaroo and a dolphin — “G’Day Mate!”

IMG_5540

How about an elephant, a pelican and a moose? What could they possibly talk about?

IMG_5543

Here’s a giraffe and a turtle, crossing paths on a sandy beach.

Magnets are tricky to use. However with some practice, the children enjoyed controlling the animal-puppets behind the backdrop and performing before the class.

Dino Sock Puppet Workshop

What’s a T-Rex’s favourite number? Eight (ate!) And yes, that’s the same number my son is at. For his 8th birthday he asked for a Dinosaur-themed party.  He decided on a crafts and cupcakes party in his school.  So today I will share with you the Dino sock puppets that he and his friends created during the workshop that I facilitated for his class.

Here are the steps in pictures:

This slideshow requires JavaScript.

The socks were pre-sewn and most of the embellishments had sticky backs. Other embellishments had to be adhered (like spikes, pompoms, etc) using a hot glue gun. The kids would come to us and the teacher and I were the only ones allowed to handle the hot glue gun. So we did that part for them while they waited.

Craft Supplies Buffet

Here is the craft supplies buffet table. Each of the kids got a tray and then they picked socks and embellishment for their Dino puppet.

Here are the puppets my son and his classmates handcrafted during his birthday crafting workshop:

Click on image to enlarge.

It was so much fun for all of us… and to add to the birthday fun here are some dinosaur jokes. Here’s to some ROARing laughter for you folks!

Q: Can you name 10 dinosaurs in 10 seconds?
A: Yes, 8 Iguanadons and 2 Stegasaurus.

Q: What do you call a dinosaur that never gives up?
A: Try and try and try and try-ceratops

Q: Why can’t you hear a pterodactyl using the bathroom?
A: Because the ‘p’ is silent

Q: What do you call it when a dinosaur gets in a car accident?
A: Tyrannasaurus wreck!

Q: What do you call a dinosaur with an extensive vocabulary?
A: a thesaurus.

DINO JOKES Source: www.jokes4us.com

Virtue Journal and Hand Lettering Workshop

We are happy to share with you some photos and details of the latest sustainable expressive arts workshop at the MoNA, facilitated by Edna Lee of the Psychology Volunteers on Bikes.

Virtue Journal Making and Hand Lettering were the focus of the recent workshop. Below are the materials used.

Tools Needed:

  • Two-hole Punch
  • 12 different beautiful printed papers such as origami and printed card stock;  recycled magazine pages and wrapping paper would also be nice (to use as month dividers)
  • 1 sheet plain or corrugated craft foam (to use as journal cover)
  • Different coloured markers


This slideshow requires JavaScript.

STEPS:

1. Choose a colored craft foam cover (letter-size/short size)

2. Choose 12 different beautiful printed paper (like origami paper)  to use as dividers for the 12 months

3. Get 26 sheets of letter-size (short) bond paper/printer paper and cut in half horizontally

4. Fold foam cover horizontally and put 4 sheets of  the cut bond paper for each month and put one sheet of printed paper (48 sheets total)

5. Punch, fasten and cut edges sticking out

6. The first four pages are for hand lettering practice.
(At the workshop, the alphabet was written in script on the board and samples of different types of hand lettering  were providedo for every table- —letters embellished with curls, shading, dots, strips, spaces)

8. Write your name on the  inside of the front cover using a combination of hand lettering styles.

9. Write the name of the month on each of the printed paper dividers.

10. Choose one virtue/value you want to reflect on for each month. Use hand lettering to write it on each divider.
(At the workshop, the participants were asked to suggest the virtues they would like to work on. They made a list on the board, and they chose 12, one for each month).
Examples of VIRTUES:  Respect, Generosity, Industry, Joy, Helpfulness, Love, Care, Simplicity, Fairness, Happiness, Obedience, Sincerity


This slideshow requires JavaScript.

Here are some of the skills developed through the workshop: 

1. DIY – Constructing things helped develop confidence
2. Hand Lettering– Opportunity to improve one’s handwriting and be creative
3. 12 Virtues in Focus– An Invitation to challenge oneself to improve throughout the year

With their newly handcrafted VIRTUE JOURNAL, the participants are tasked to:
Reflect on the following every week:

  • How did I manifest the virtue this week?
  • What can i do to learn this virtue?
  •  List your behavior or manifestation of the virtue in focus

12

Handcrafted VIRTUE JOURNALS created at the MoNA Workshop

13

The participants proudly holding their handcrafted VIRTUE JOURNALS

We hope that this workshop will inspire you to make your own VIRTUE JOURNAL and aspire to better yourself this new year 2018.

Here is a set of virtues of the great Benjamin Franklin.

franklins-13-virtues

Image from the envole.net blog

Repurposed Tarps

Happy New Year to all of you from your friends at the Museum of Naïve Art [MoNA] in Cebu.

Recently, the MoNA, in cooperation with the Psychology Volunteers on Bikes (Psych Vols), organized a workshop for women and children in difficult situations. It was a simple activity with a very important message – what society might perceive as trash can still be repurposed and revitalized.

The project:  Turning old tarpaulin banners into useful book bags and day packs (workshop concept and facilitation by Edna Lee of Psych Vols)

collage 1- at work

Three simple steps: 1)cut the tarp, 2)sew with running or blanket stitch, 3) attach strap

collage 2- finished products

Pretty good for first attempt at reused/repurposed tarp bags

collage 3- duo

Check out their handmade DAY PACKS

collage 3- group

Proudly handmade –book bags, day packs, grocery bags!

A Beary Fun Workshop

It is with great pleasure that we share with you our most recent workshop “Beary Fun”, which took place last Saturday, Nov 25th.  The project concept and materials were prepared by  Zed Lee of the Psychology Volunteers on Bikes (Psych Vols)  while the actual workshop was facilitated by Edna Lee also of Psych Vols, and another regular MoNA volunteer Wae Seon Yun.

The workshop participants were women and children in difficult situations.

A pattern, some old jeans material and a set of instructions were provided by Zed Lee. Here are the steps:

First Step: Trace pattern on the underside of fabric.

Second Step: Sew along tracing – using running or back stitch to create the Teddy bear shape inside out.  Leave about 3 inches open/unstitched to give you room to insert filling/stuffing (preferably on the side of belly or top of the bear’s head)

Third Step: Give about 1/2 inch allowance and cut around the tracing/stitching

Fourth Step: Now bring the pattern side to the outside by pulling it through the 3 inch opening.

Fifth Step: Stuff your bear and stitch up the opening (slip stitch)

Sixth Step: Embellish/dress -up your Teddy Bear with buttons, patterned fabric and laces. You may also add extra details using a sharpie or acrylic paint.

Final Step: Hug your Teddy Bear and share its story with the group.

This slideshow requires JavaScript.

Here are the girls with their Teddy Bears…

This slideshow requires JavaScript.

Fun groupings of the Teddies…

This slideshow requires JavaScript.

IMG_2463

Everybody gets the chance to share their stories…

IMG_2462

You can tell from our volunteer Wae Seon’s face how much she enjoyed the BEARY FUN workshop..

IMG_2443

Here’s a group photo of the Teddies…

IMG_2457

Here’s a group photo of the Teddies and their creators. Photo also shows facilitators Edna Lee and Wae Seon Yun

Special thanks to Zed Lee, Wae Seon Yun and Edna Lee, the Psychology Volunteers on Bikes, West Gorordo Hotel and My Refuge House.

“You really don’t have to be young to find a friend in a teddy bear.”
-Rachel Newman

“There’s just something about a Teddy Bear that’s impossible to explain. When you hold one in your arms, you get a feeling of love, comfort and security. It’s almost supernatural.”
-James Ownby

“Teddy bears don’t need hearts as they are already stuffed with love.”
-Unknown

Quotes from I Love Teddies


Leafy Butterflies, Cheesy Pizzas

MoNA continues with its community outreach in partnership with the Psychology Volunteers on Bikes   (Psych Vols). This past weekend at the Katunggan Permaculture Adventure Farm (KPAF) in Carcar, Cebu- MoNA and Psych Vols conducted “Leafy Butterflies, Cheesy Pizzas”, an expressive arts workshop with a group of women and children in difficult situations.

Sample project provided by Paulina Constancia using leaves.

0-leaves1-materials

Below is a slideshow of this nature printing project “The Leafy Butterfly”:

This slideshow requires JavaScript.

Here are photos of the girls working on their leaf prints:

Screen Shot 2017-10-29 at 12.34.25 PM

7bgroup-blurred

Psychology Volunteer Edna Lee facilitating nature printing workshop

Here are some of the leafy butterflies that the girls created:

14-group with finished art-blurred

A group photo of the girls with their leafy butterfly art

One more project for the group—-pizza making!!!

15-group-pizza making-blurred

Cheesy- Tomatoey pizzas by design!!!

A big thank you to the Psych Vols, KPAF, My Refuge House and of course to the girls— for their eager and joyful participation in this weekend workshop.


Gimbap Fun

A couple of weeks ago, the MoNA, in cooperation with the Psychology Volunteers on Bikes, West Gorordo Hotel and  My Refuge House, facilitated an intercultural workshop for a group of  young girls in difficult situations.  The workshop was facilitated by Wae Seon Yun, a Korean Language and Culture Mentor from Busan, South Korea.

Here are some photos from the workshop. As you can see everybody had a lovely time expressing themselves by means of the Korean language and cuisine.

1- Learning Korean

Learning to speak Korean…

2-Korean food

Here is Wae Seon teaching the girls how to prepare GIMBAP/ KIMBAP

3-korean food assembly

The girls were so happy to learn to prepare GIMBAP/Kimbap with a little help from Korean facilitator Wae Seon

4-korean food

Assemble, roll, cut and eat…

감사합니다. Kamsahamnida.
Thank you.
Daghang Salamat, Wae Seon!!!

Post-GSK Rangoli Workshop with MRH

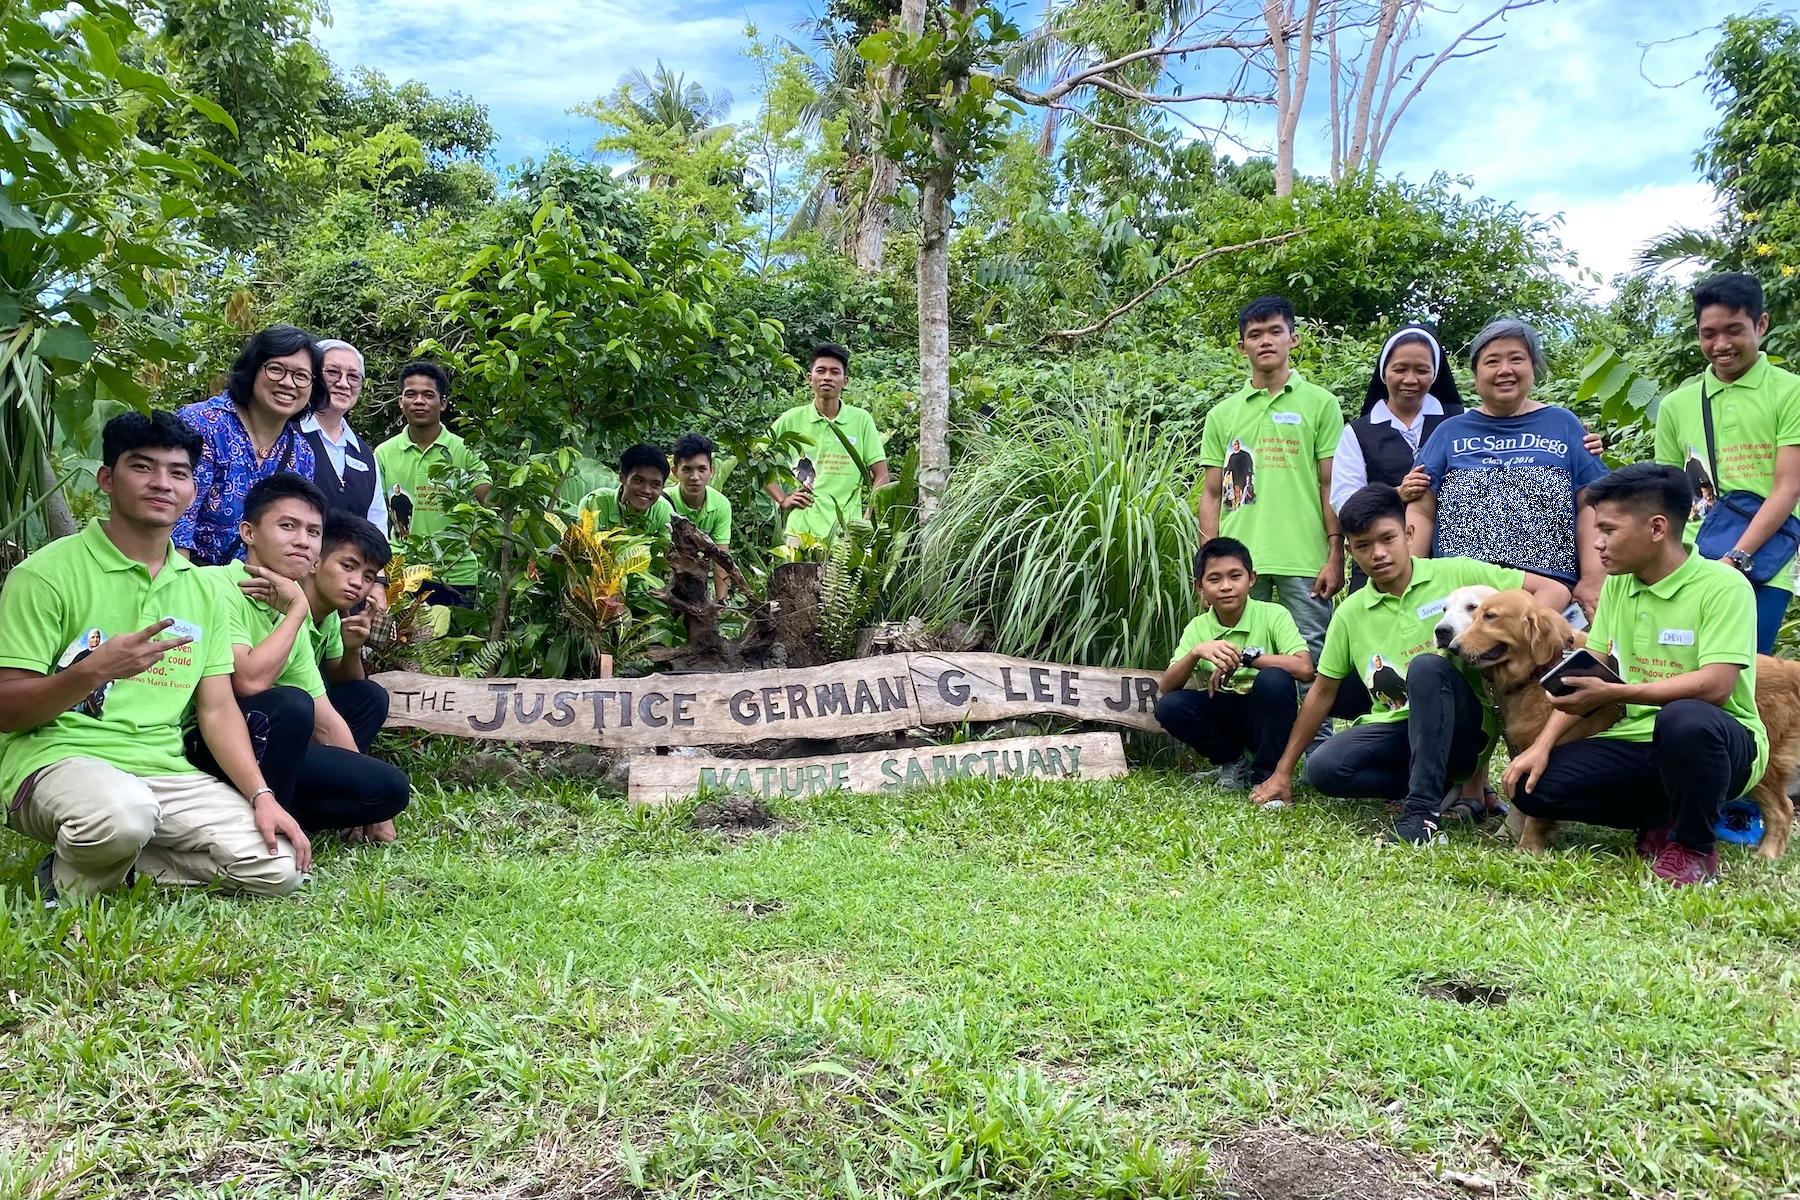
On Saturday, May 27th, the day after Gabii sa Kabilin, MoNA’s visiting Indian artist conducted a special rangoli workshop for a group of young participants from My Refuge House.

0-See Rangoli display

The girls checking out the fabulous display of rangoli from the pre-GSK community workshop facilitated by Yasha Dabas

1

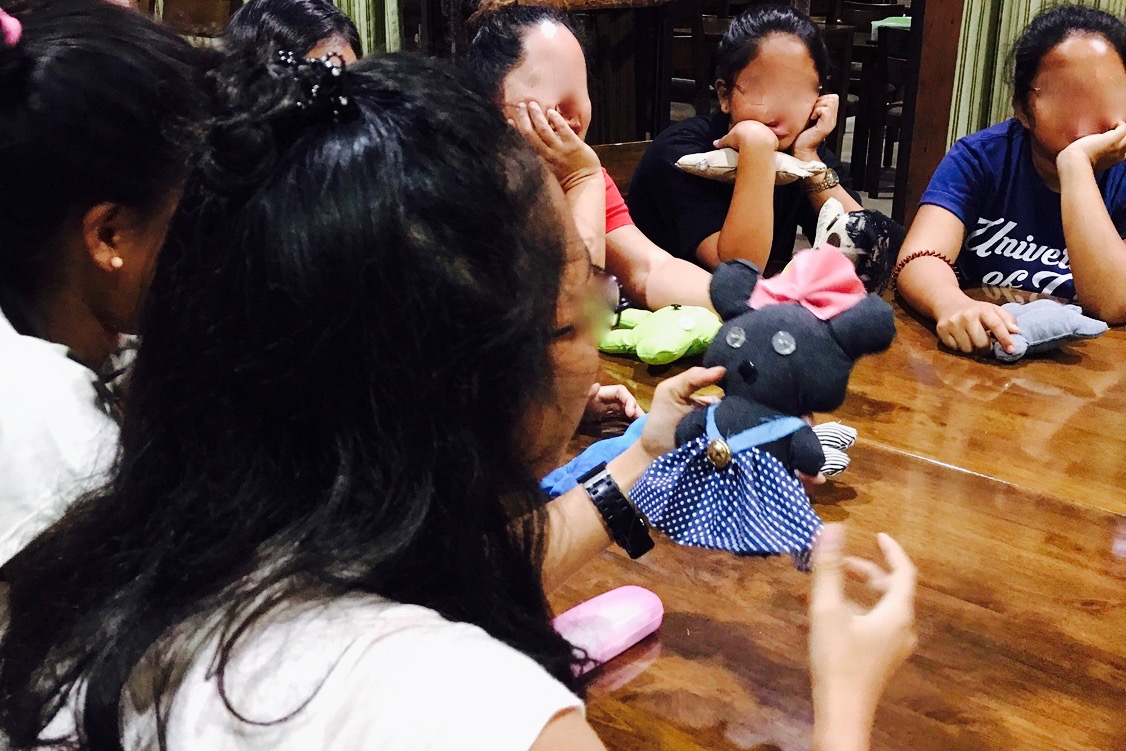
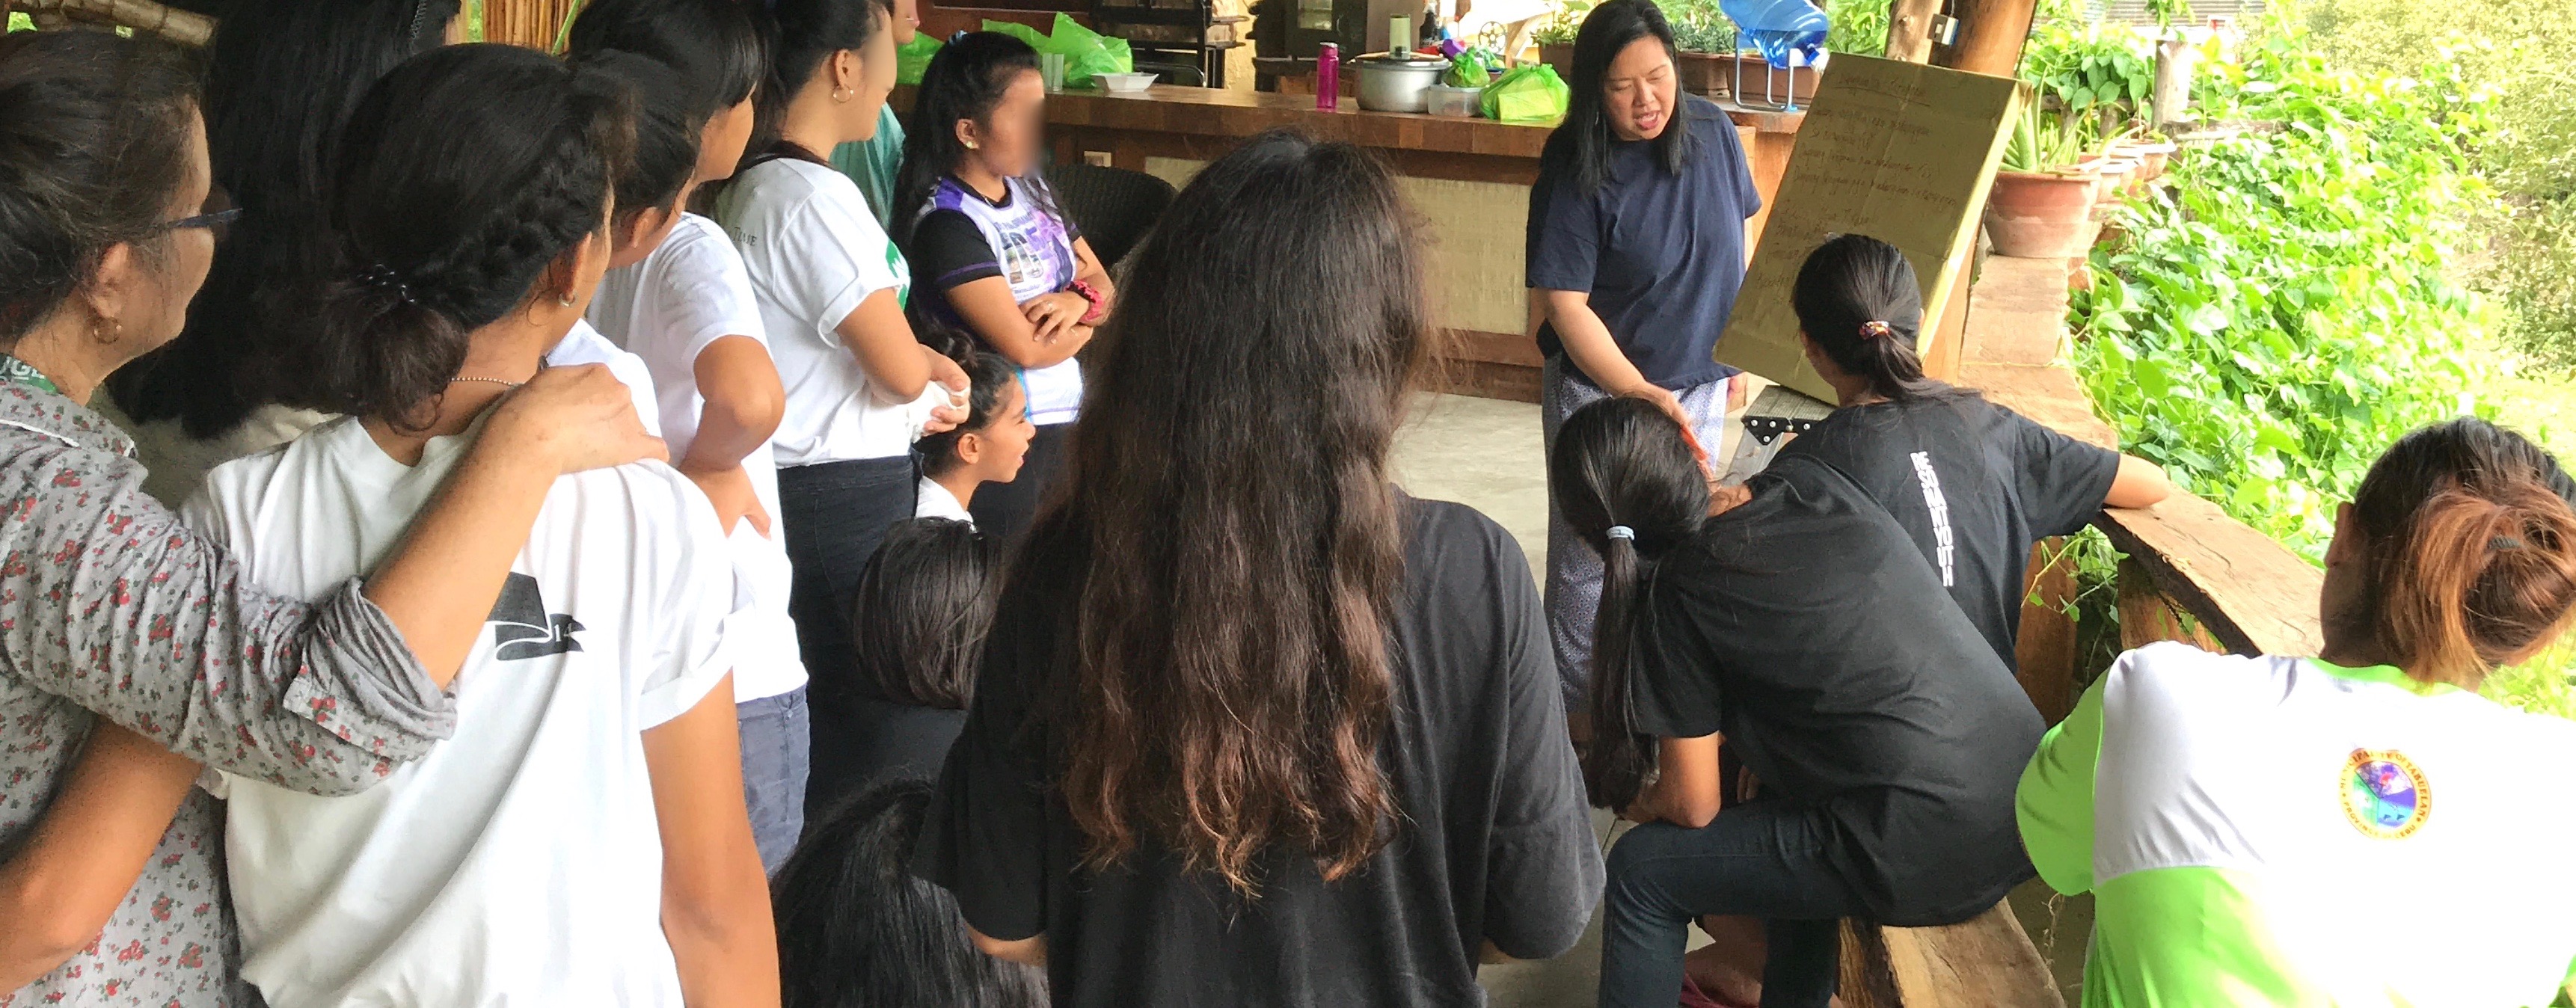
Yasha talking about the rangoli tradition and giving instructions for the afternoon’s collaborative art making

2-The Making with Ms Yasha

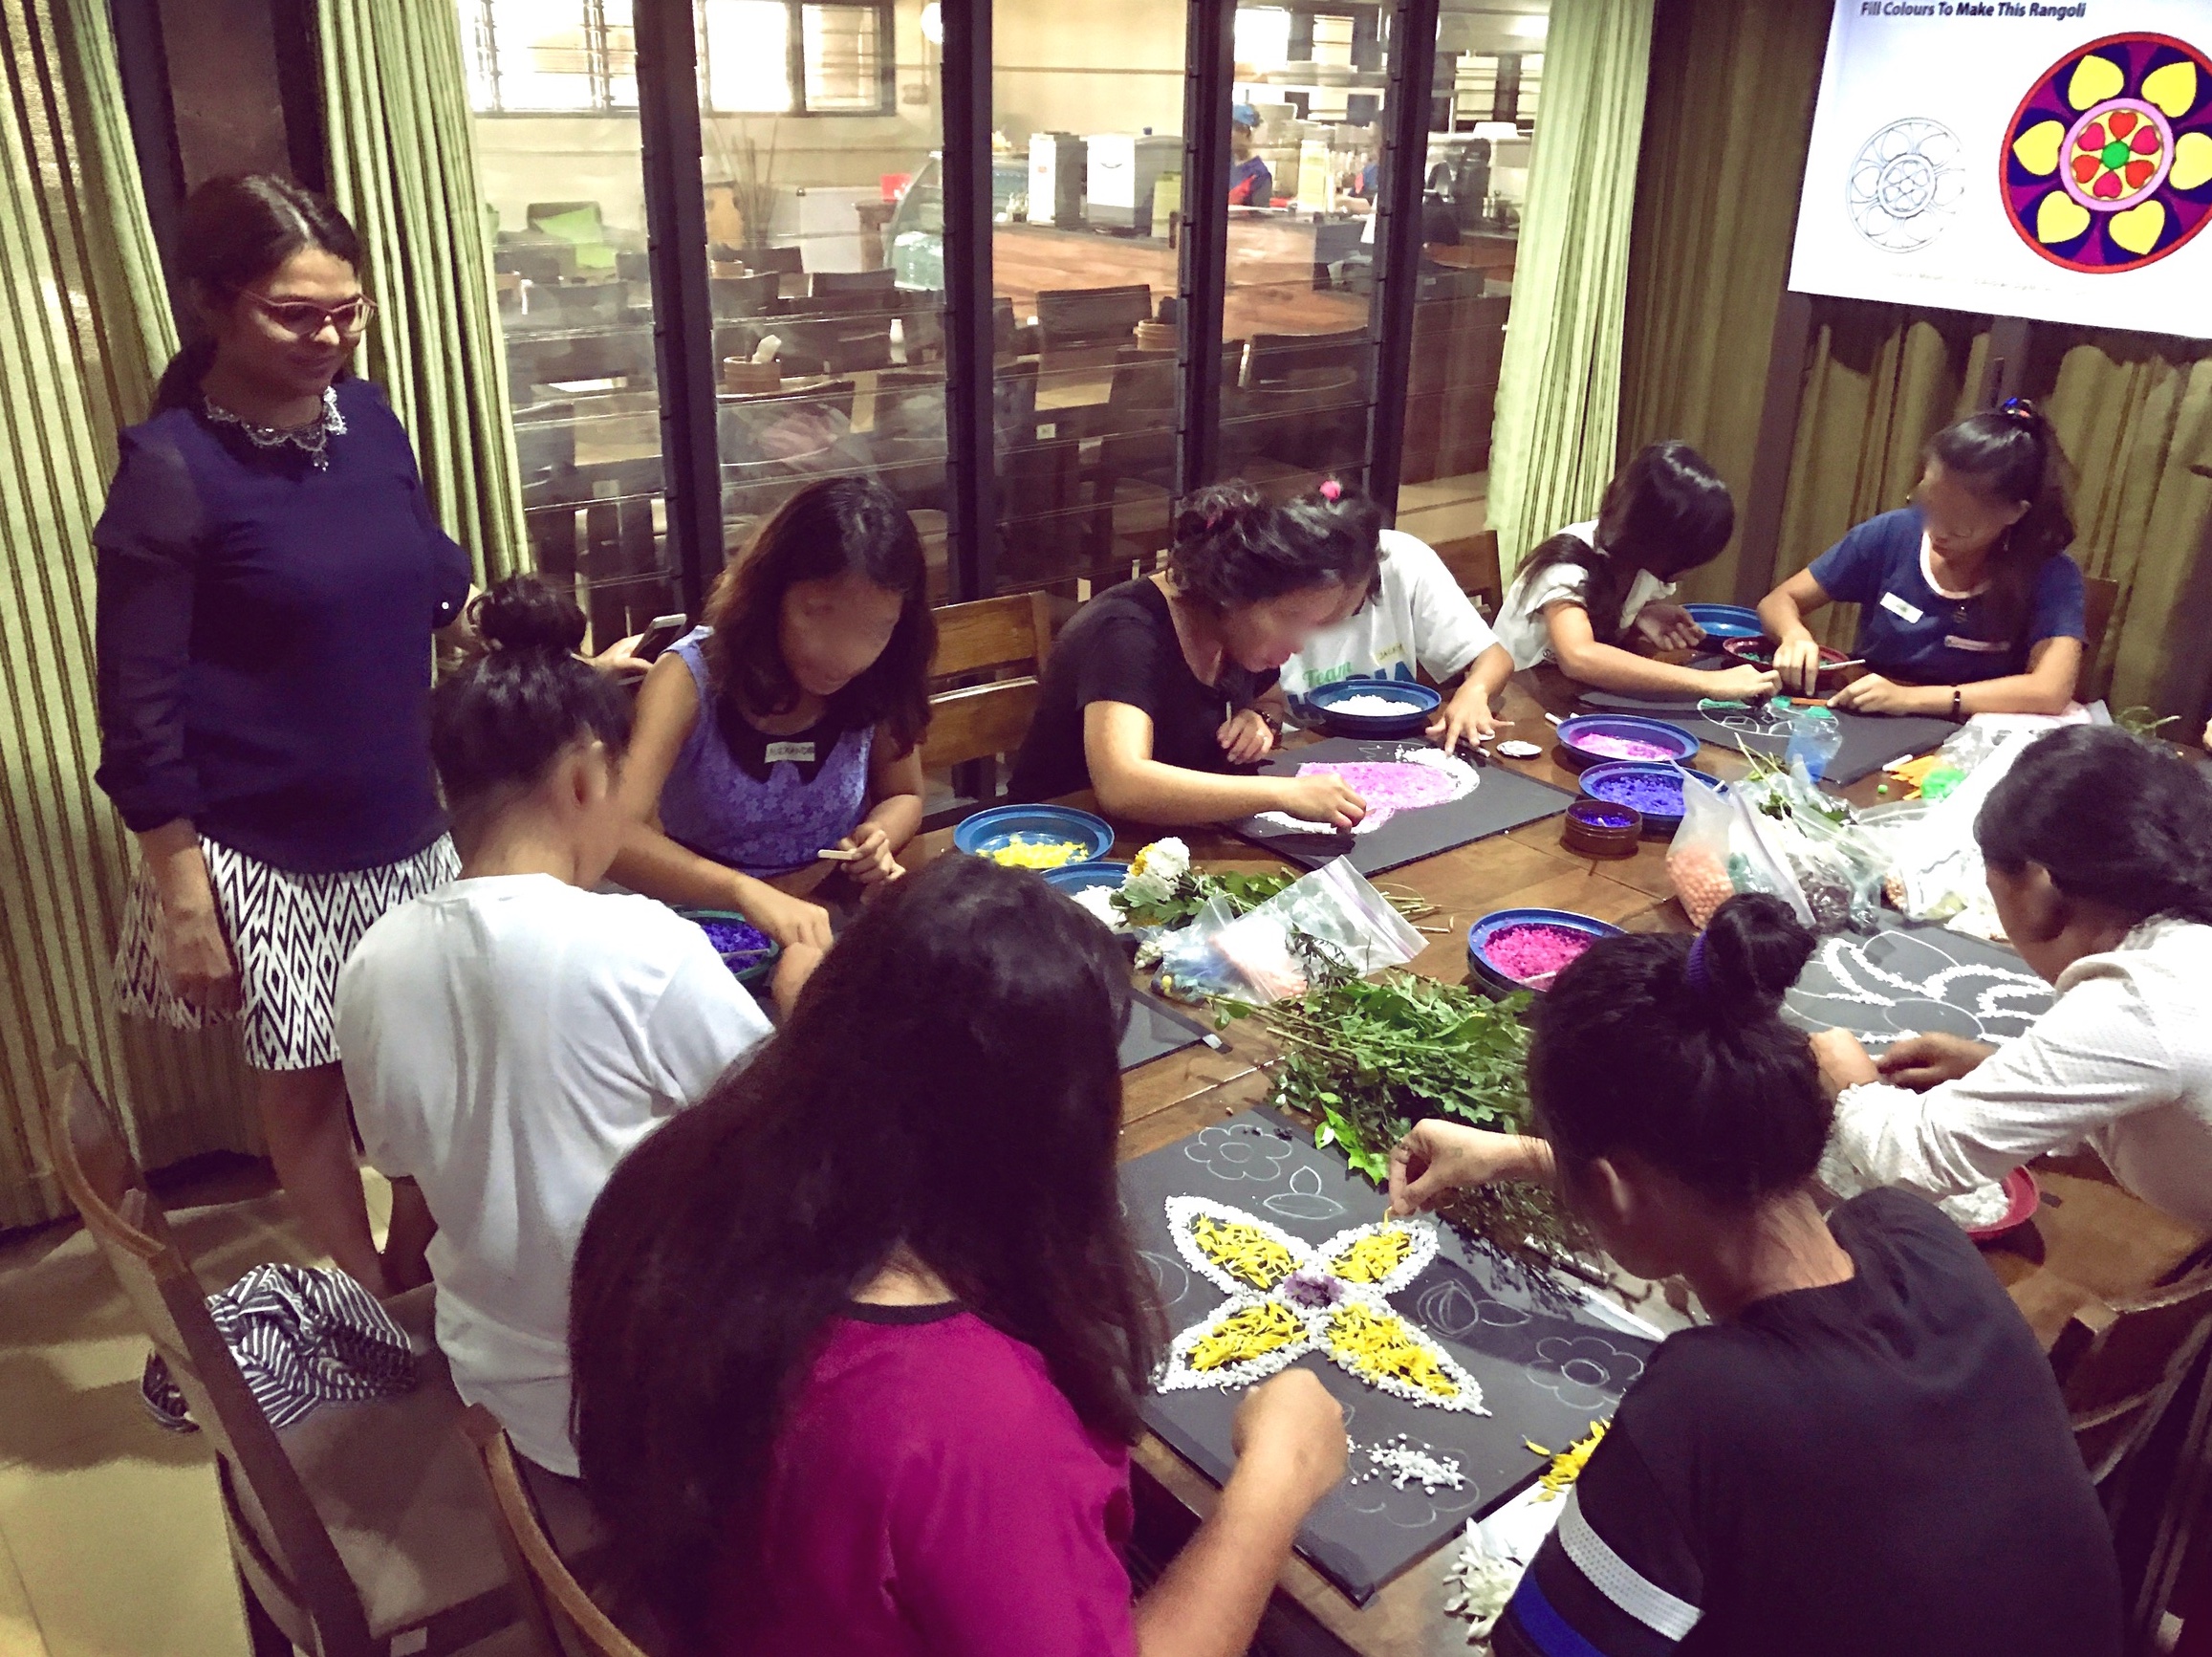
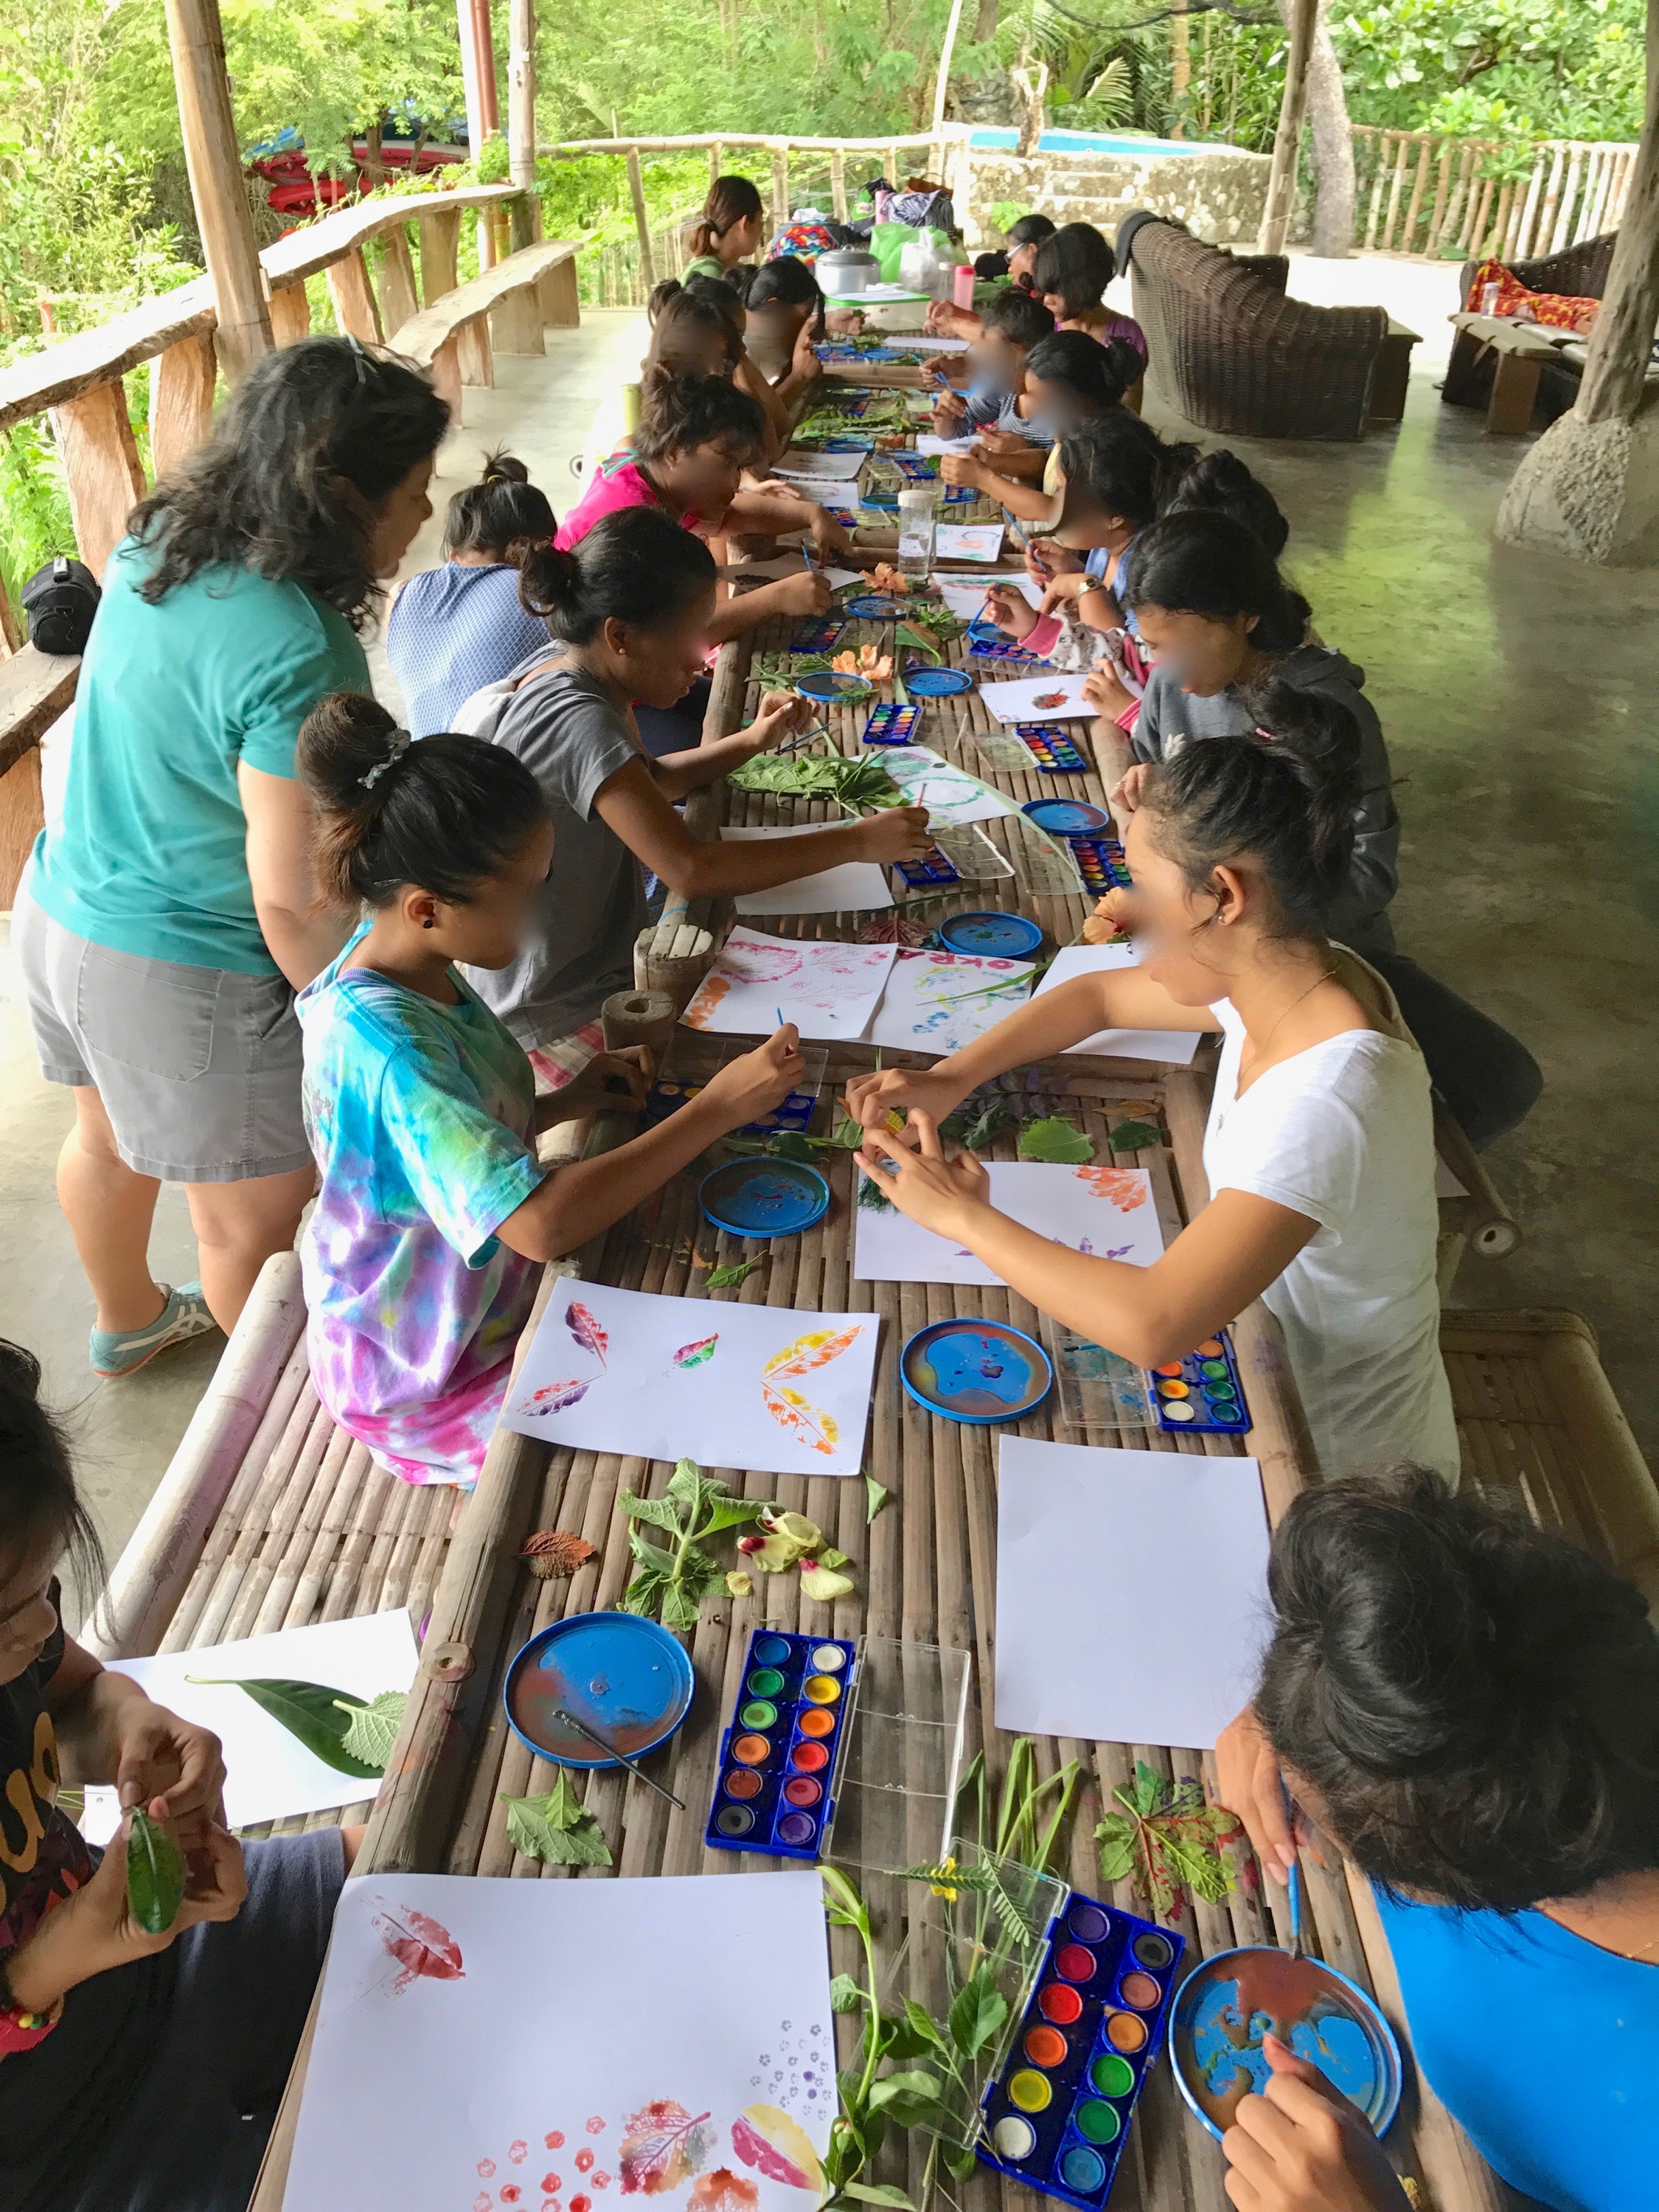
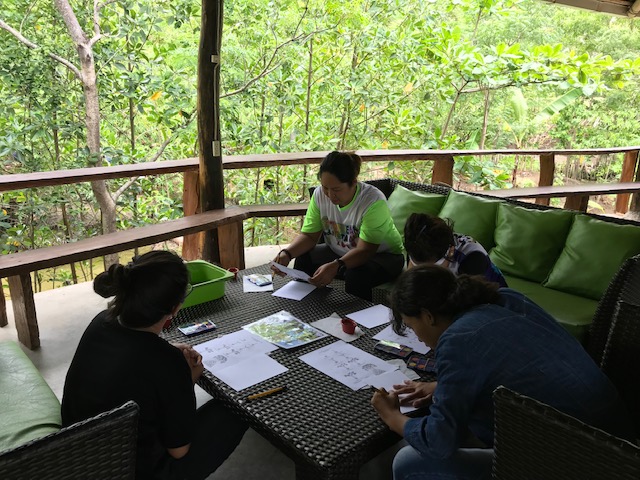
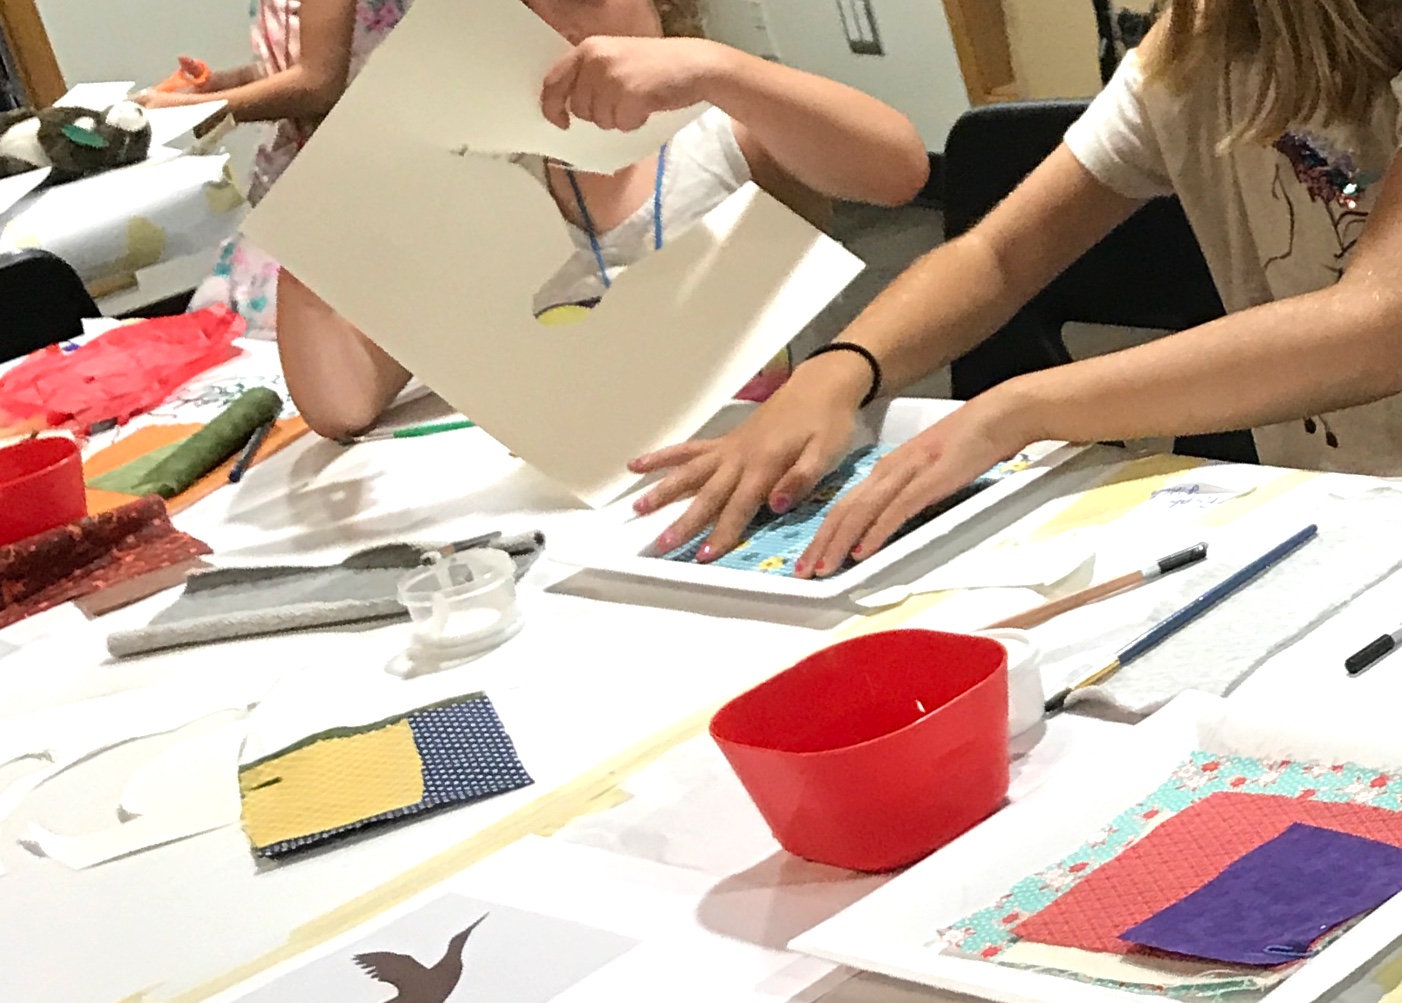
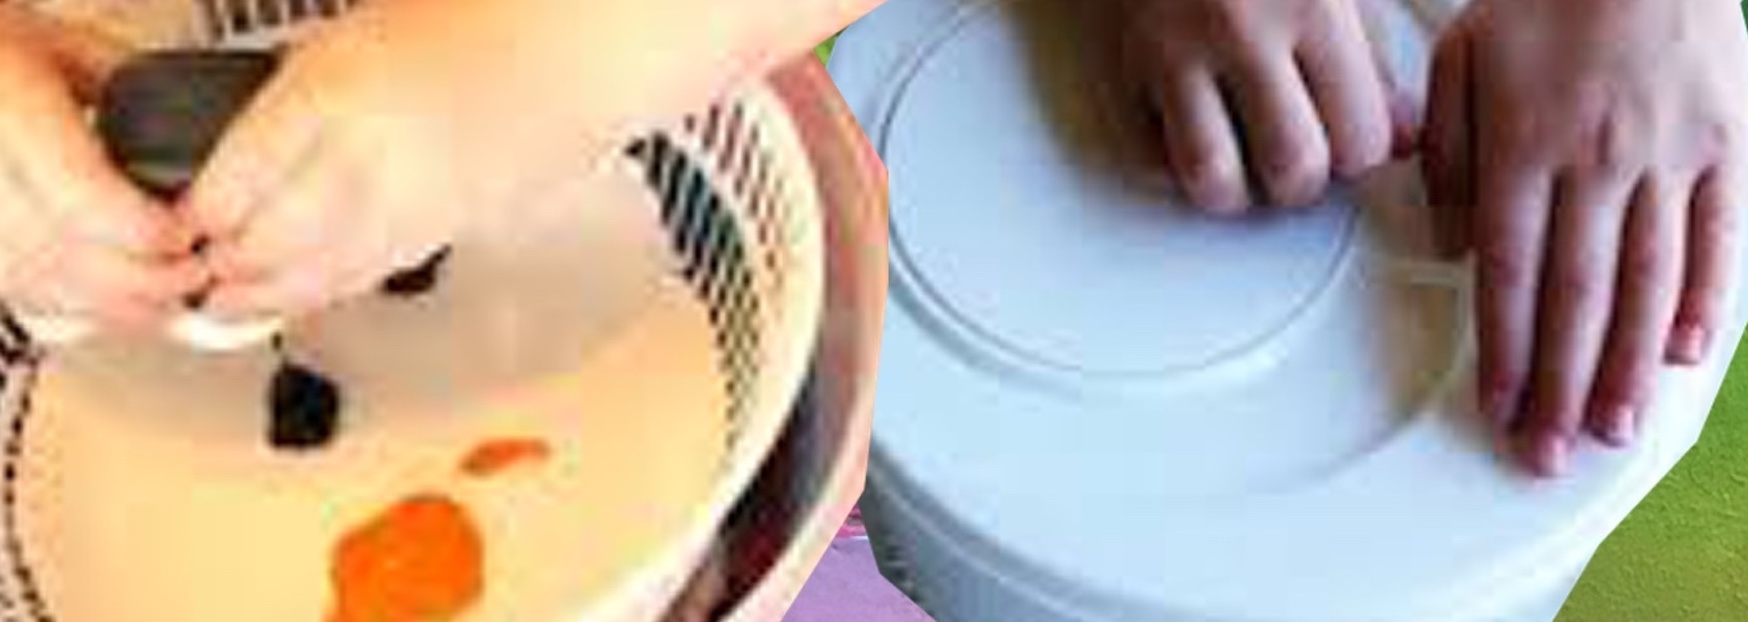
The girls busy with their intricate rangoli designs

There were 7 rangolis created plus an extra one made by Paulina’s son who asked to join the workshop. Below are photos showing the process of creating the individual rangoli:

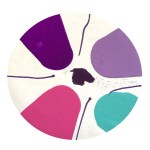
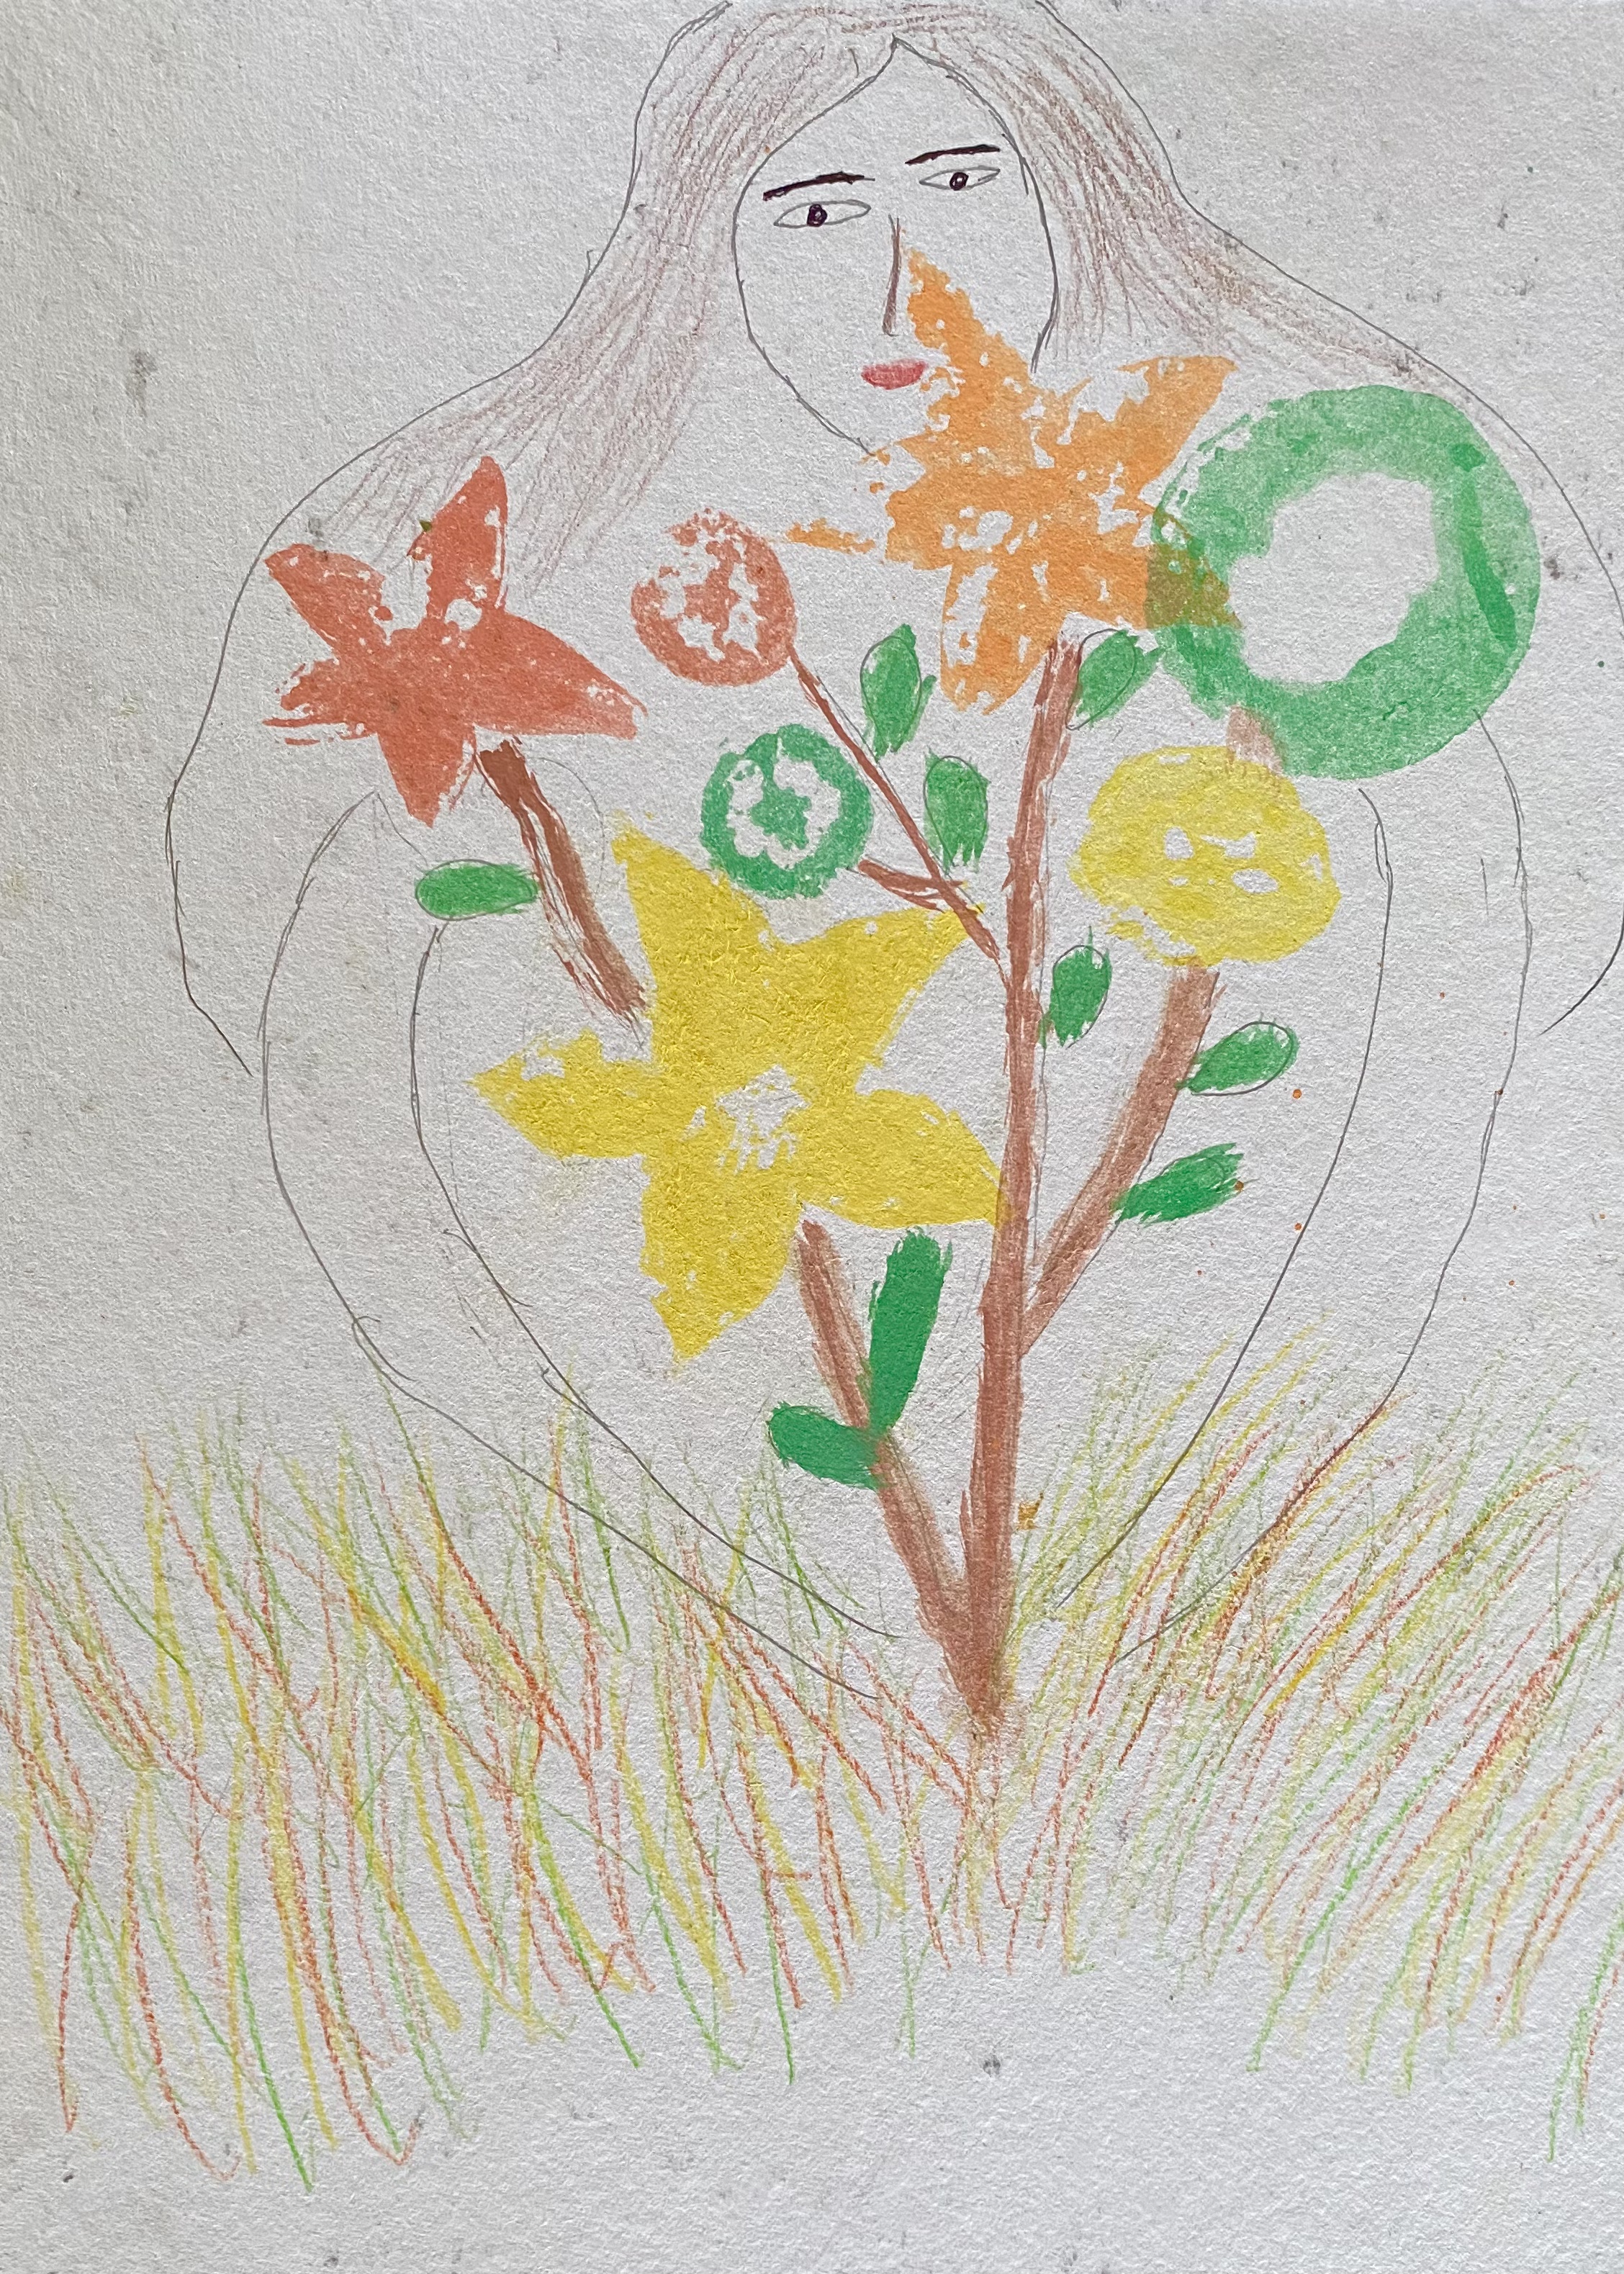
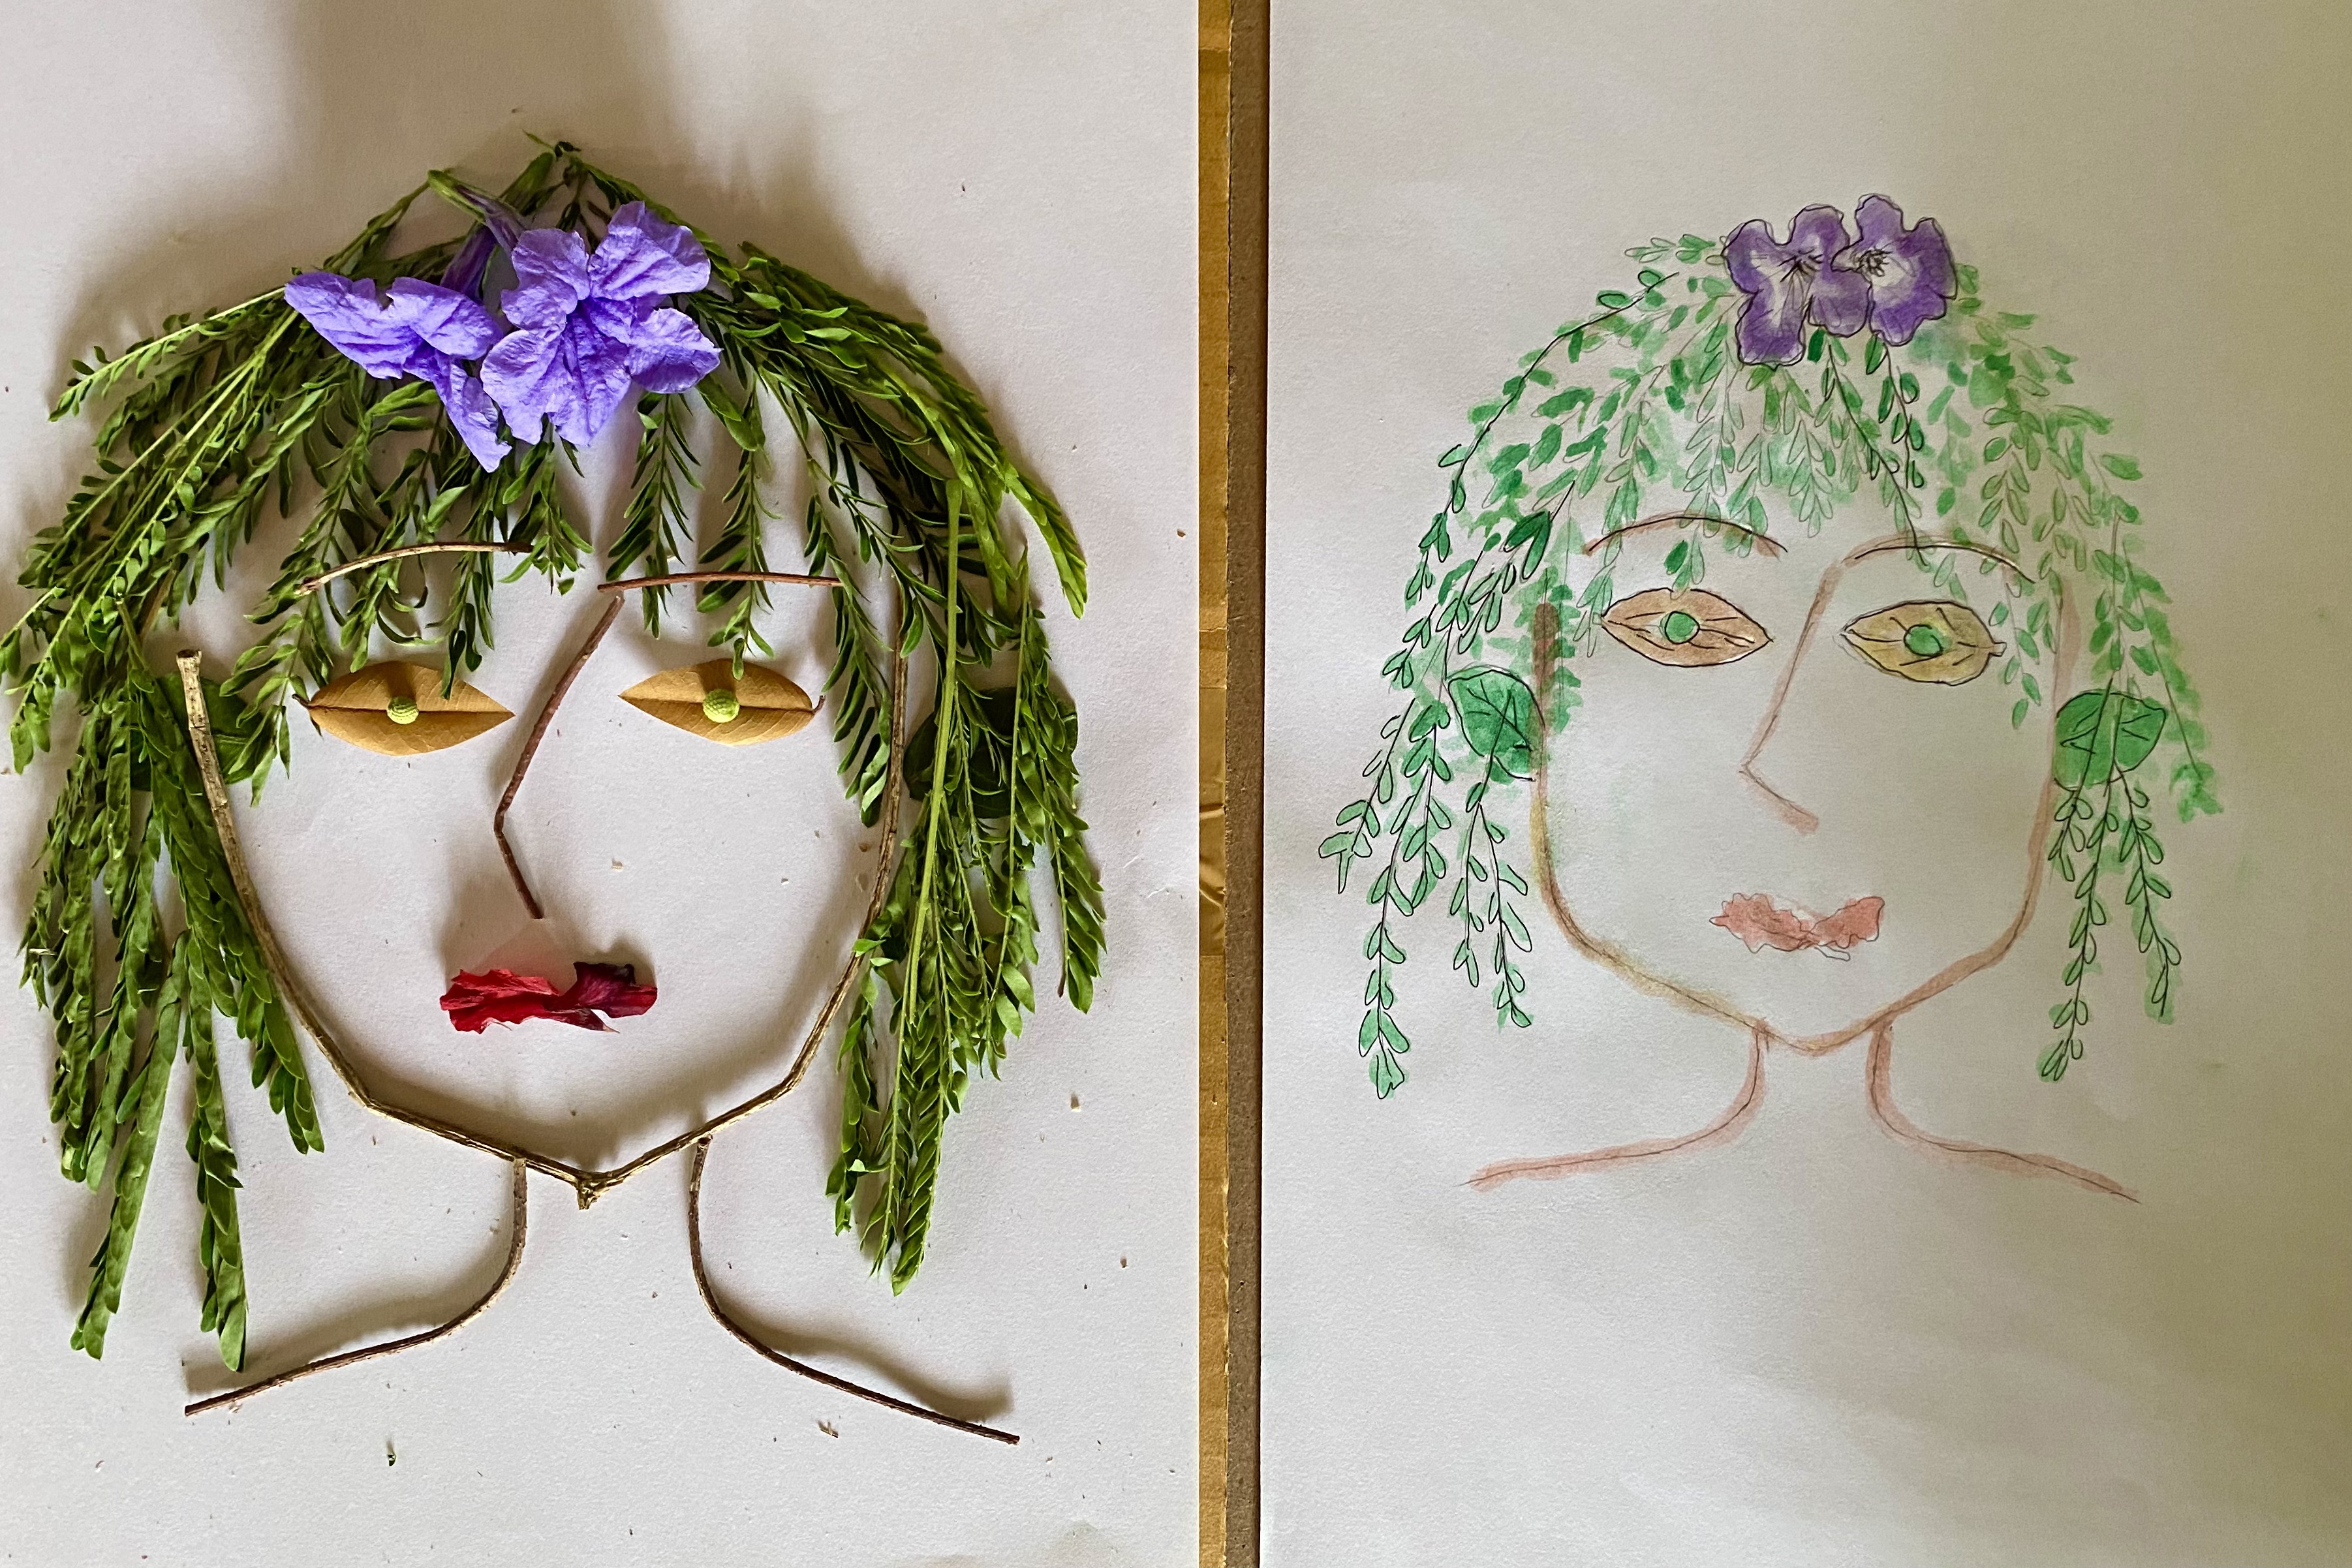
Rangoli # 1- “The Love of Nature”
Materials: beads, stones, flowers, leaves
Created by: Mandy and Loren

This slideshow requires JavaScript.

Rangoli  # 2 – “Art of Peace”
Materials: shells, flowers, beads and pebbles
Created by: Stephanie and Alexandra

This slideshow requires JavaScript.

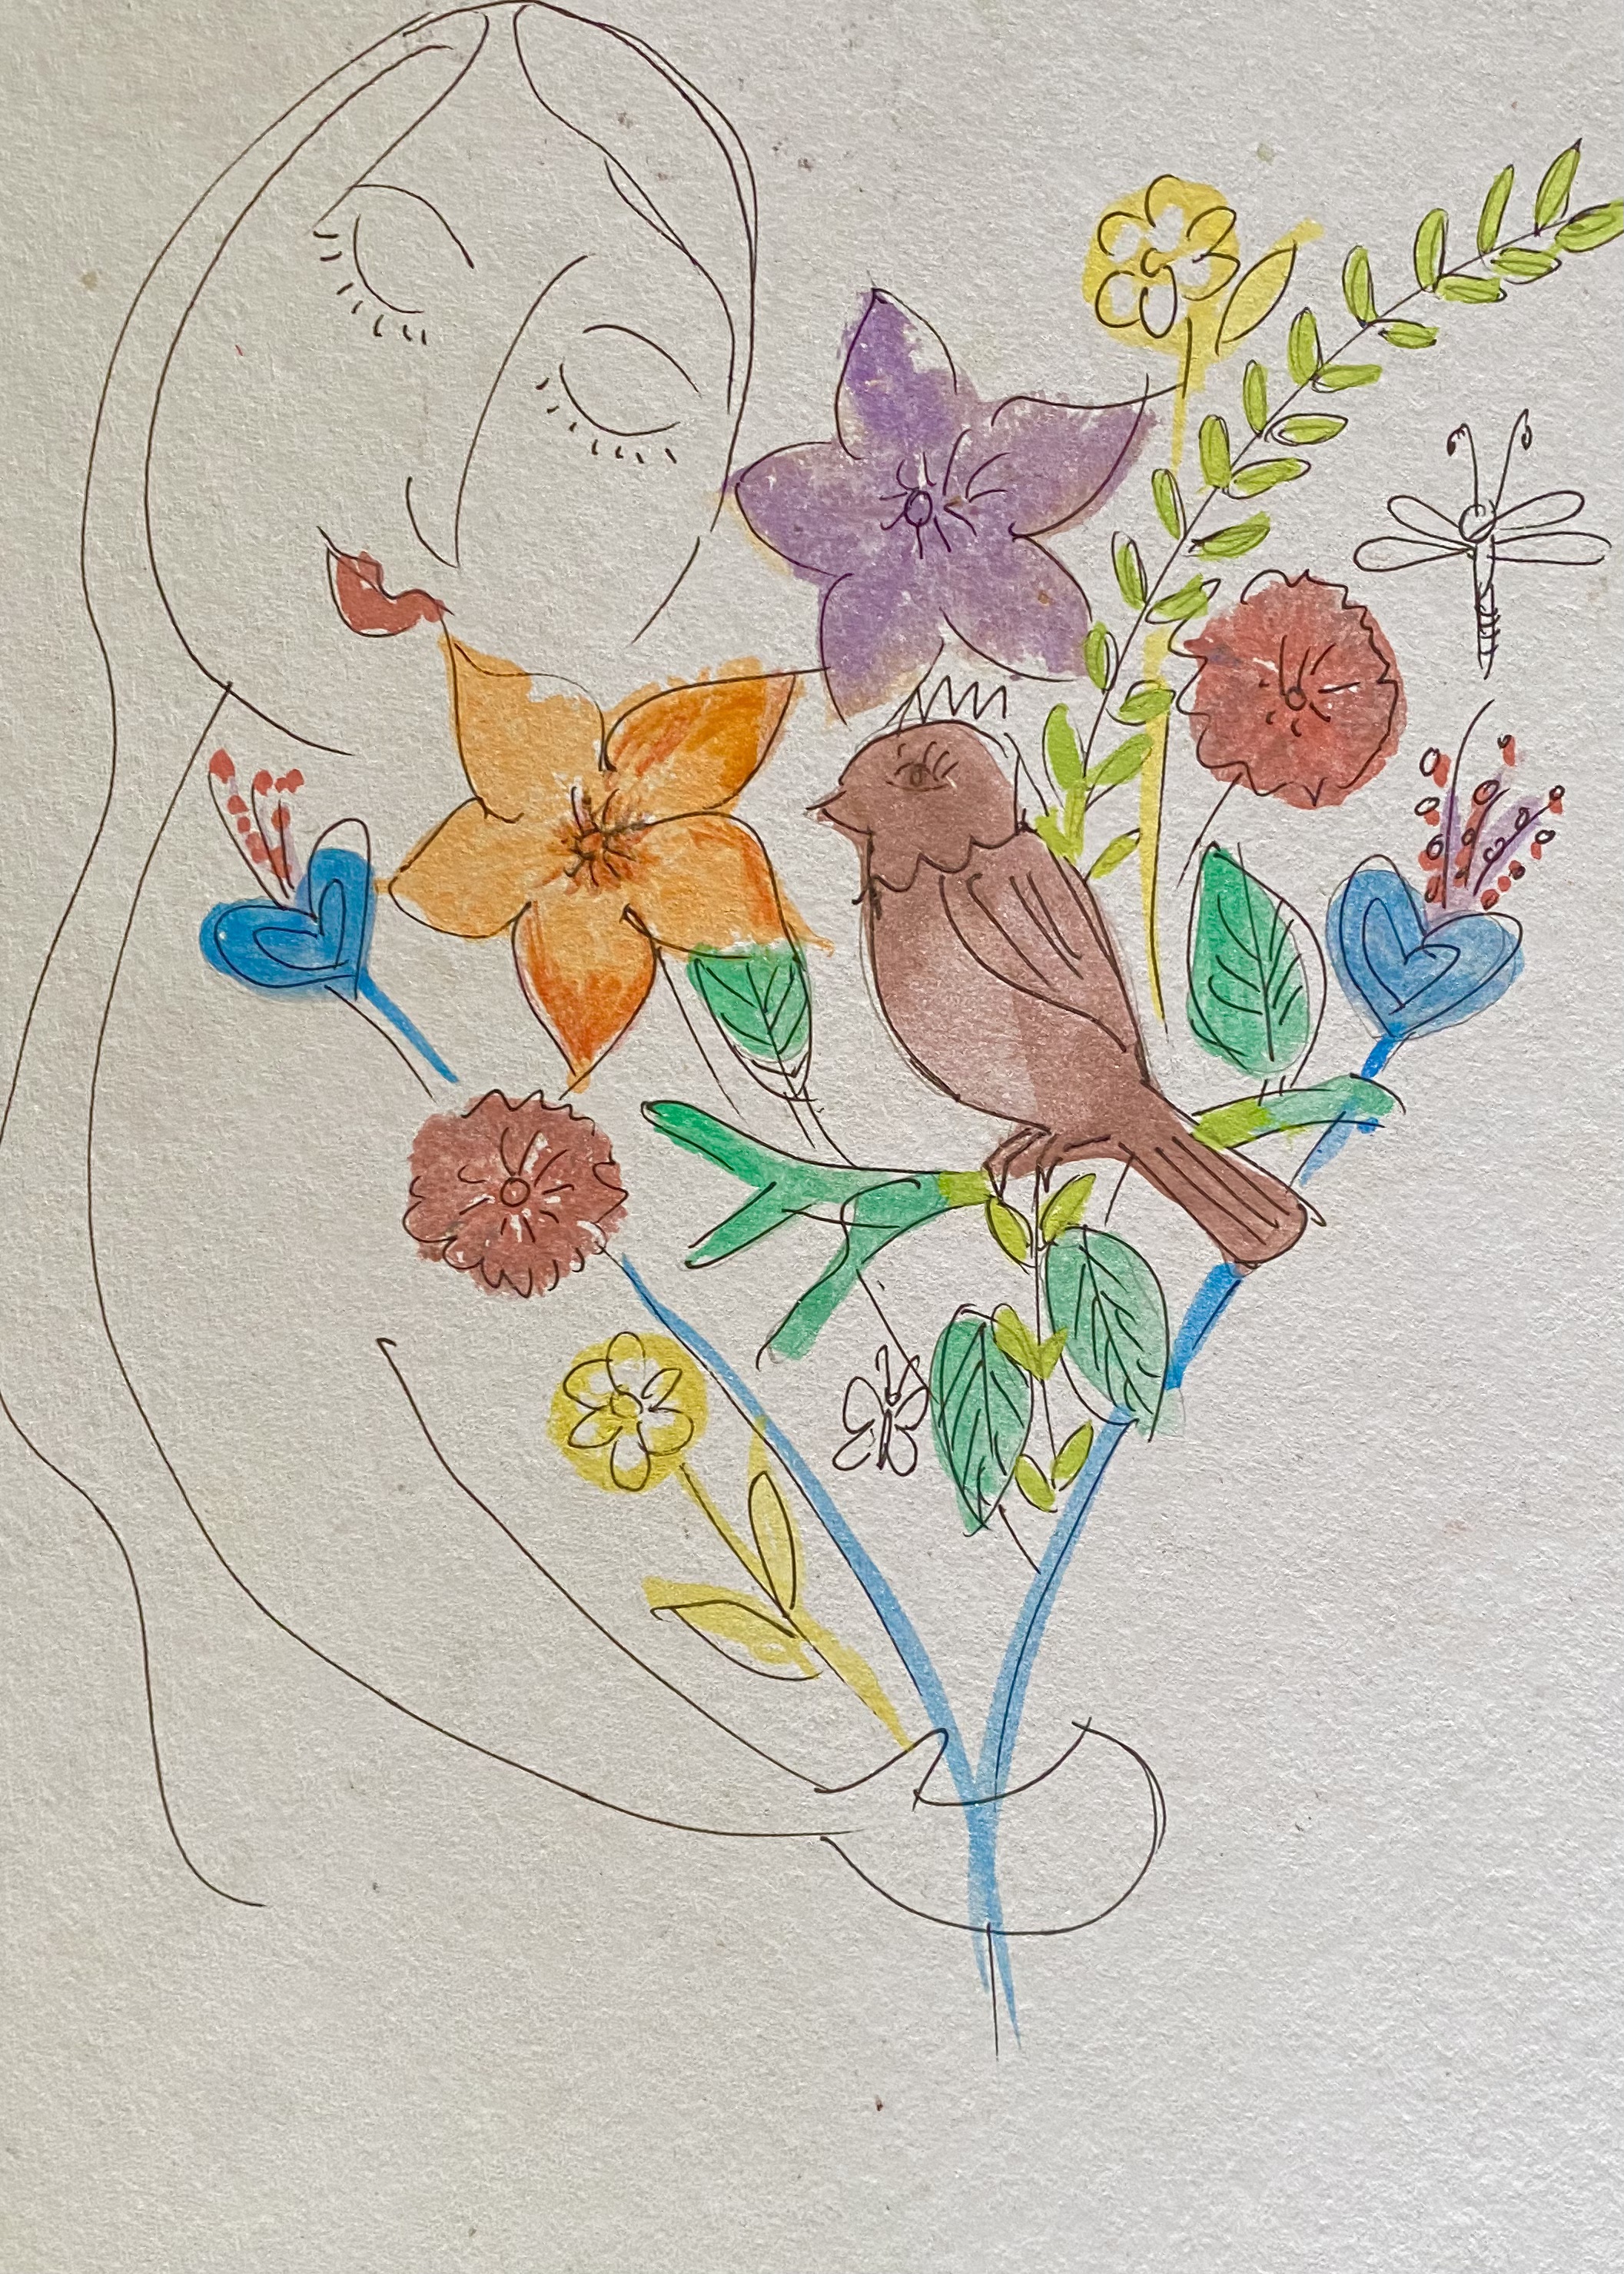
Rangoli # 3- “On The Wings of Love”
Materials: flowers, pebbles, rangoli coloured powder, beads
Created by: Jacky and Cindy

This slideshow requires JavaScript.

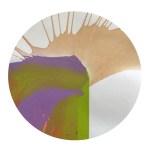
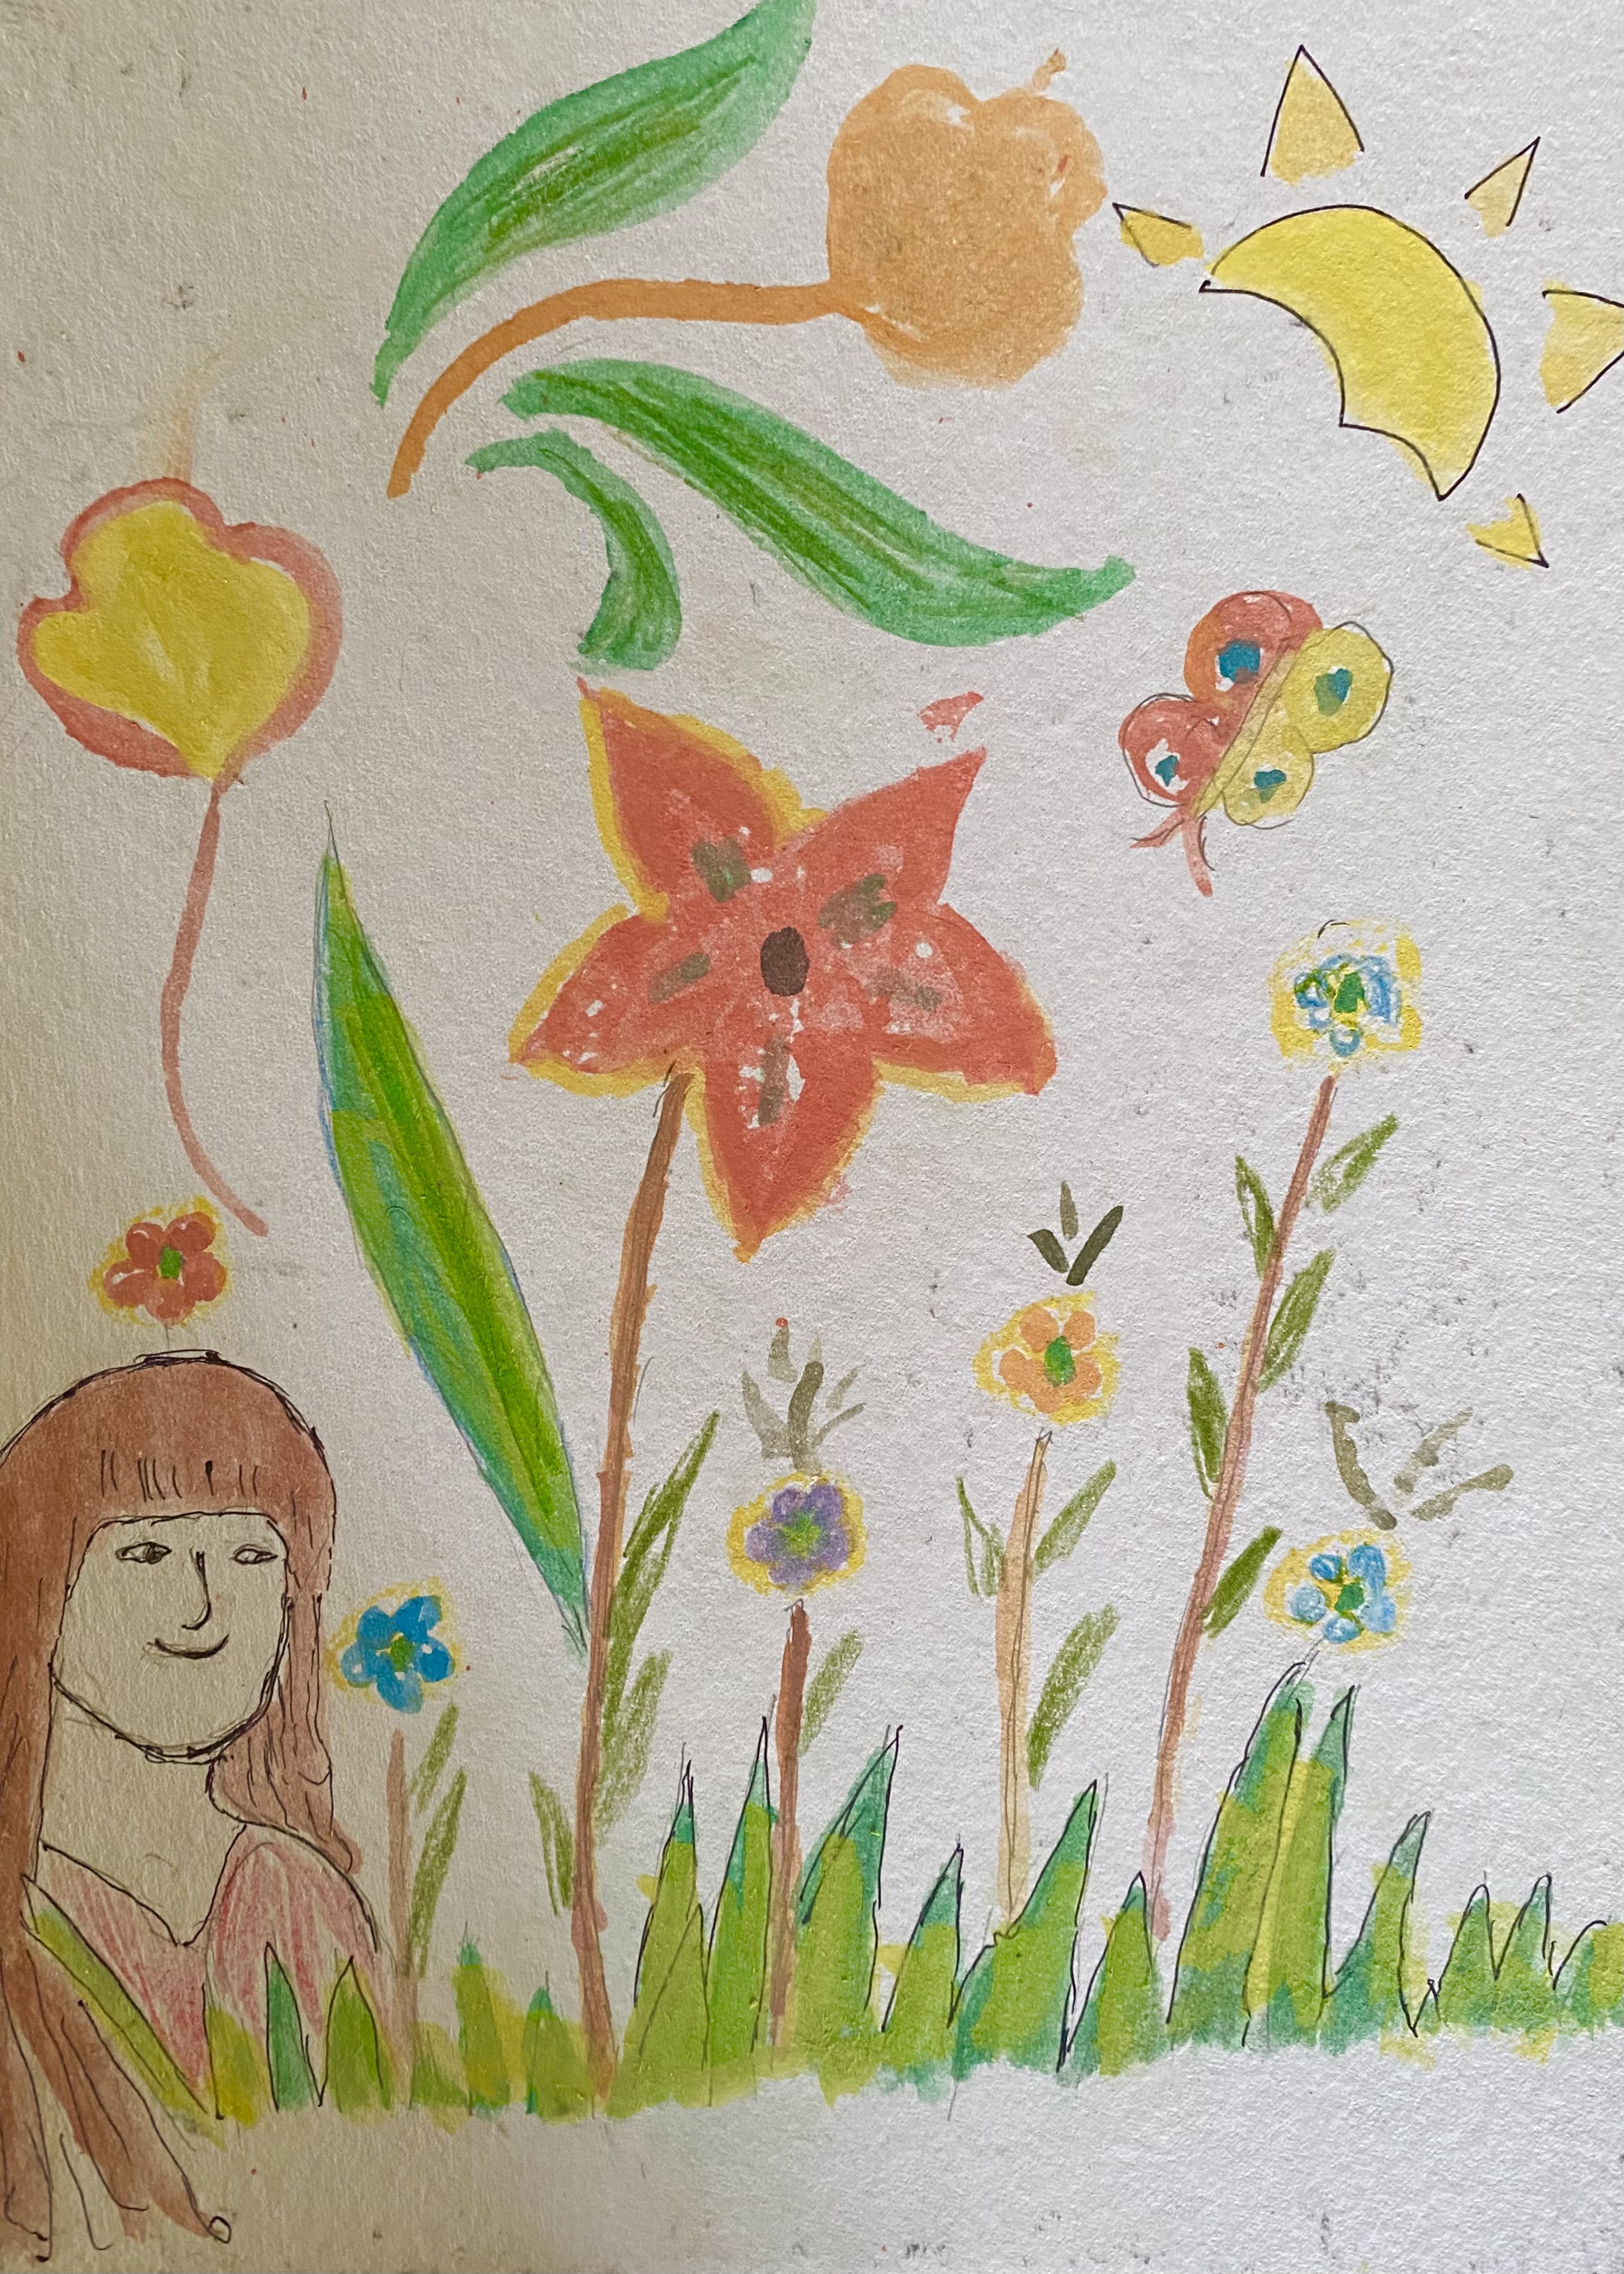
Rangoli # 4- “Nature Garden”
Materials: beads, stones, flowers,  rangoli coloured powder
Created by: Chloe and Nicole

This slideshow requires JavaScript.

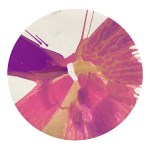
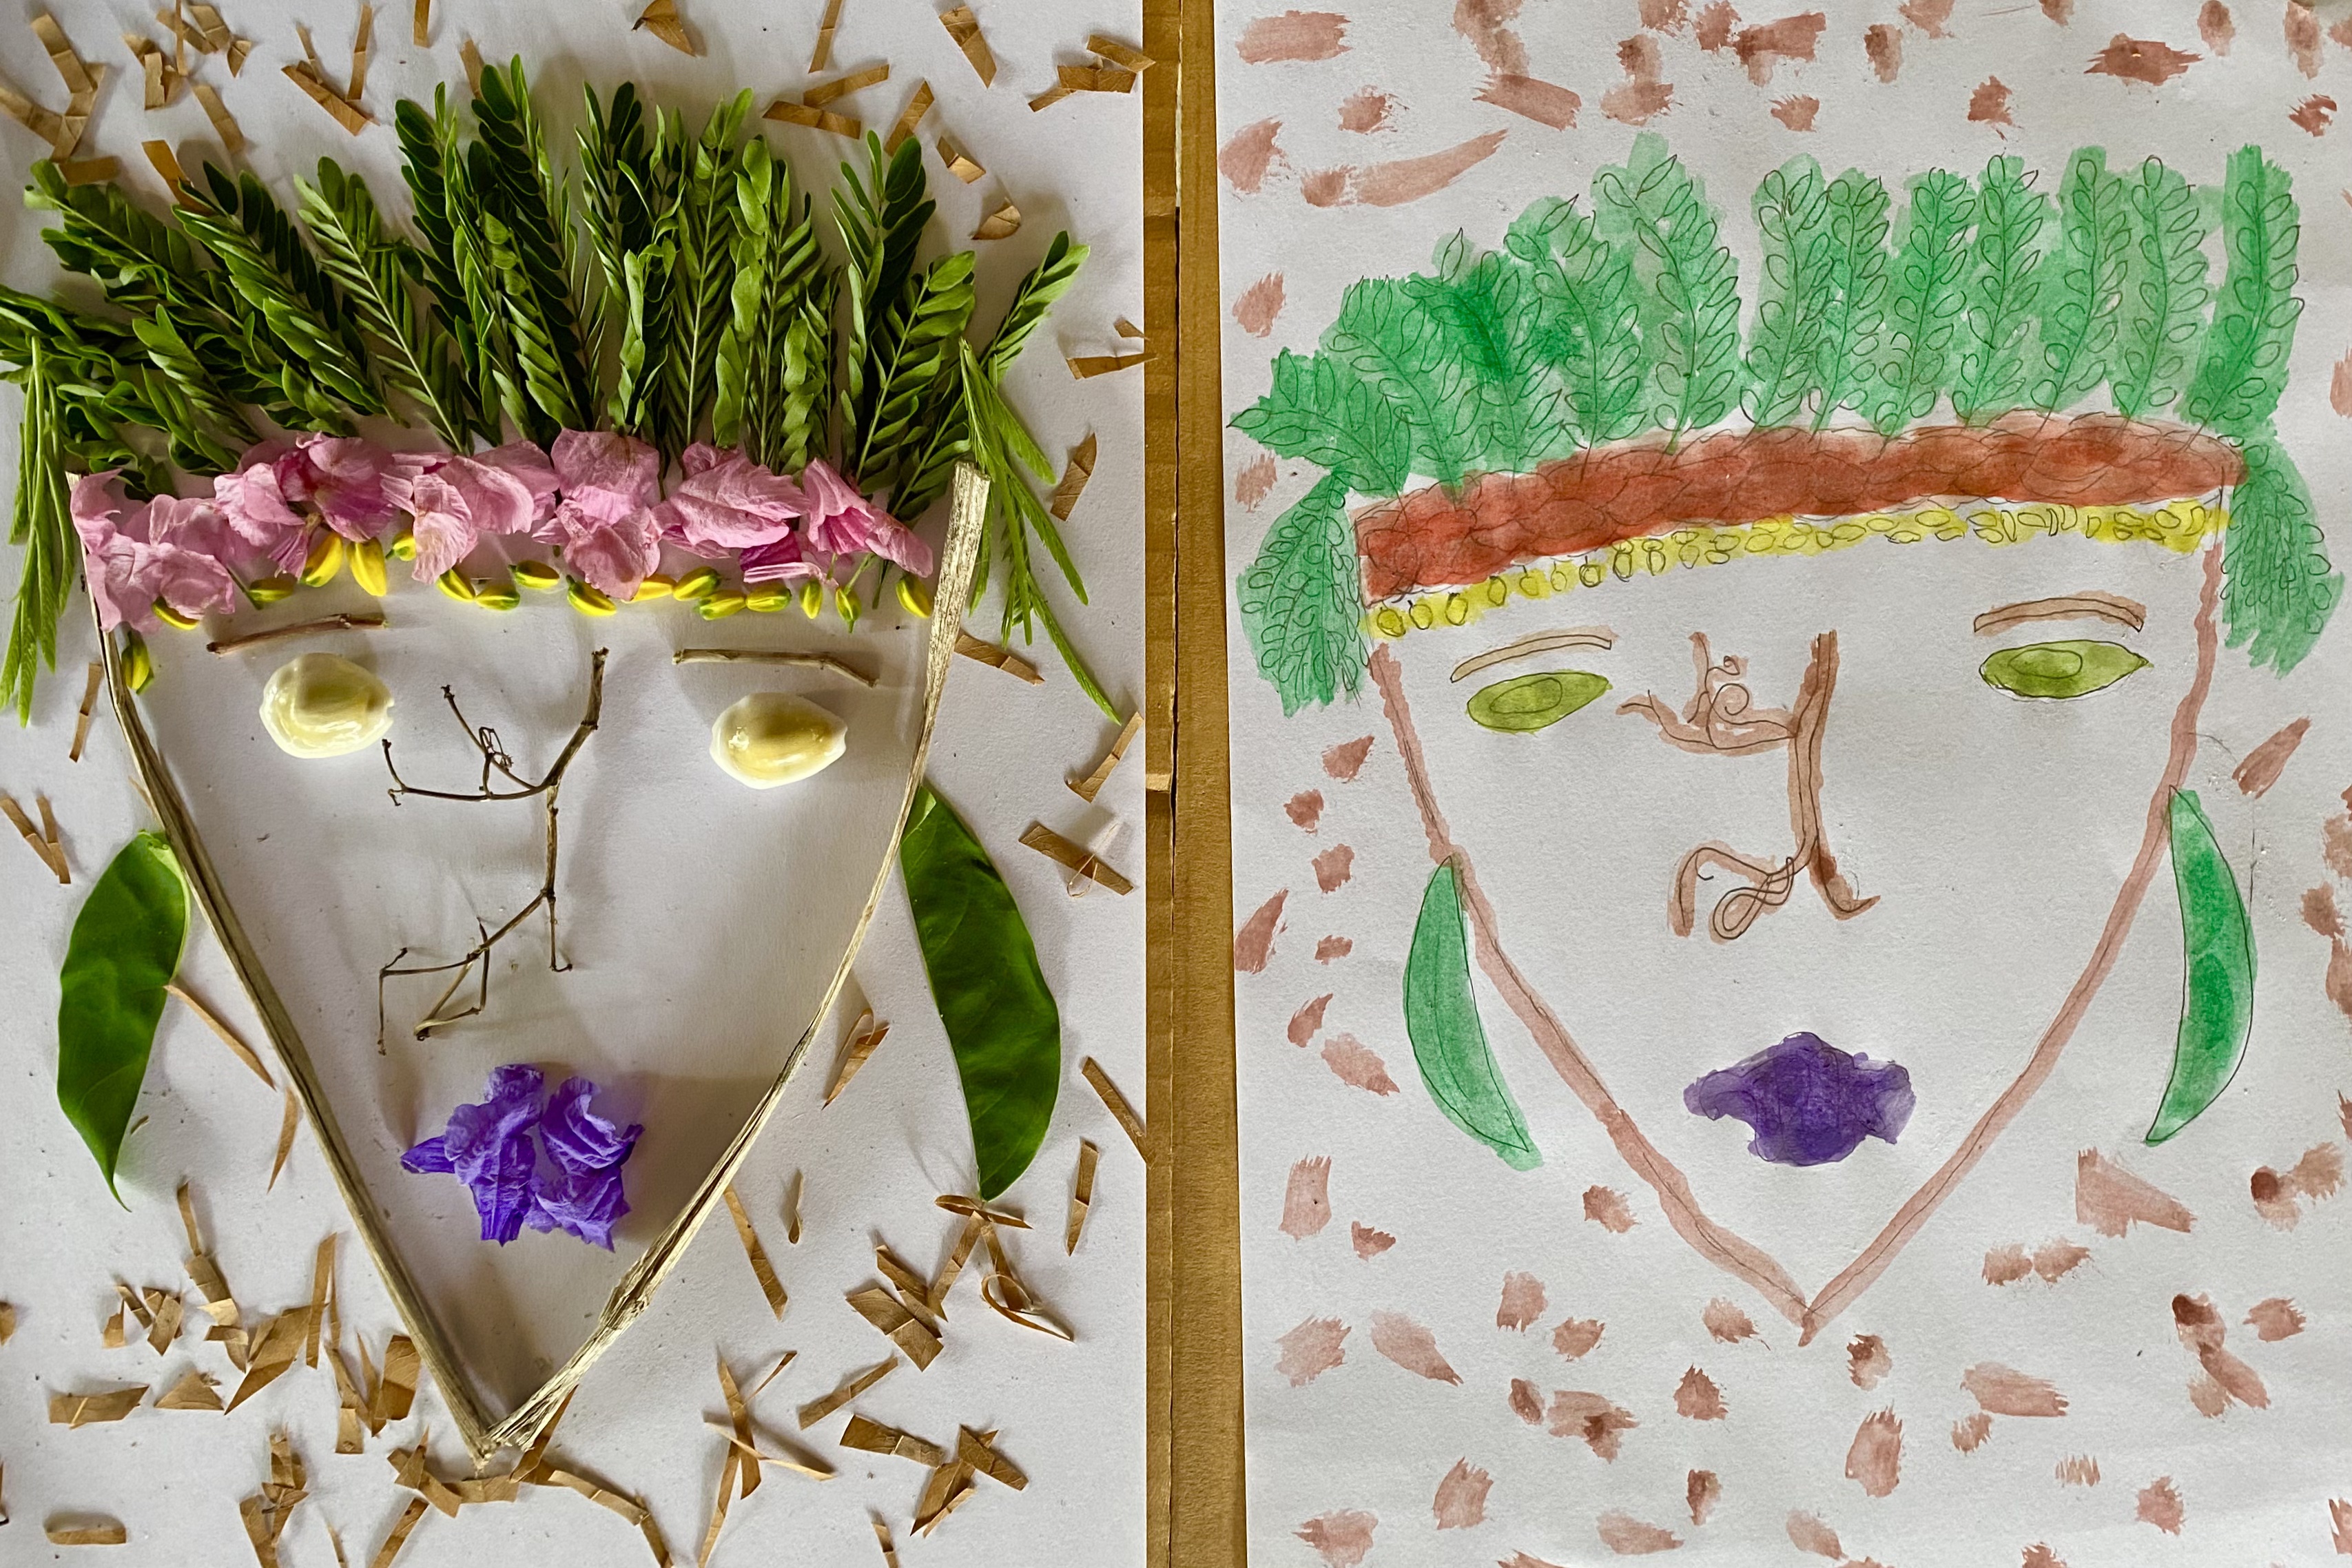
Rangoli # 5 – “Beauty of the Flower”
Materials: flowers, pebbles, rangoli coloured powder
Created by: Faith and Jessica

This slideshow requires JavaScript.

Rangoli # 6 –  The Sun and the Seashore
Materials: plastic beads, petals, shells, pebbles, stones, rangoli coloured powder
Created by: Kim and Gaga

This slideshow requires JavaScript.

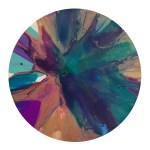
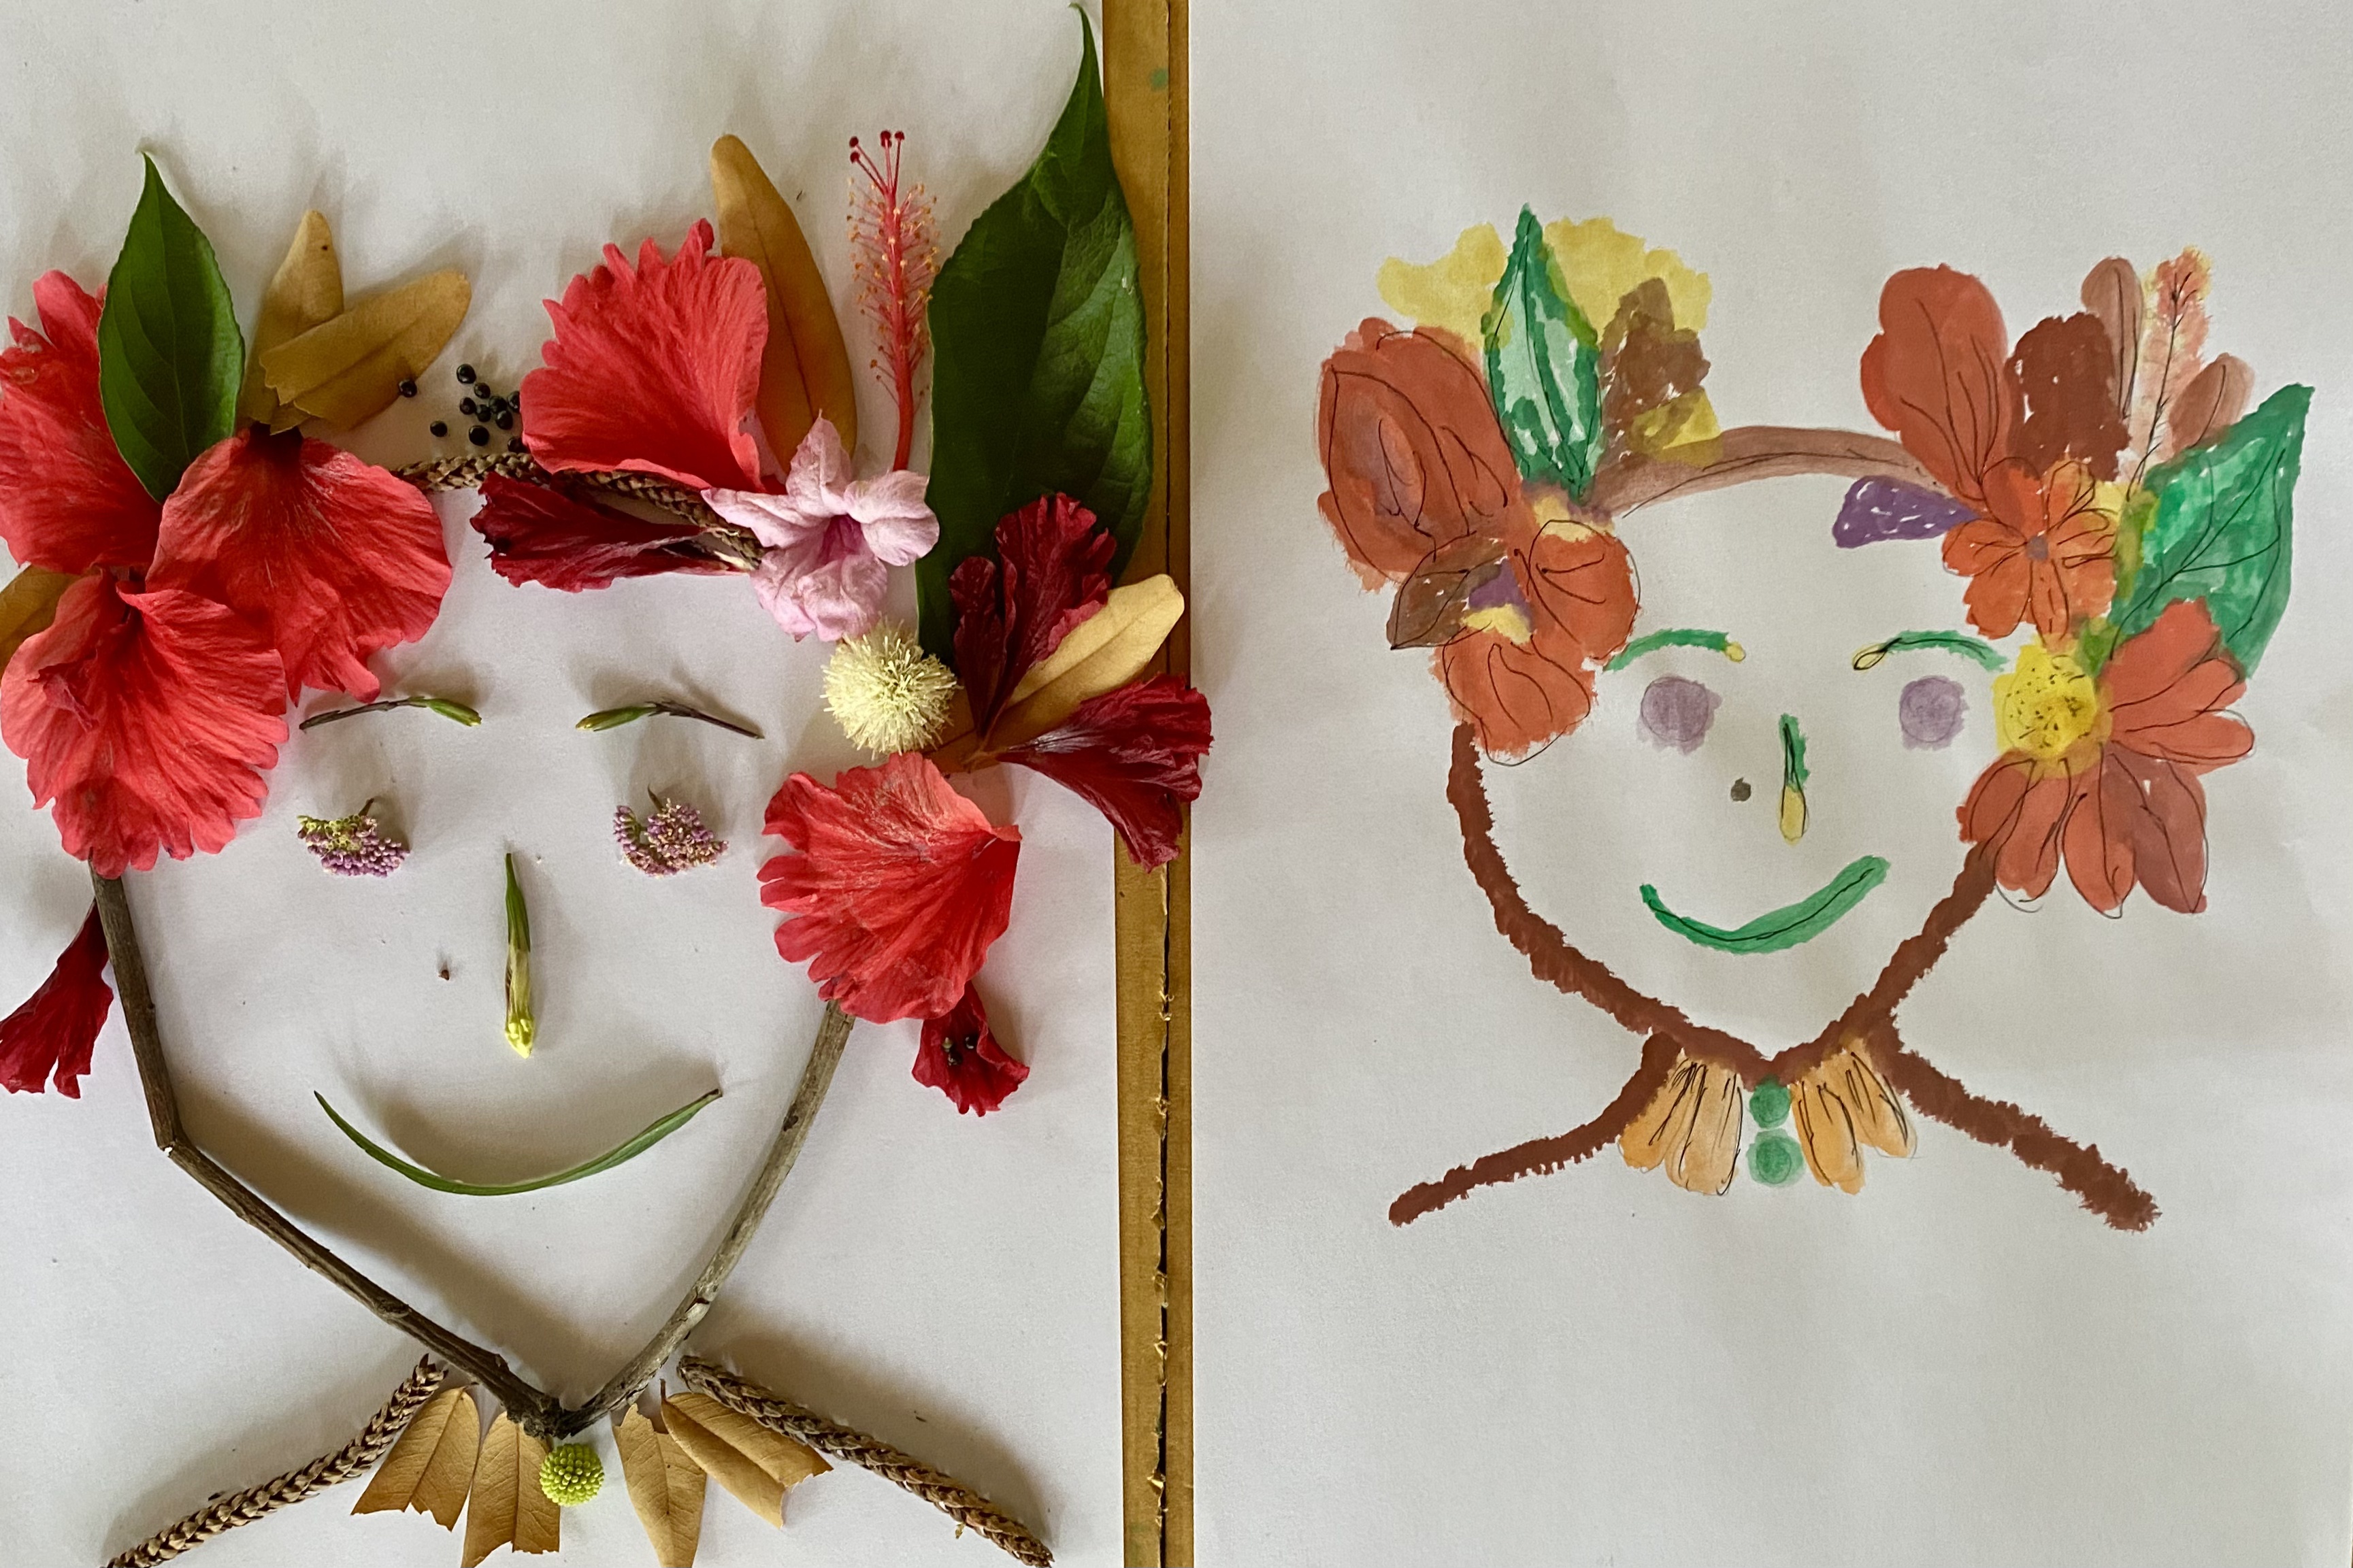
Rangoli # 7- “The Beauty of Life” 
Materials: flowers, beads, shells, pebbles, rangoli coloured powder
Created by: Shane and Ashley

This slideshow requires JavaScript.

Rangoli # 8- “The Flower on the Beads”
Materials: cowrie shells, leaves, pebbles,  rangoli coloured powder
Created by:  Paulina’s son -Lucas, 7 years old

This slideshow requires JavaScript.

show and tell with yasha

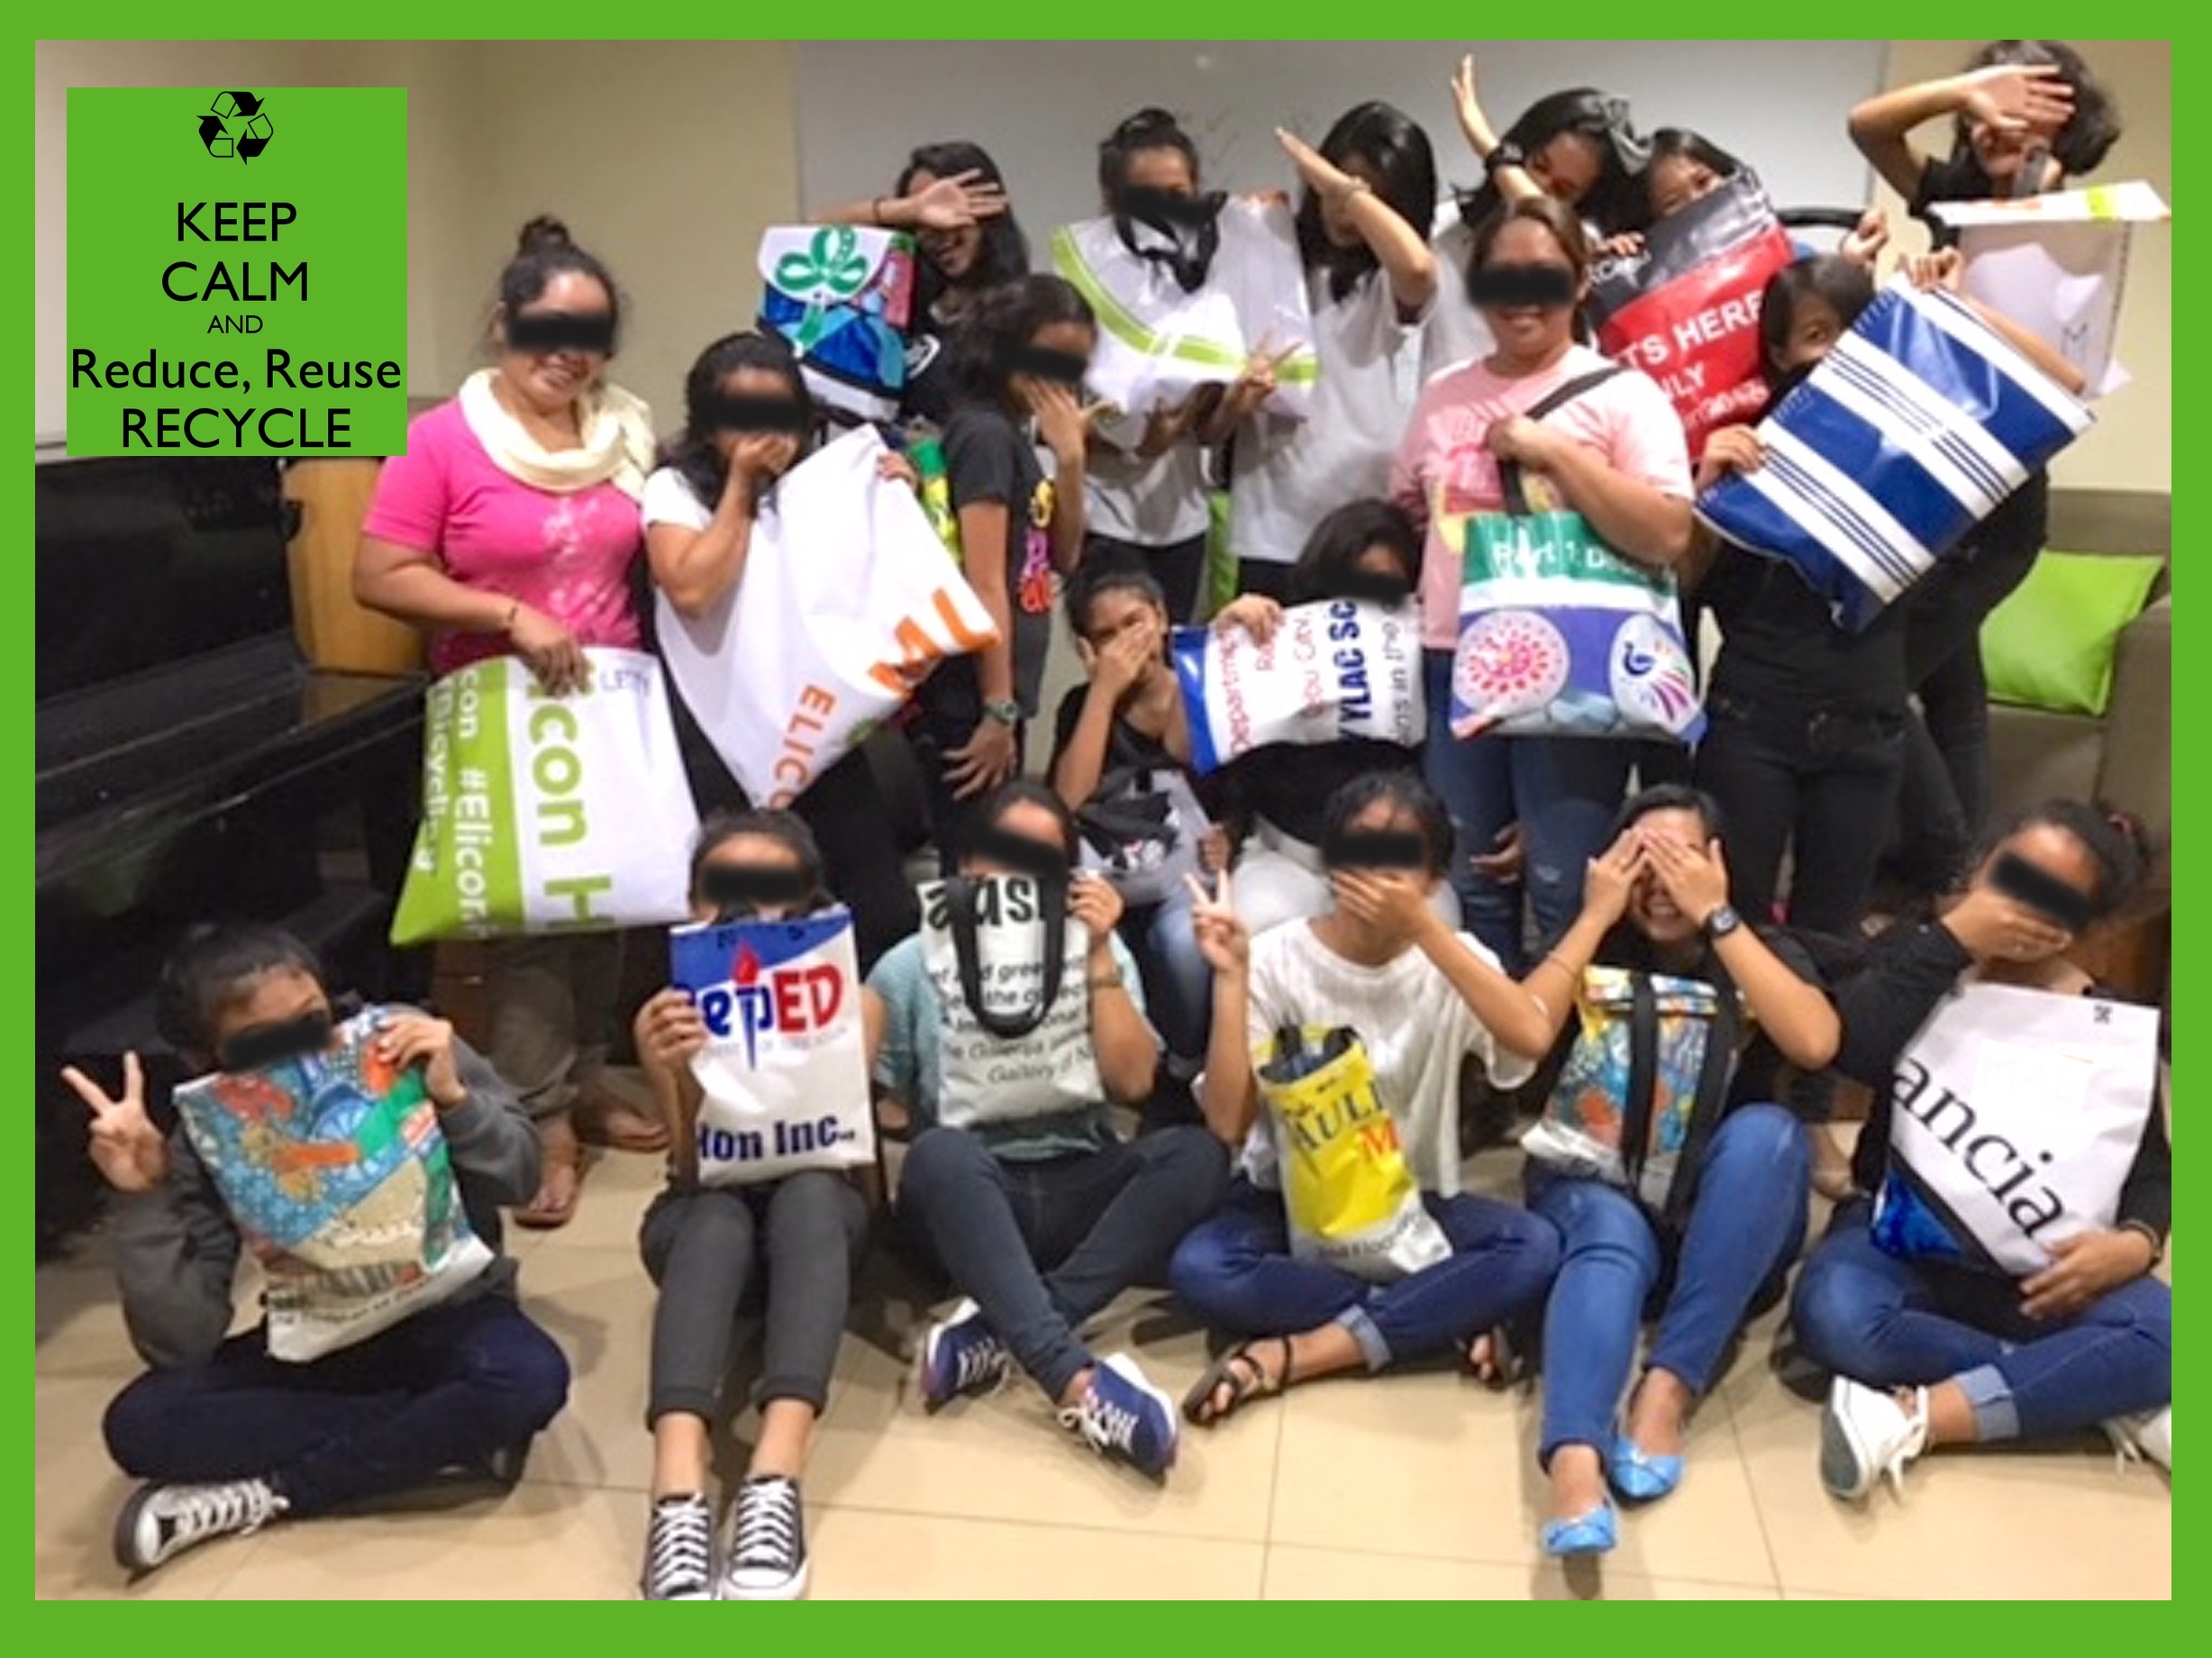
Show and Tell. The girls said that when they saw the display from the workshop yesterday they wondered if they could possibly make something so beautiful. And they did! Their works were just beautiful!

3-Hearts with yasha n the girls

Love and gratitude to MoNA’s visiting artist YASHA DABAS for sharing her time and talents with the girls. ..the time together was memorable and the work- -simply amazing!

IMG_6627

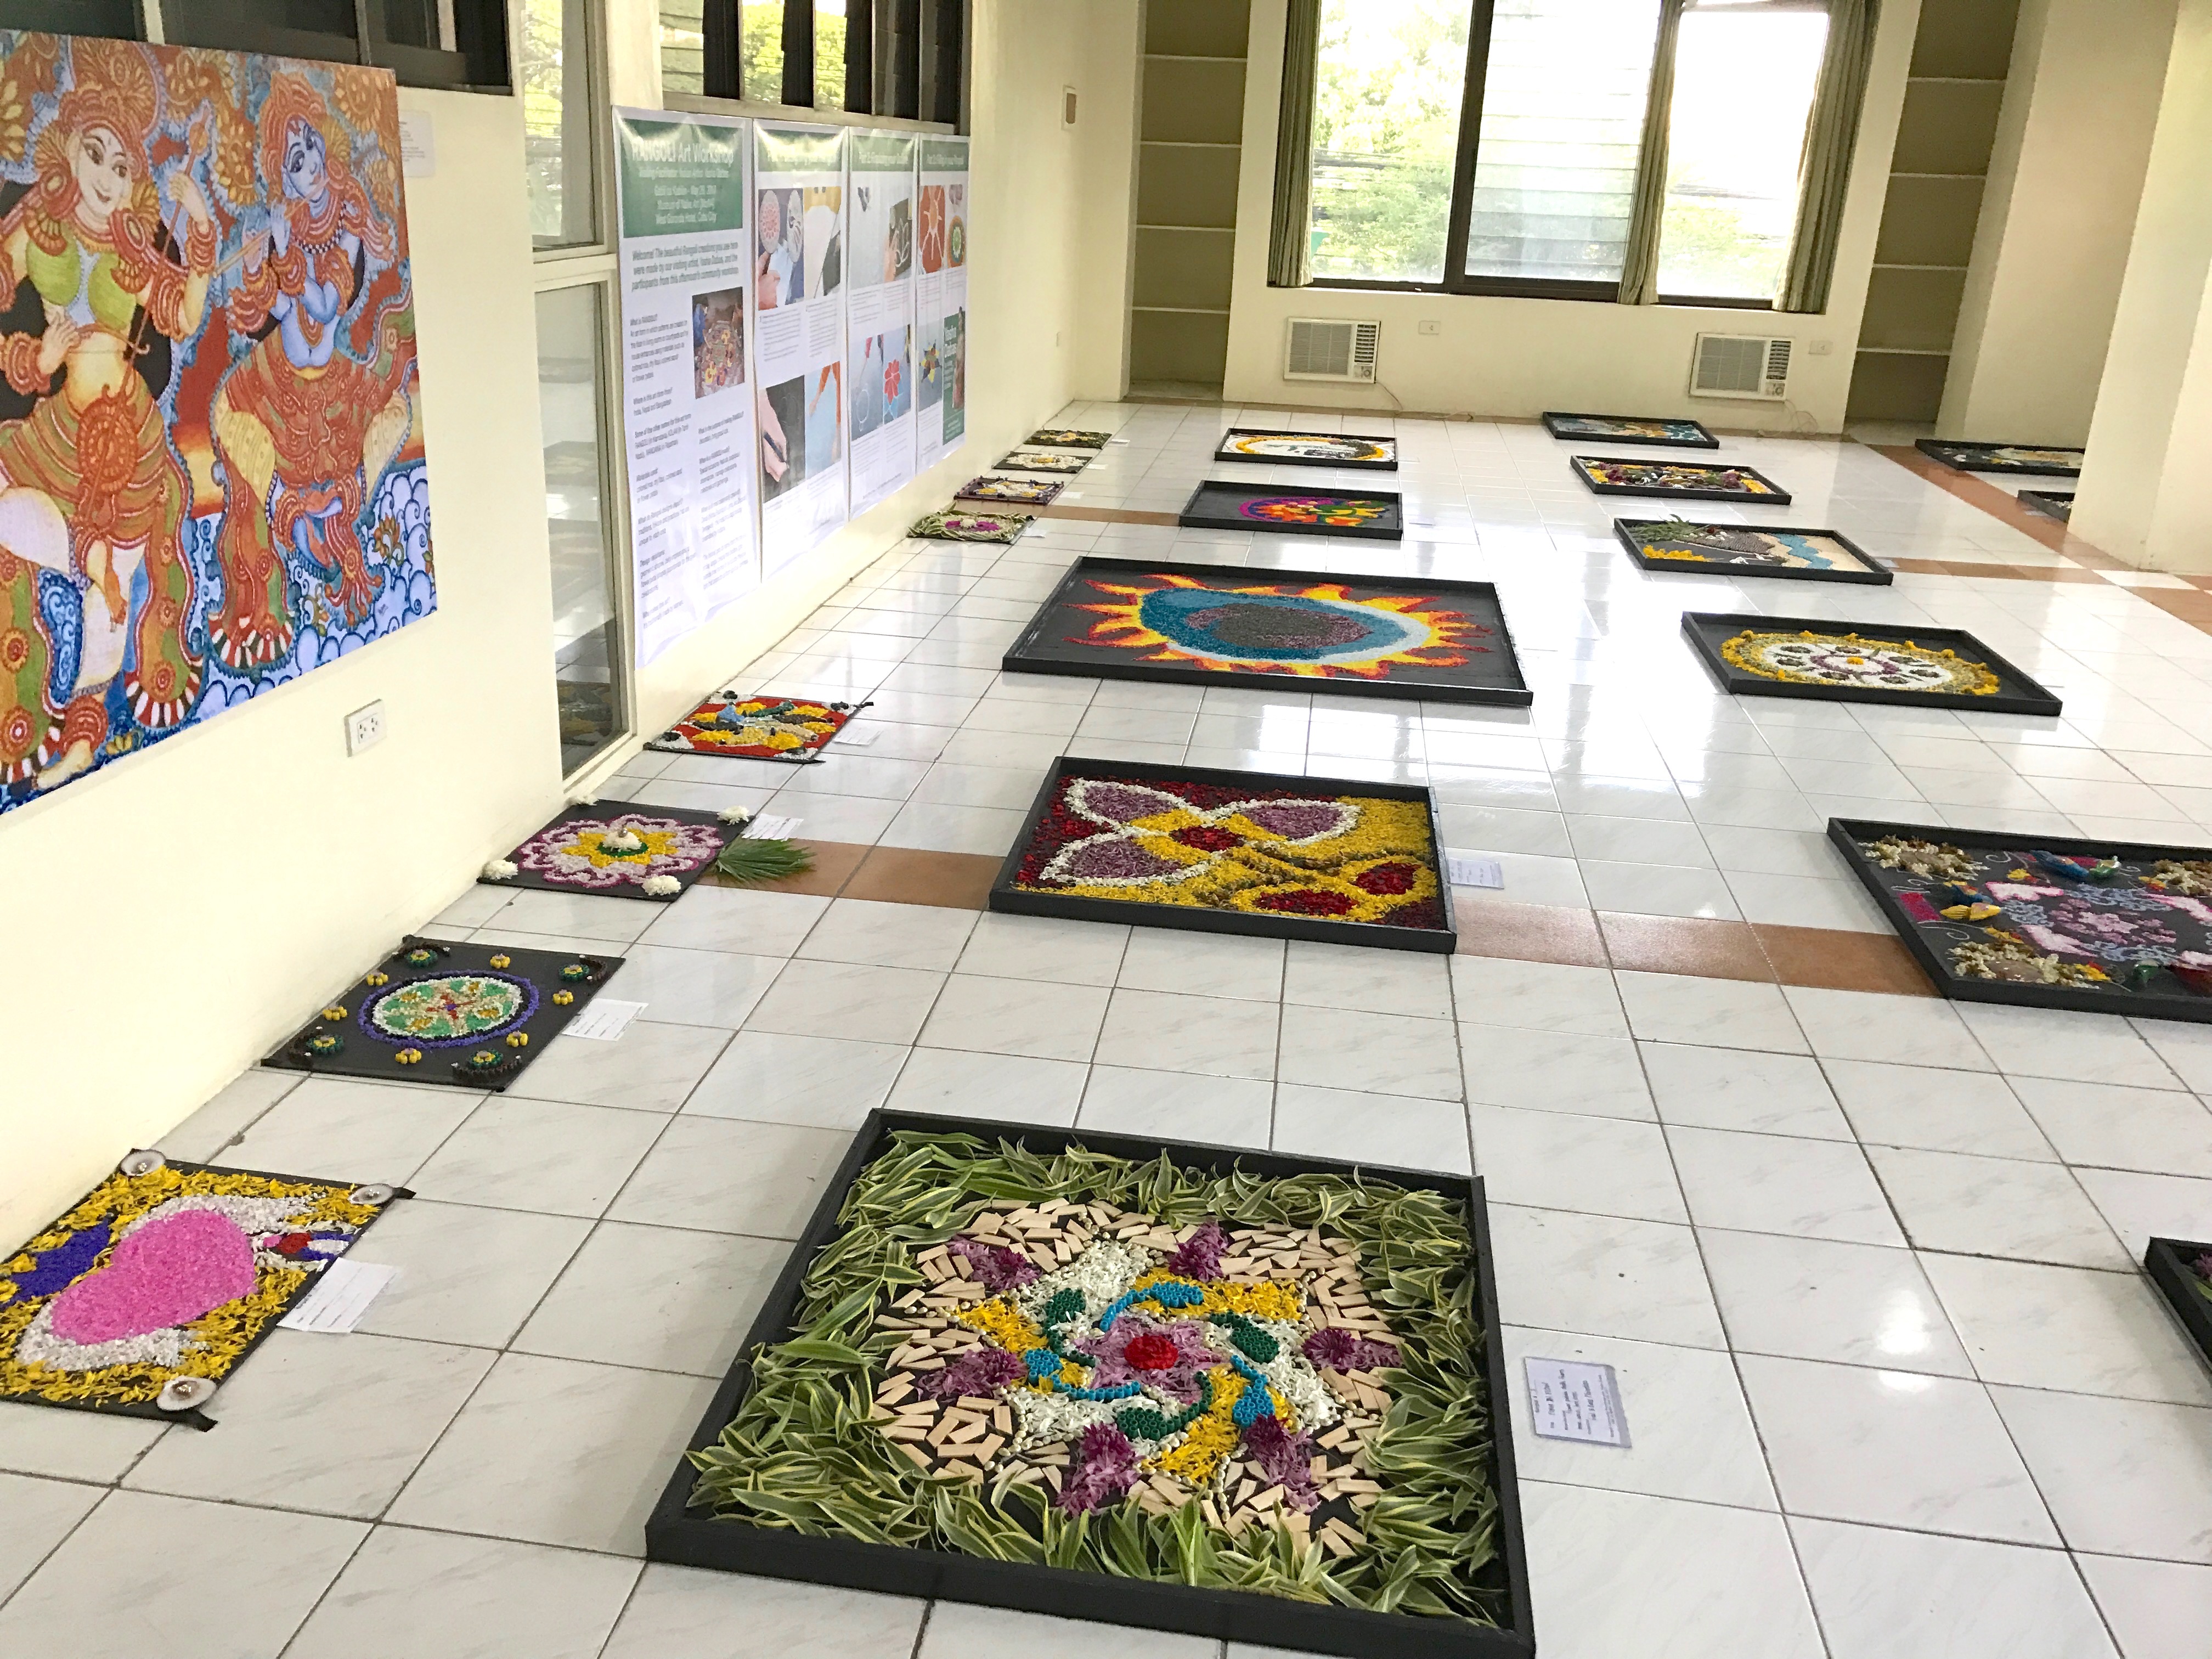
23 Rangolis in 1 Room! The mini rangolis of the MRH girls displayed alongside the bigger rangoli art created from the previous day’s community workshop, also facilitated by MoNA visiting artist Yasha Dabas

Read about the facilitator YASHA DABAS
Read about the  program at My Refuge House