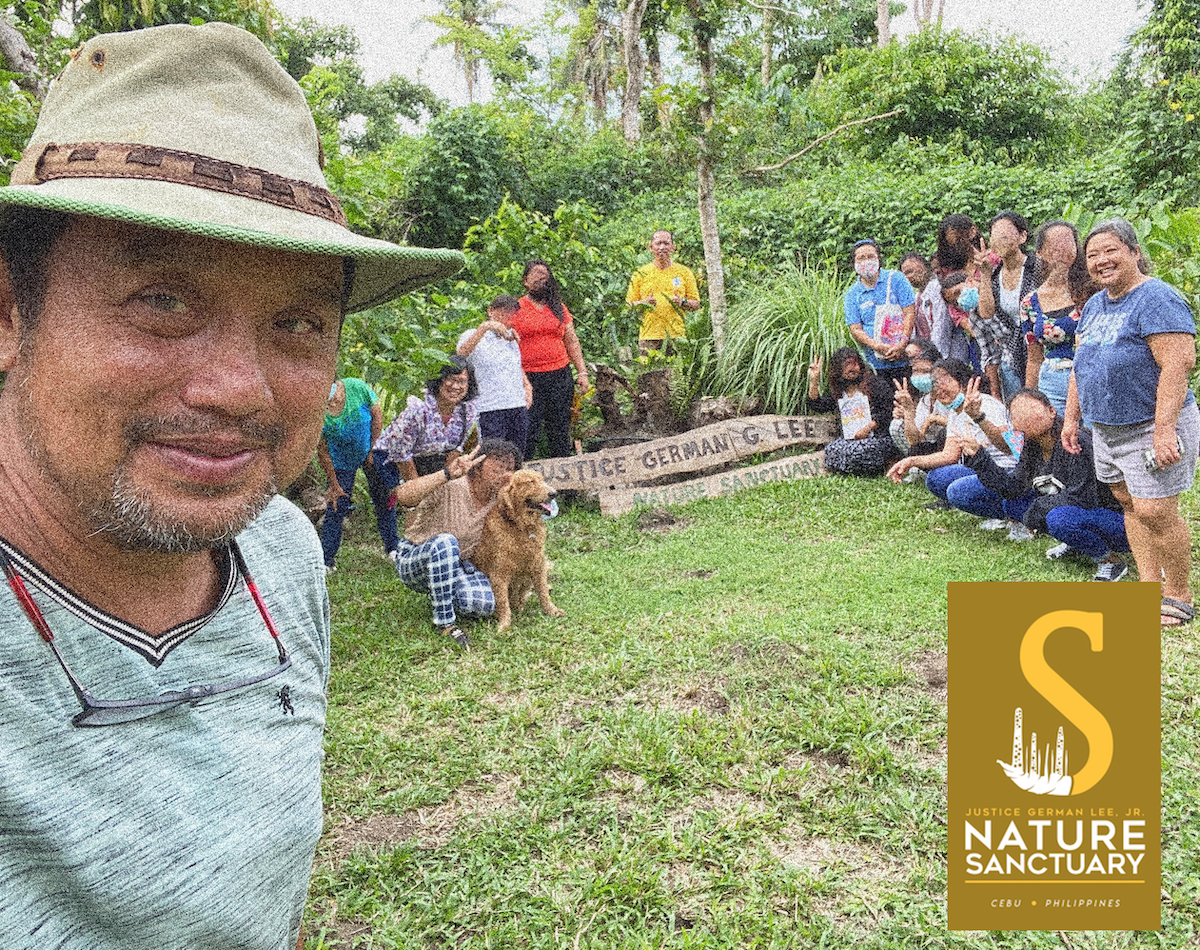
I share with you some details of the 2 day workshop that I attended at the Centro de Artes Textiles Oaxaca (CATO) in Oaxaca de Juárez. It was facilitated by master embroiderer Guadalupe Vásquez (bordados_donaji).
It was fun learning alongside my Mexican classmates Nancy and Liz and American Aida. Our teacher Guadalupe was very patient with us and she and her husband Oscar are such a great team, taking turns assisting us with the next step of our project.
It is an extremely tedious and time consuming process and requires a lot of patience and dedication, makes you appreciate even more the work that artisans put into every piece that they create – embroidery work for a blouse could take somewhere between 2 weeks to 2 months depending on the size and detail.

Guadalupe and Oscar, our instructor and assistant instructor…

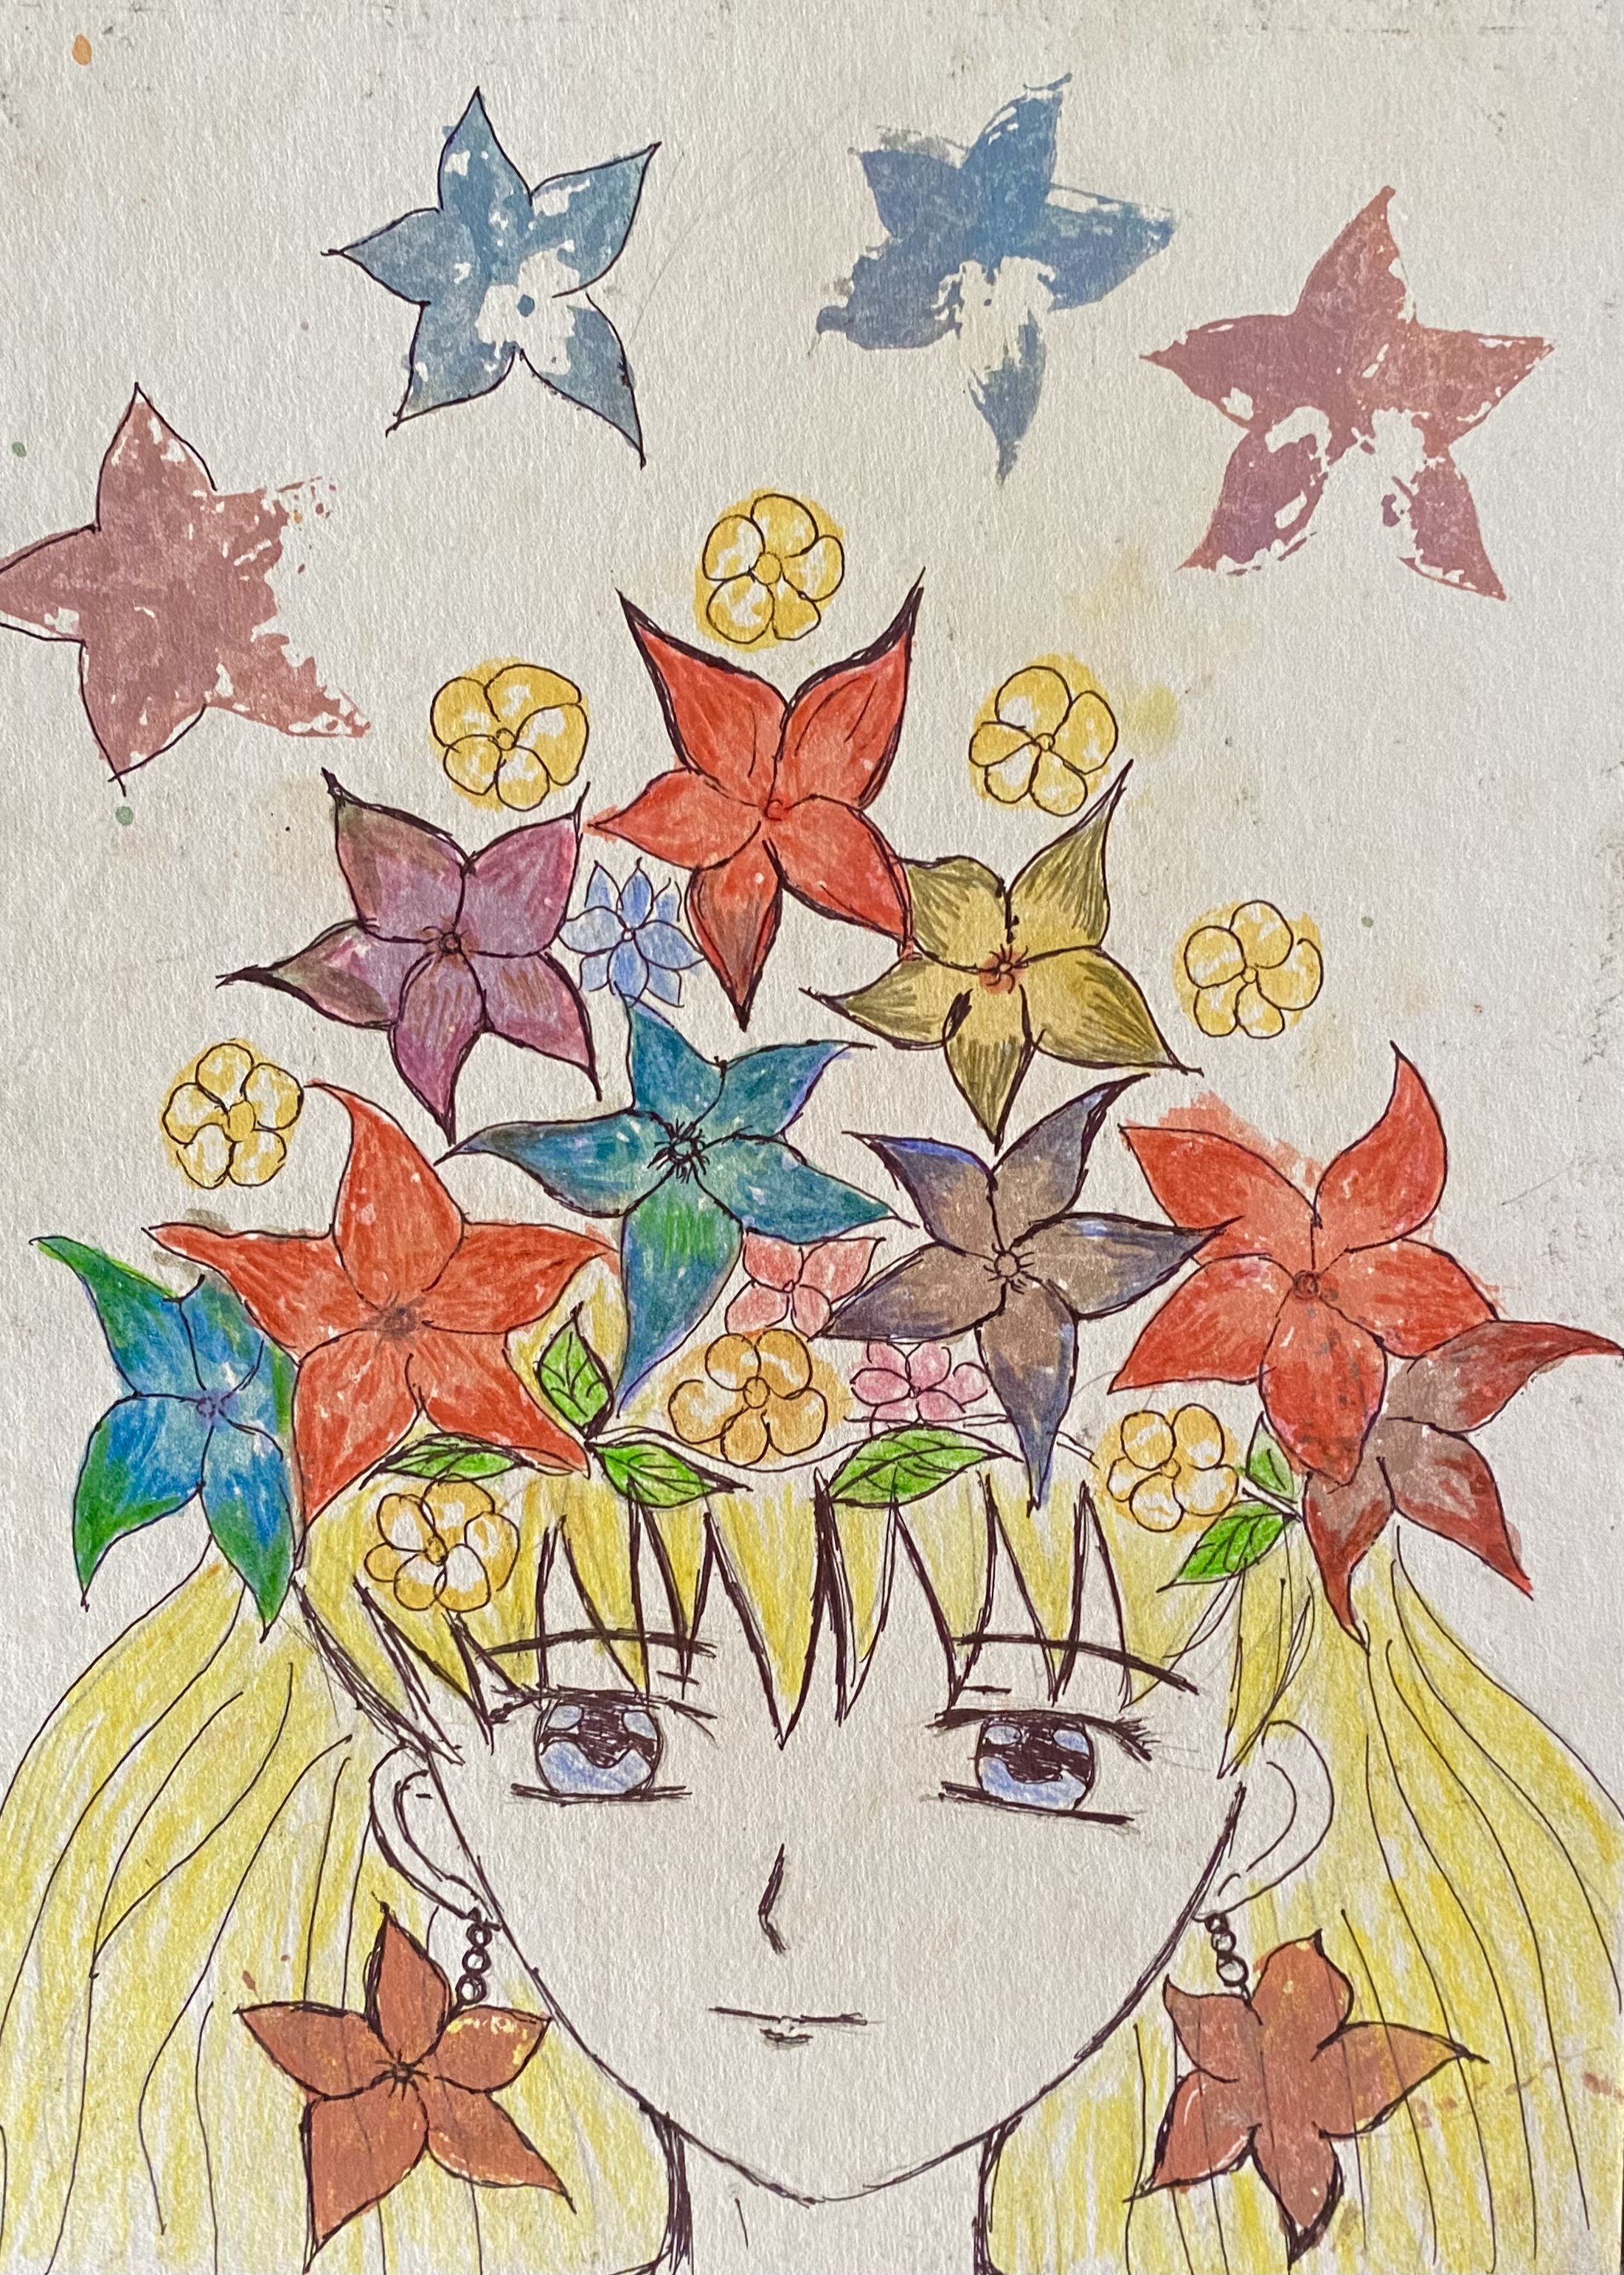
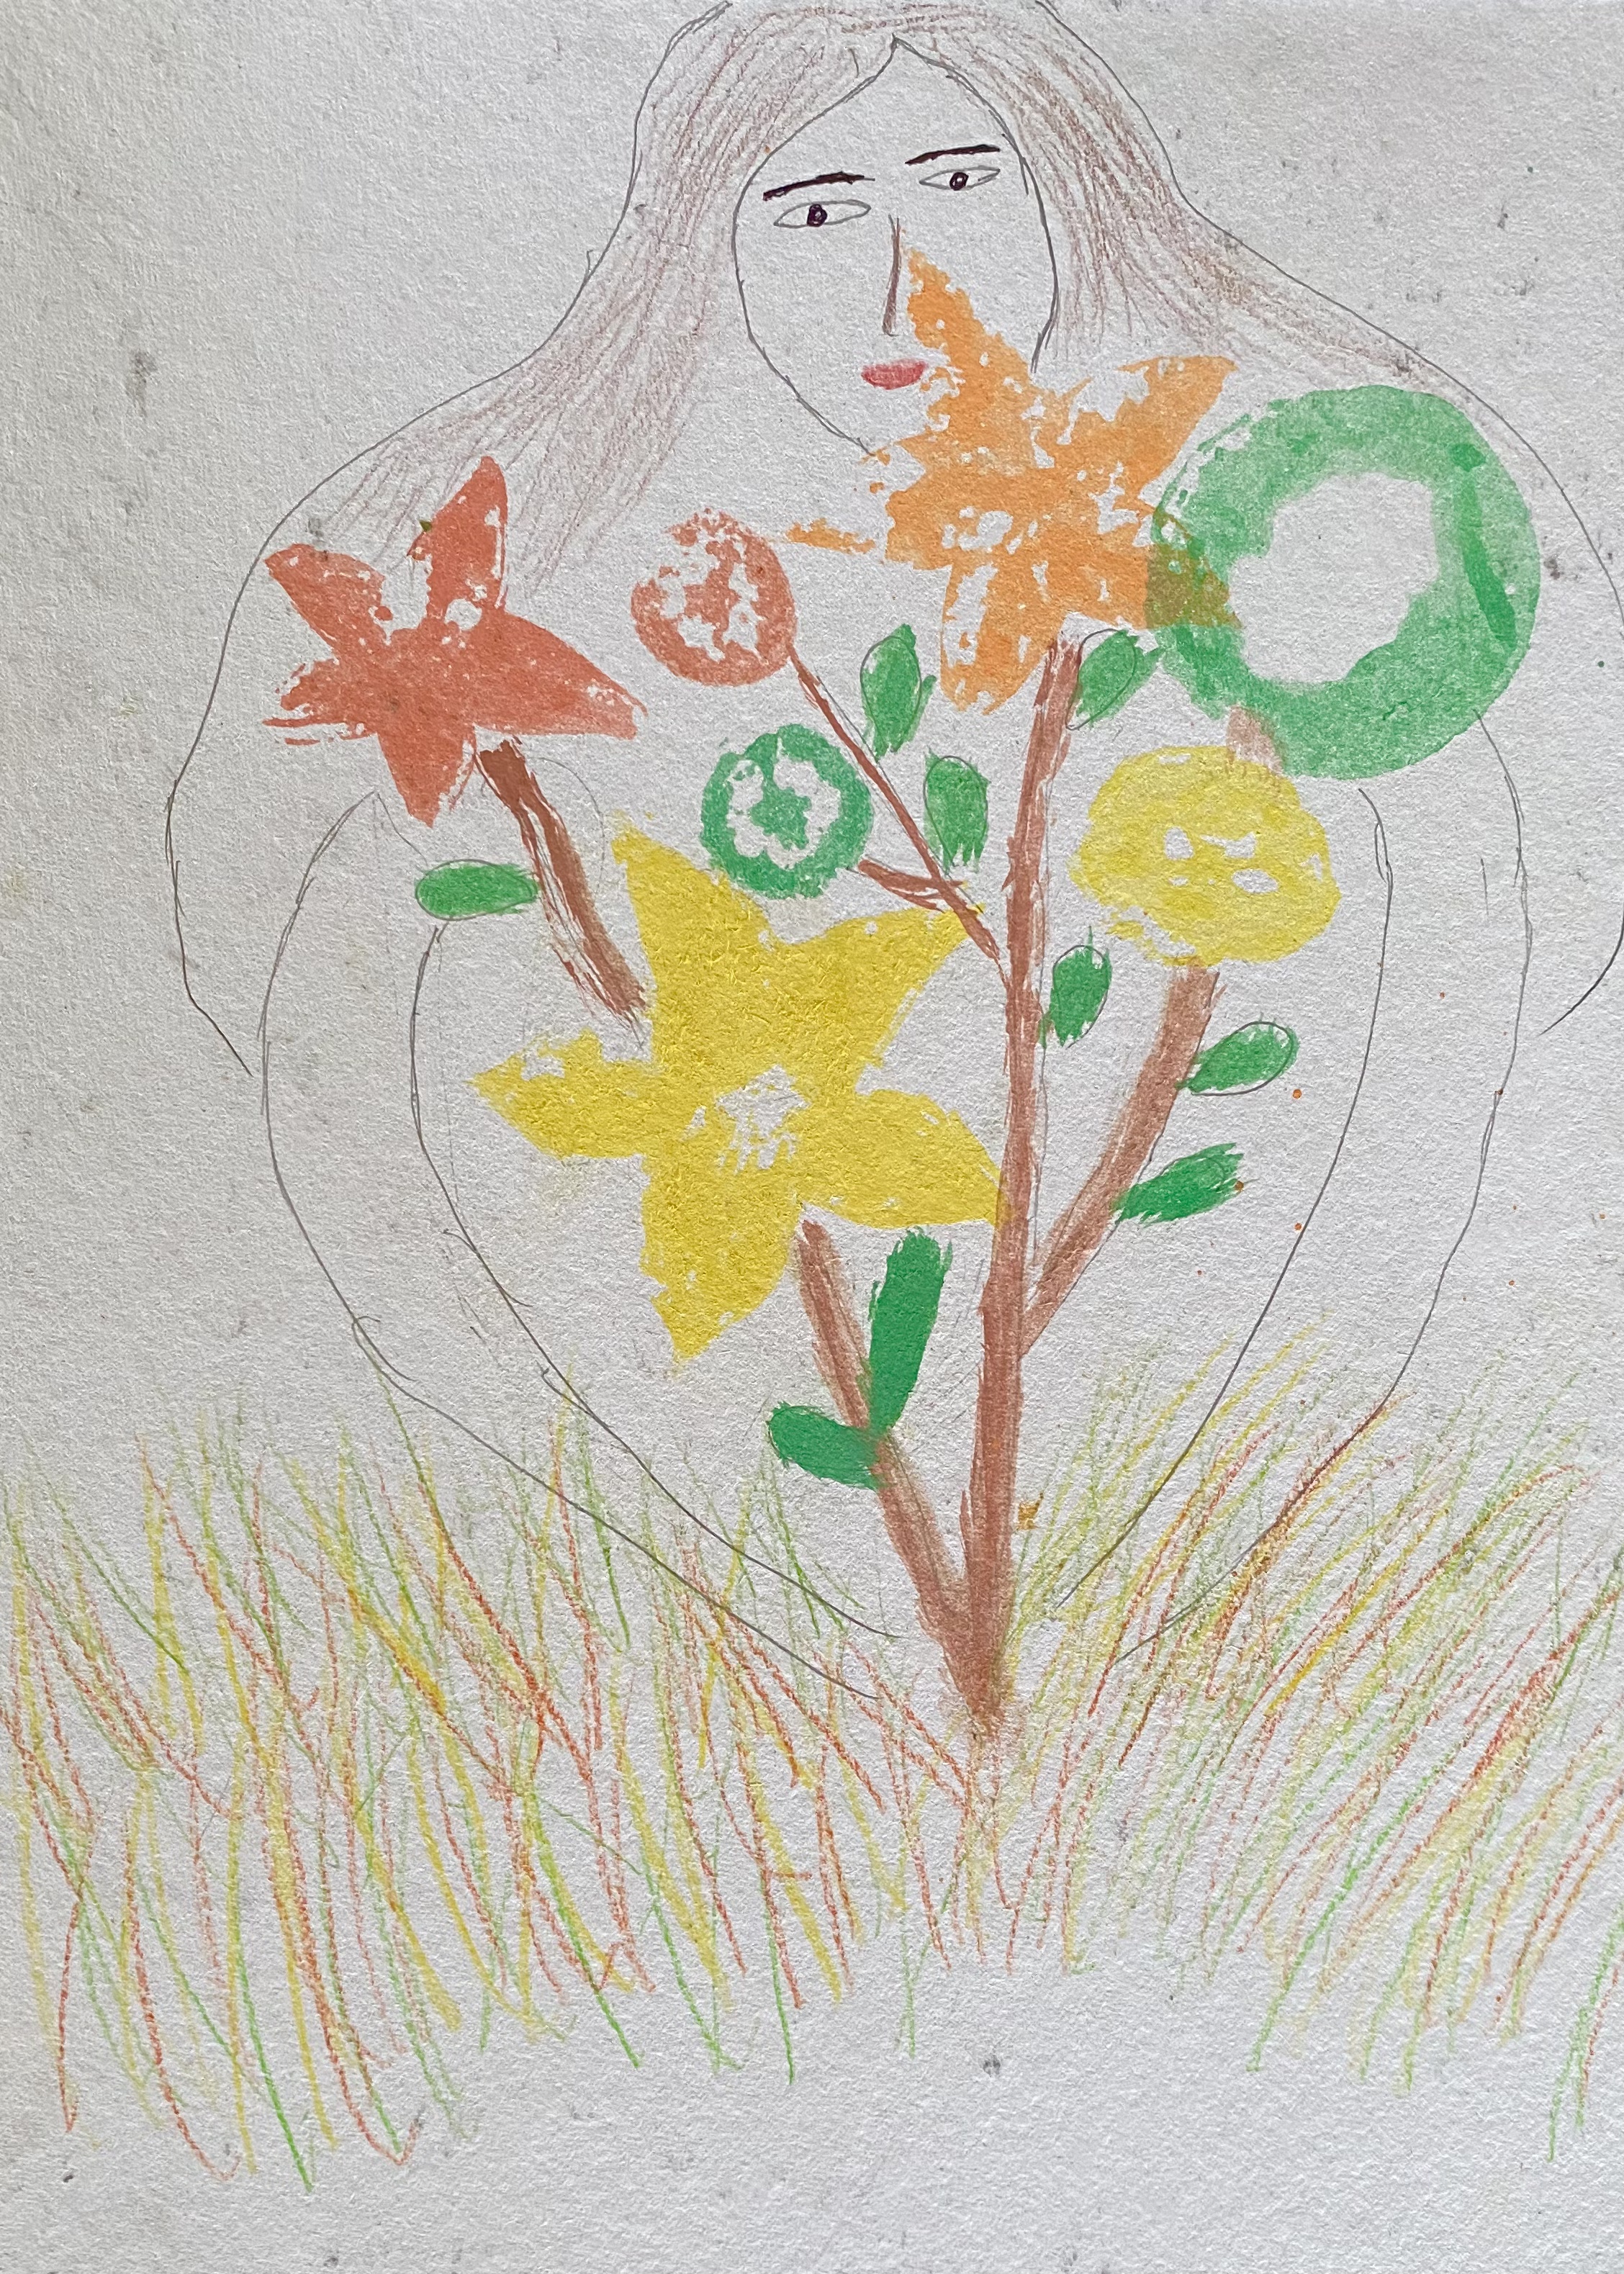
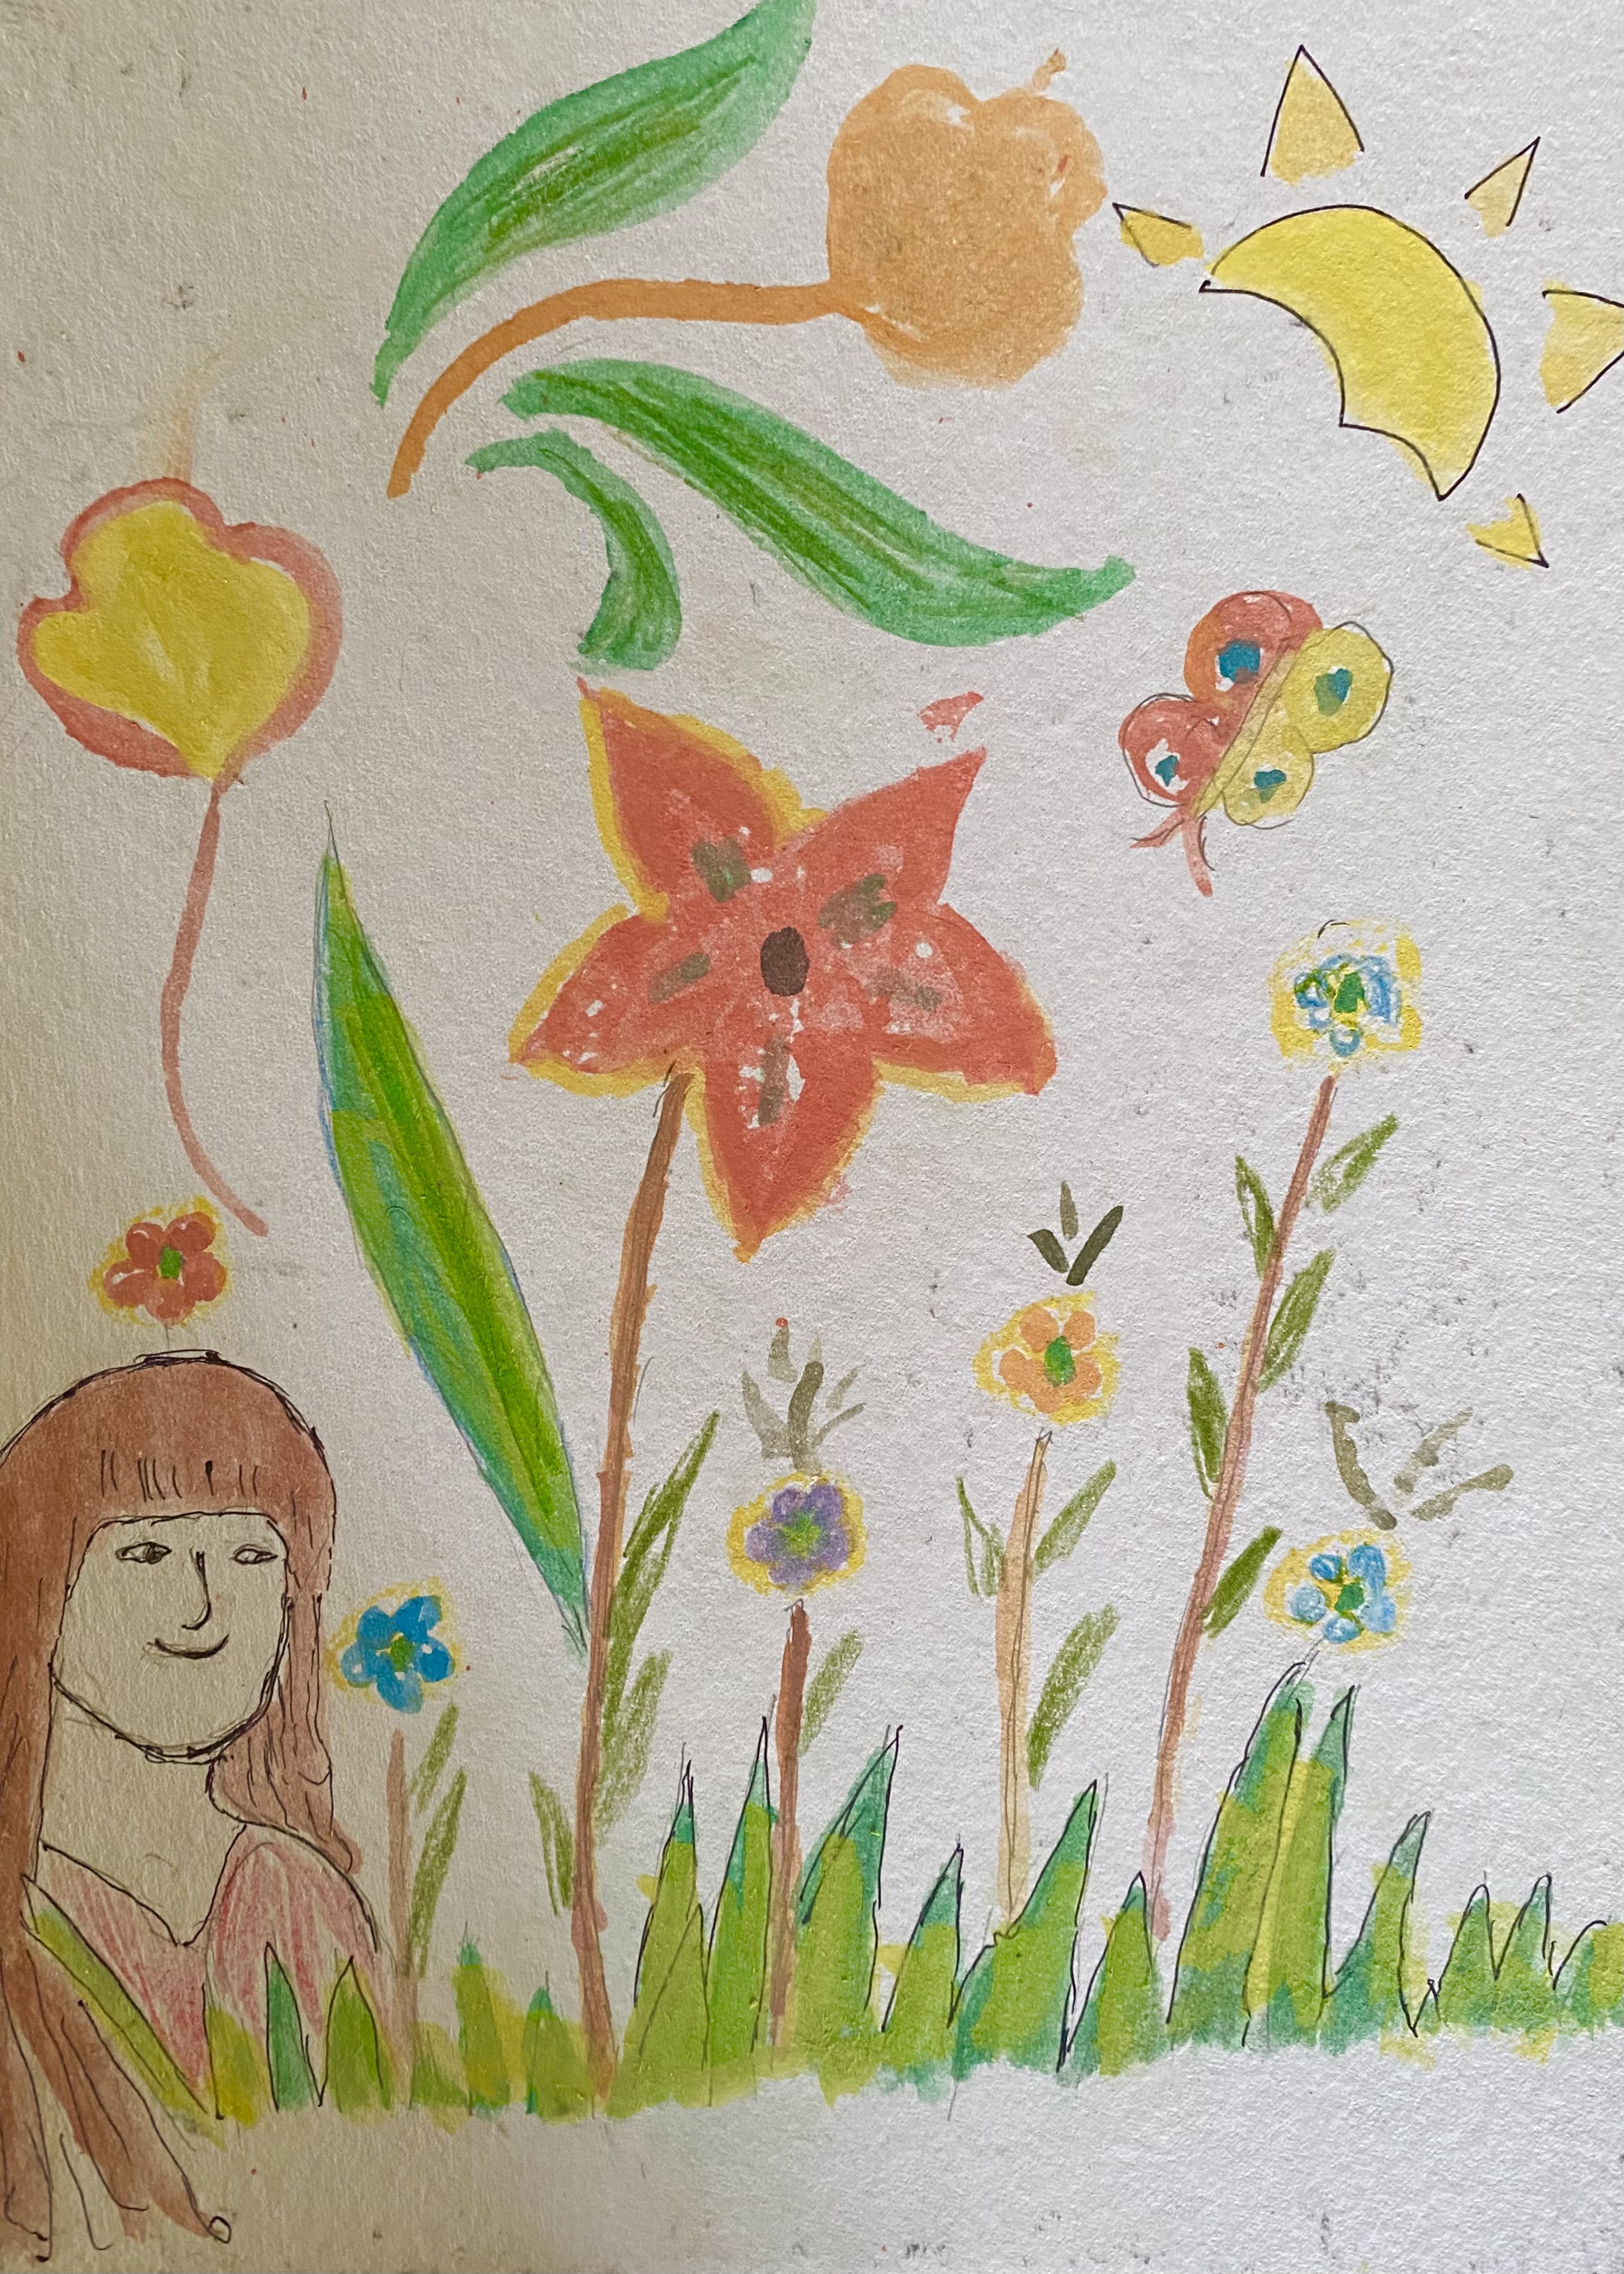
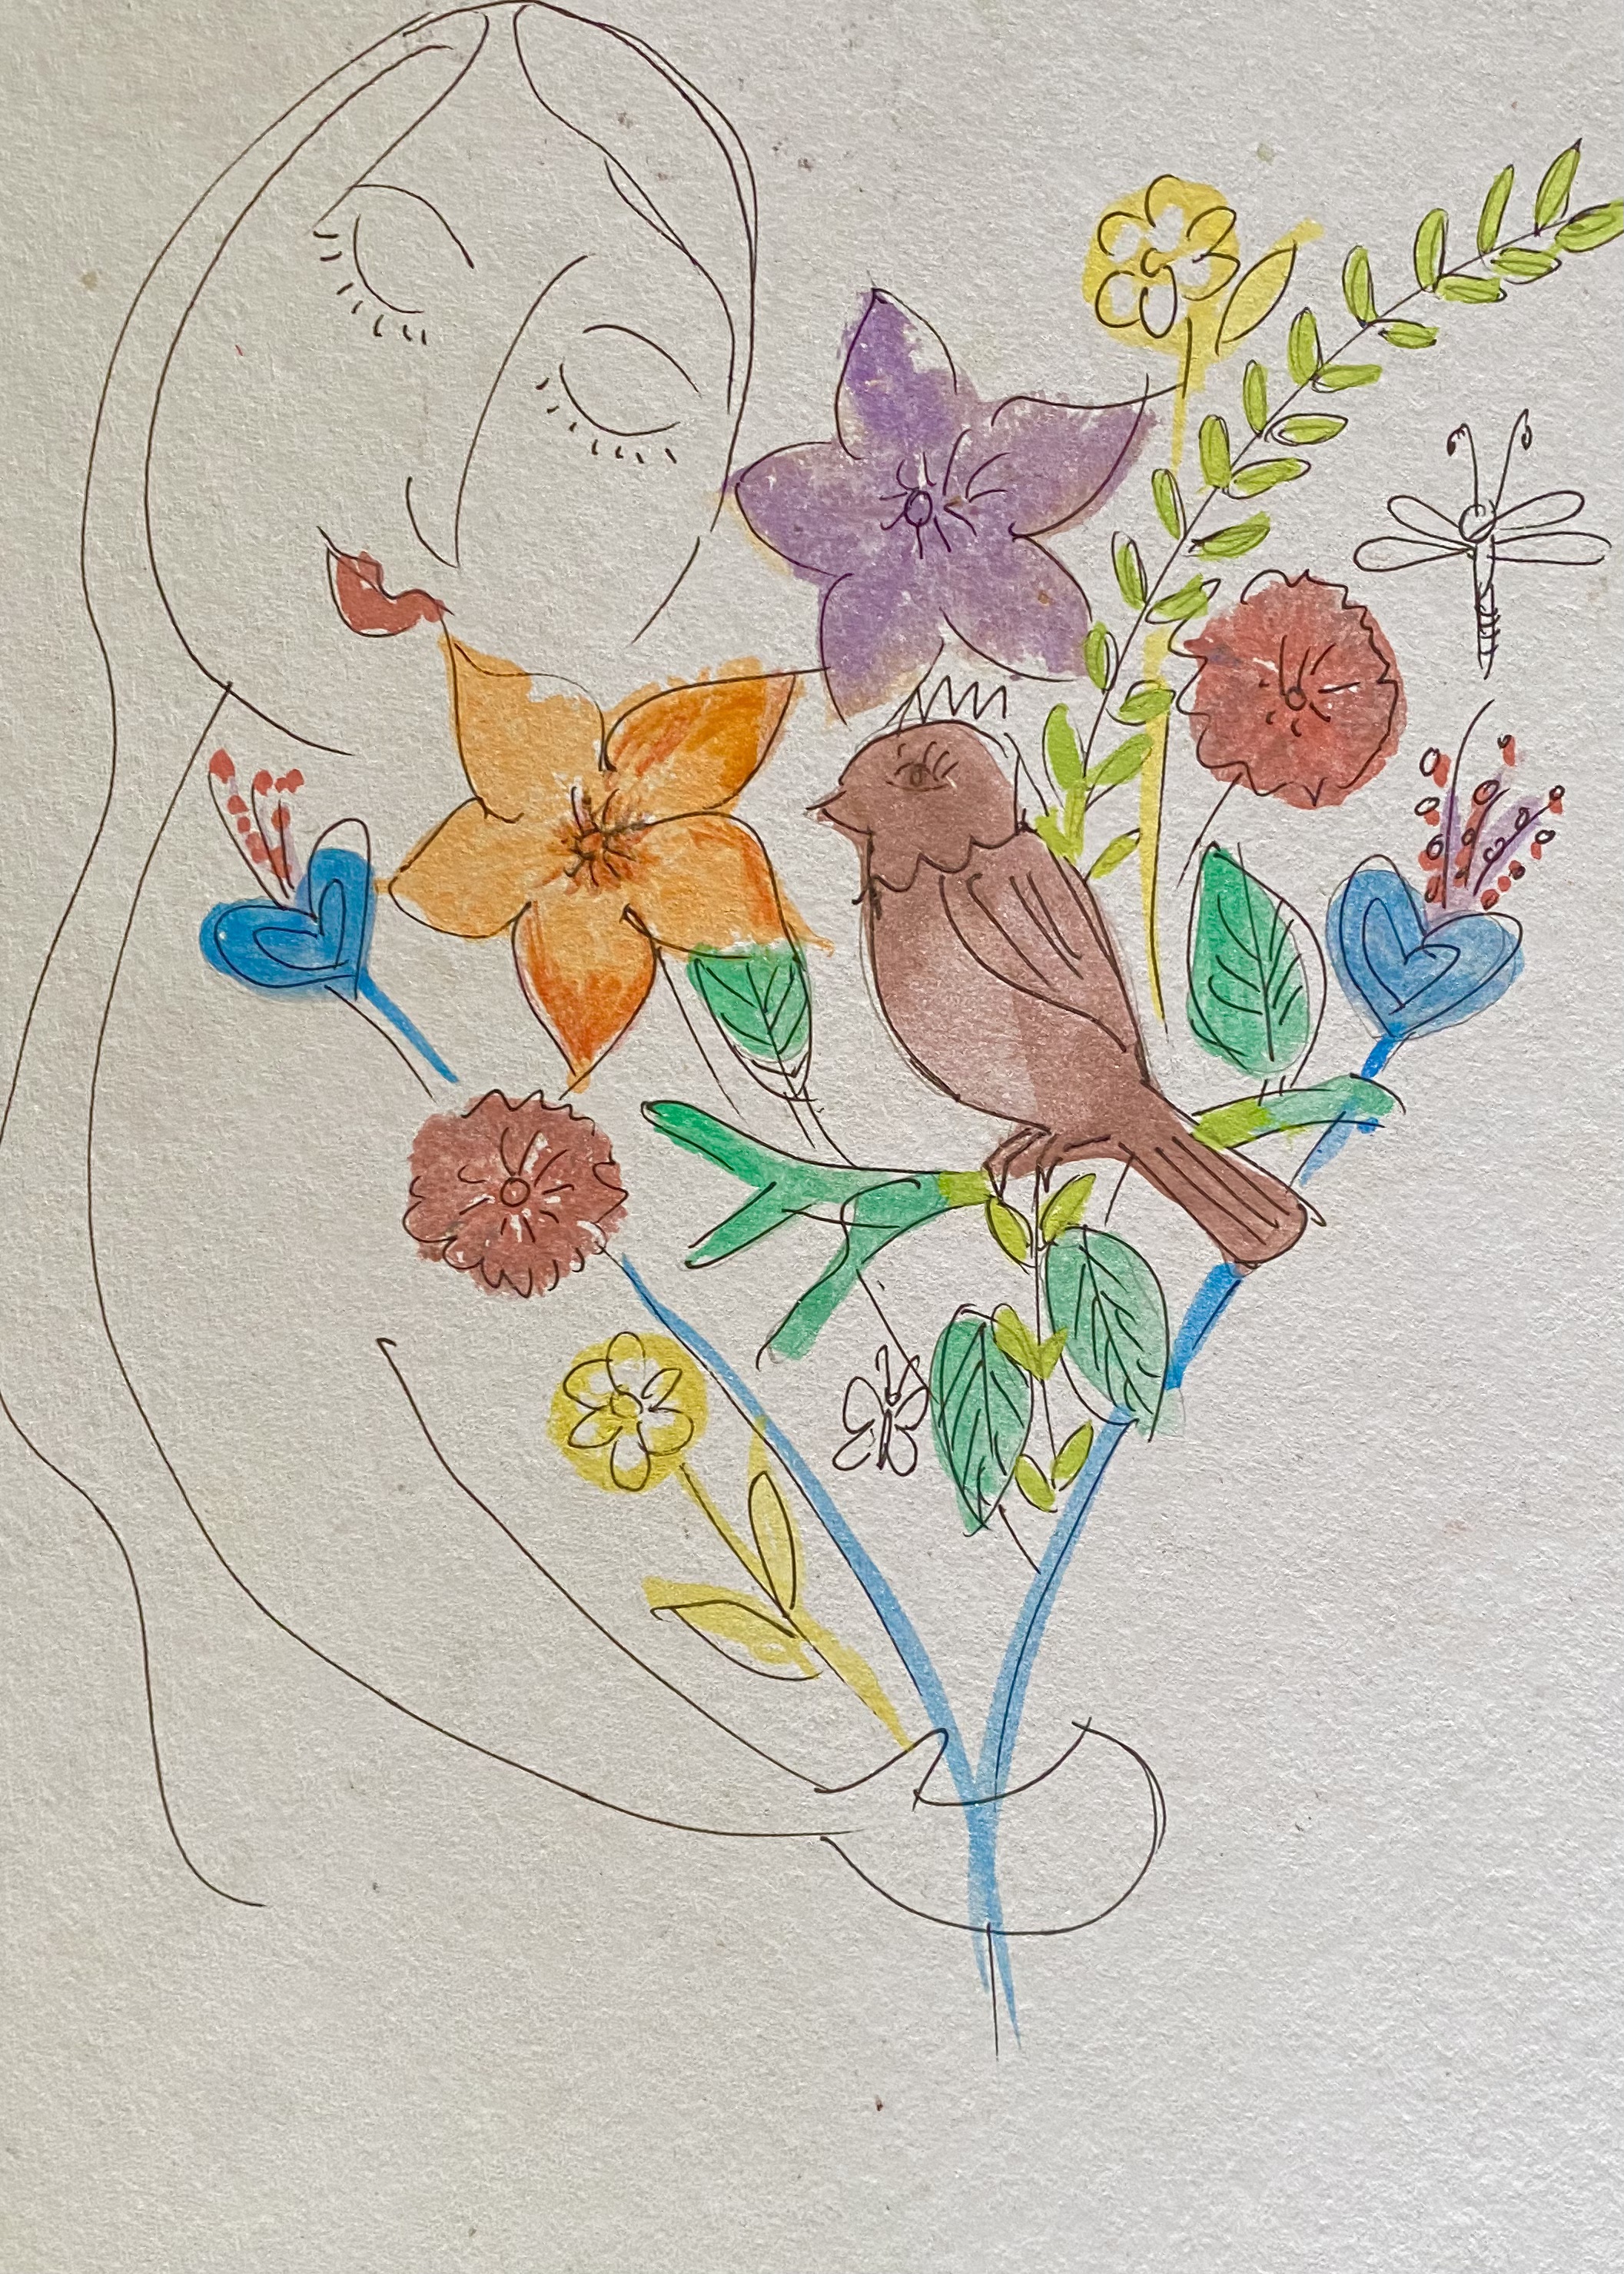
Here are some of the sample designs that Guadalupe showed us. We were asked to choose a motif to work on. Below is a photo of me and Guadalupe.


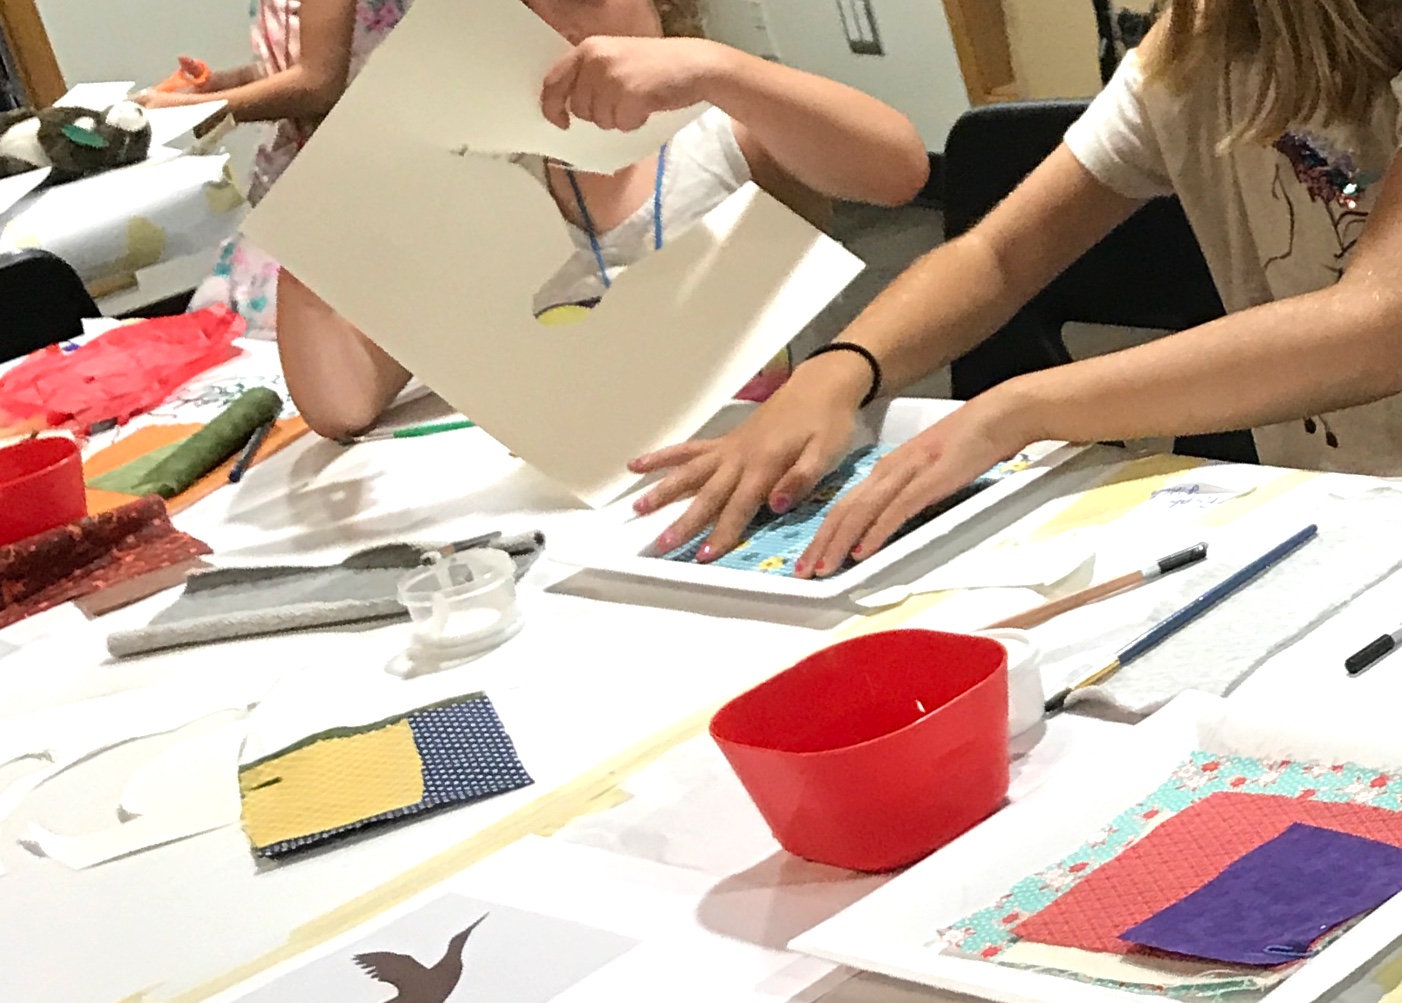
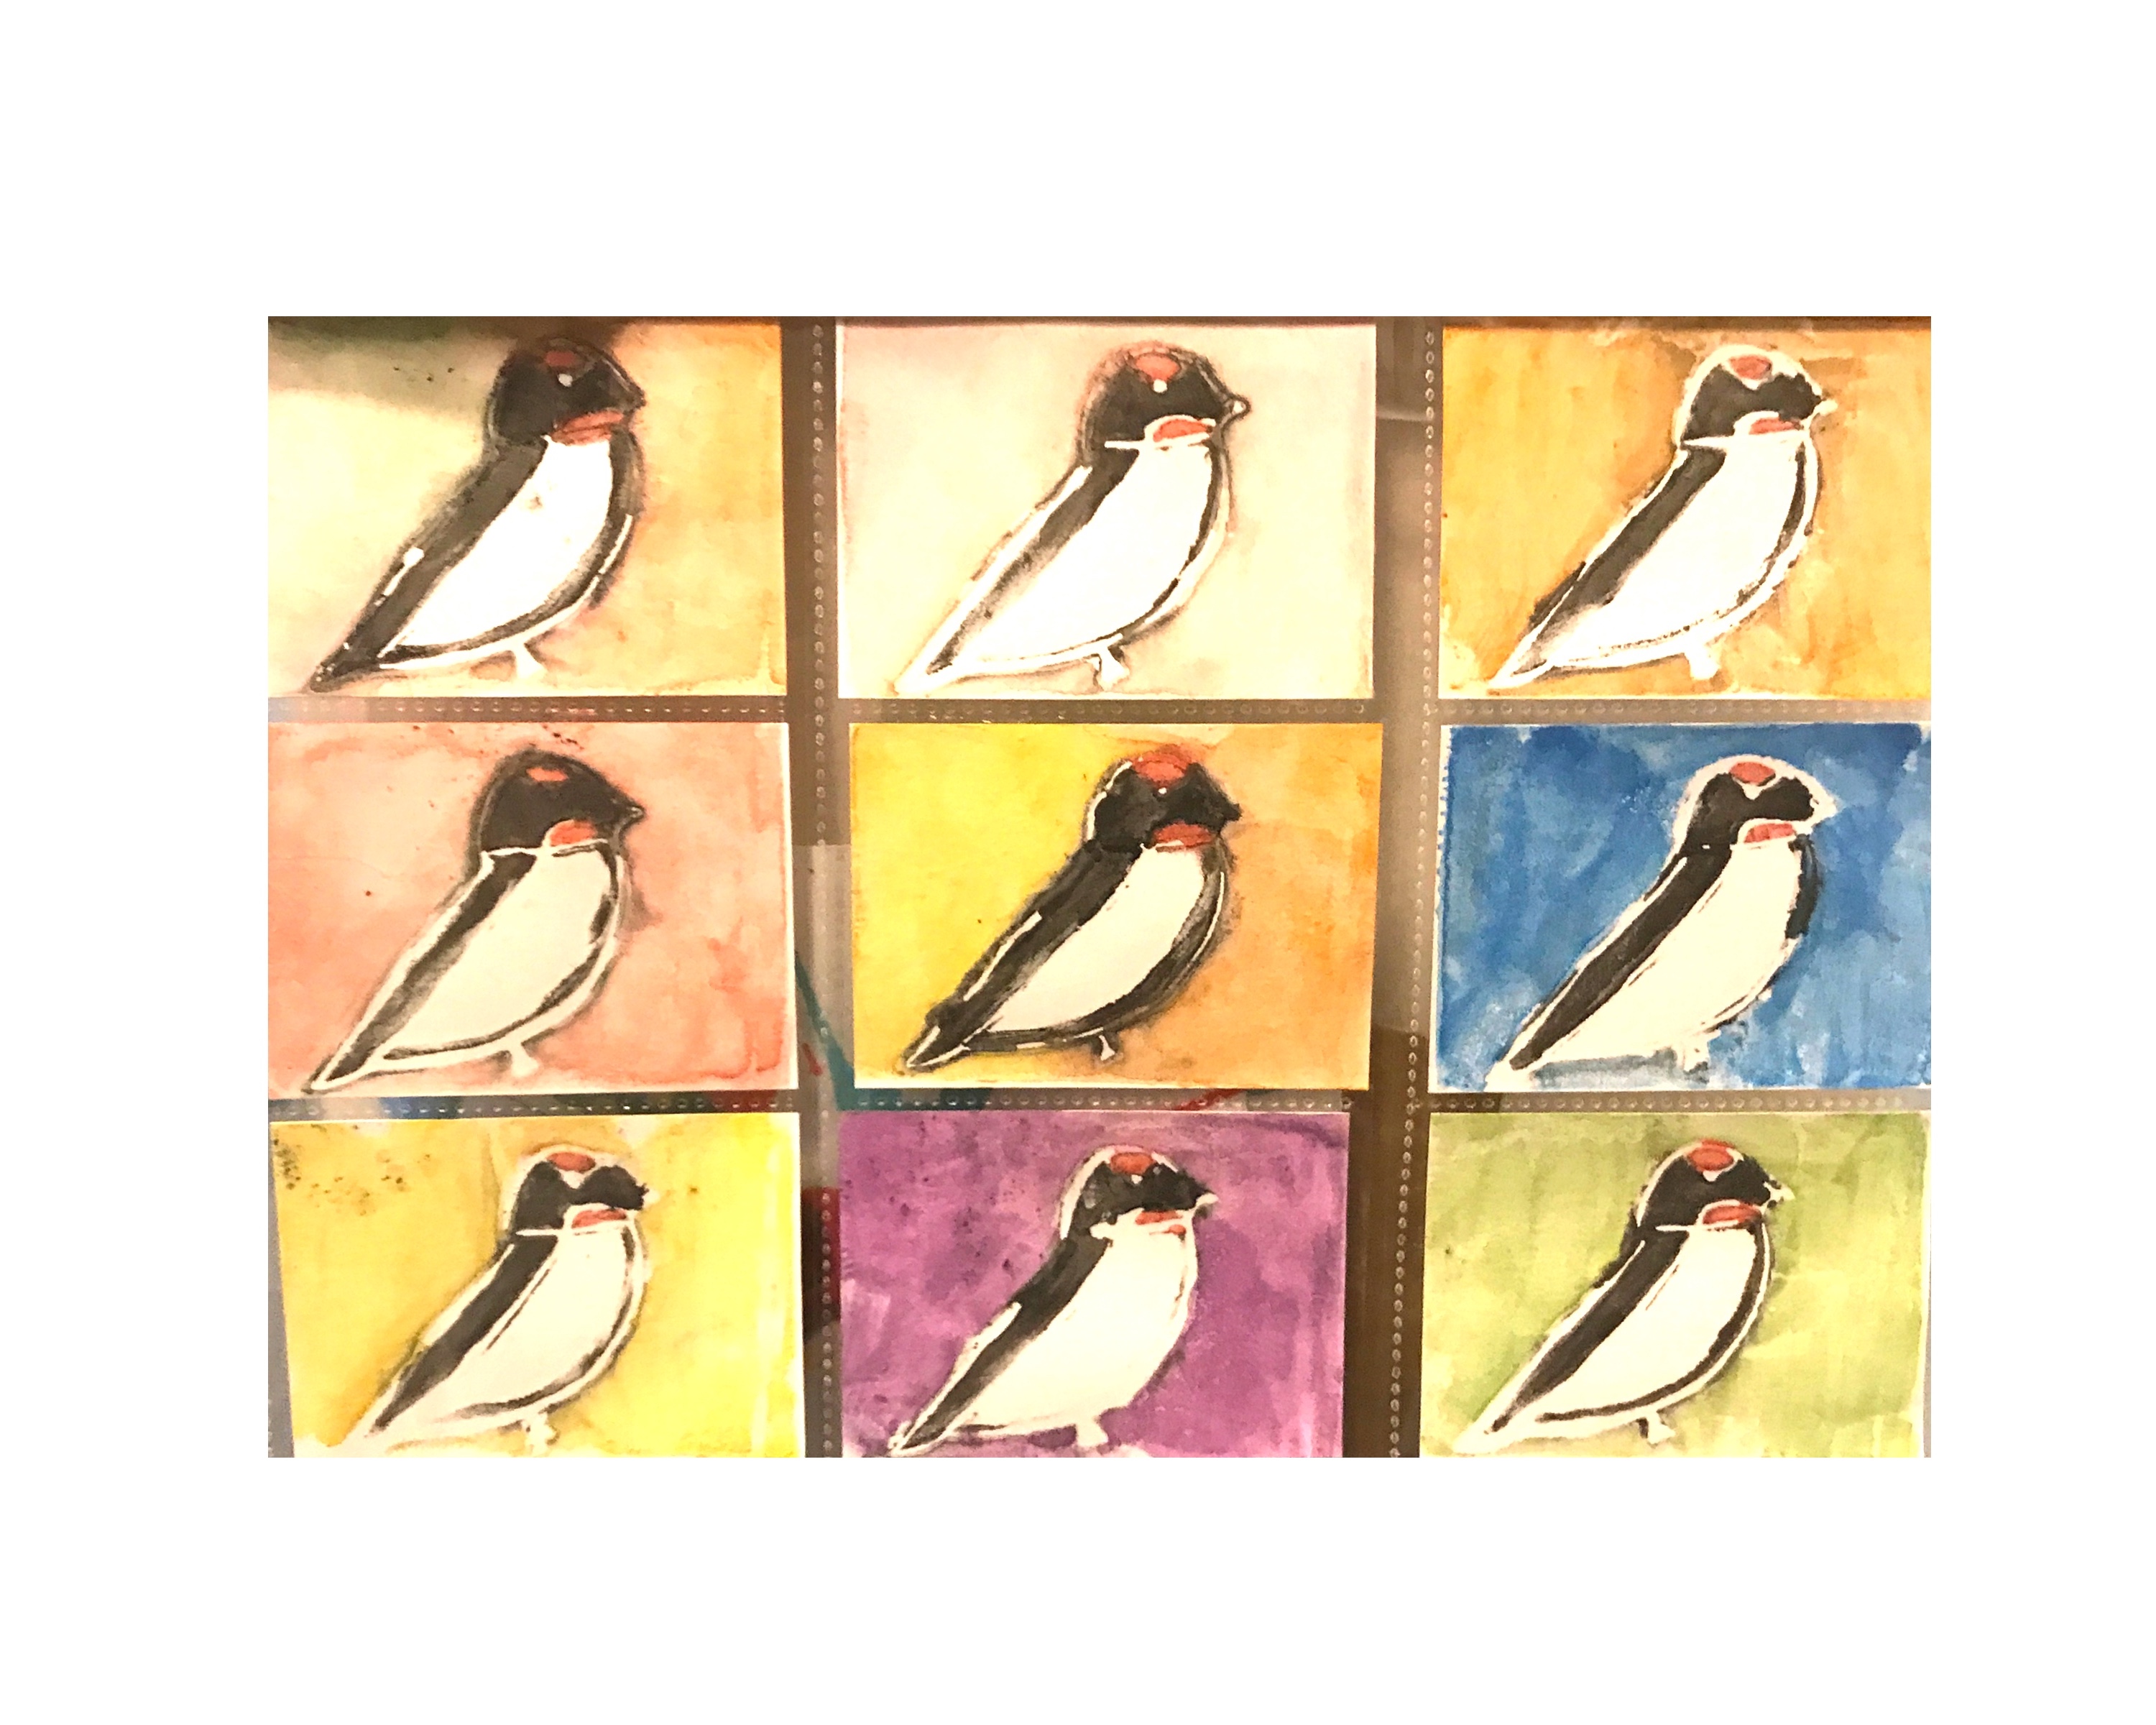
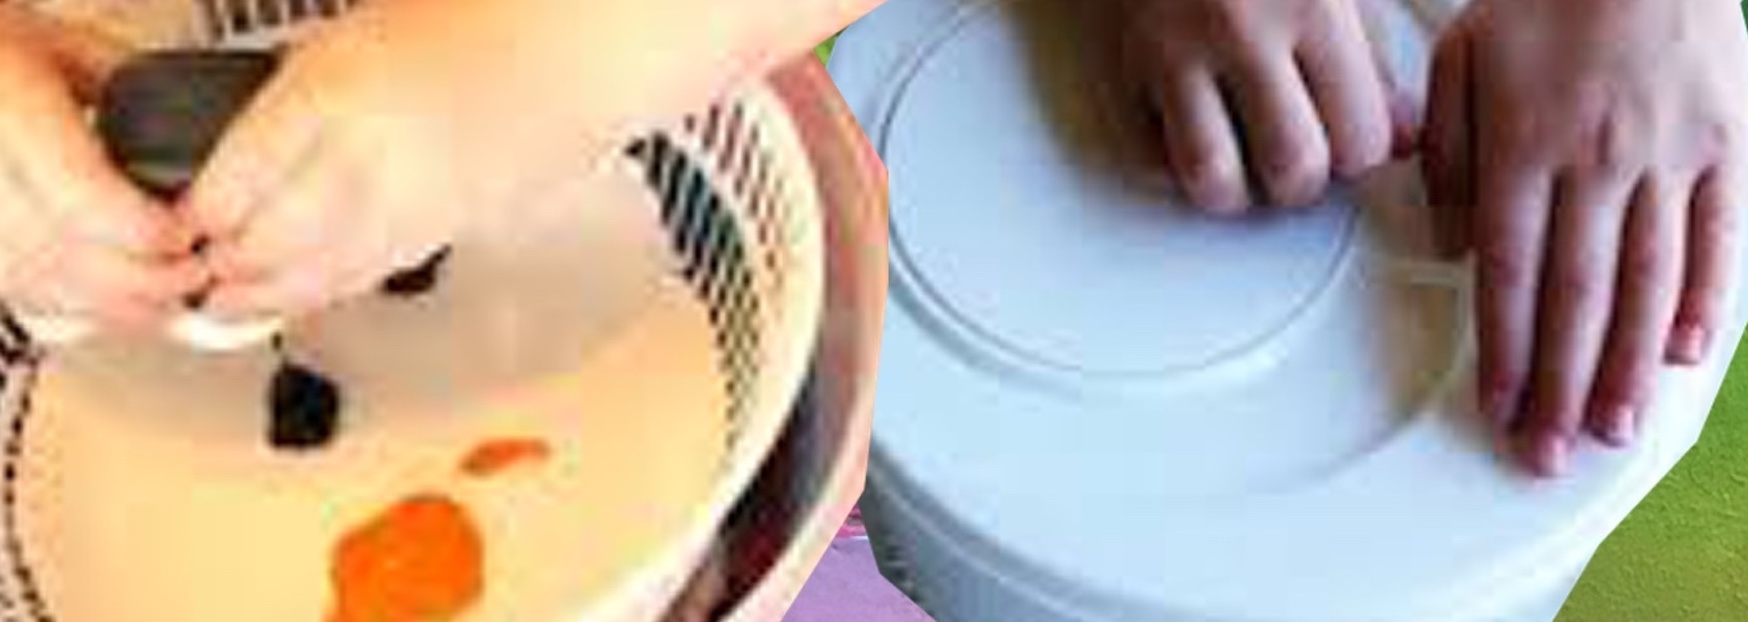
Above is a series of pics showing you some of the steps and work we did during class, the last image is the completed piece by Aida. She shared this photo with me a few days later.
Below are photos of us busy at work. On the wall are are some of Gudalupe’s creations…


(L-R) Liz,Paulina, Guadalupe, Nancy and Aida
I am so delighted to have had the opportunity to spend time with these amazing folks. I am especially moved by the kindness of my classmates – Nancy treated me two days in a row to an all natural healing tea with honey and dehydrated ginger and mandarin for my cough, Aida gave me some Emergen-C Vitamin C booster, and Liz spent some time with me days later to have breakfast together and drive me around town.


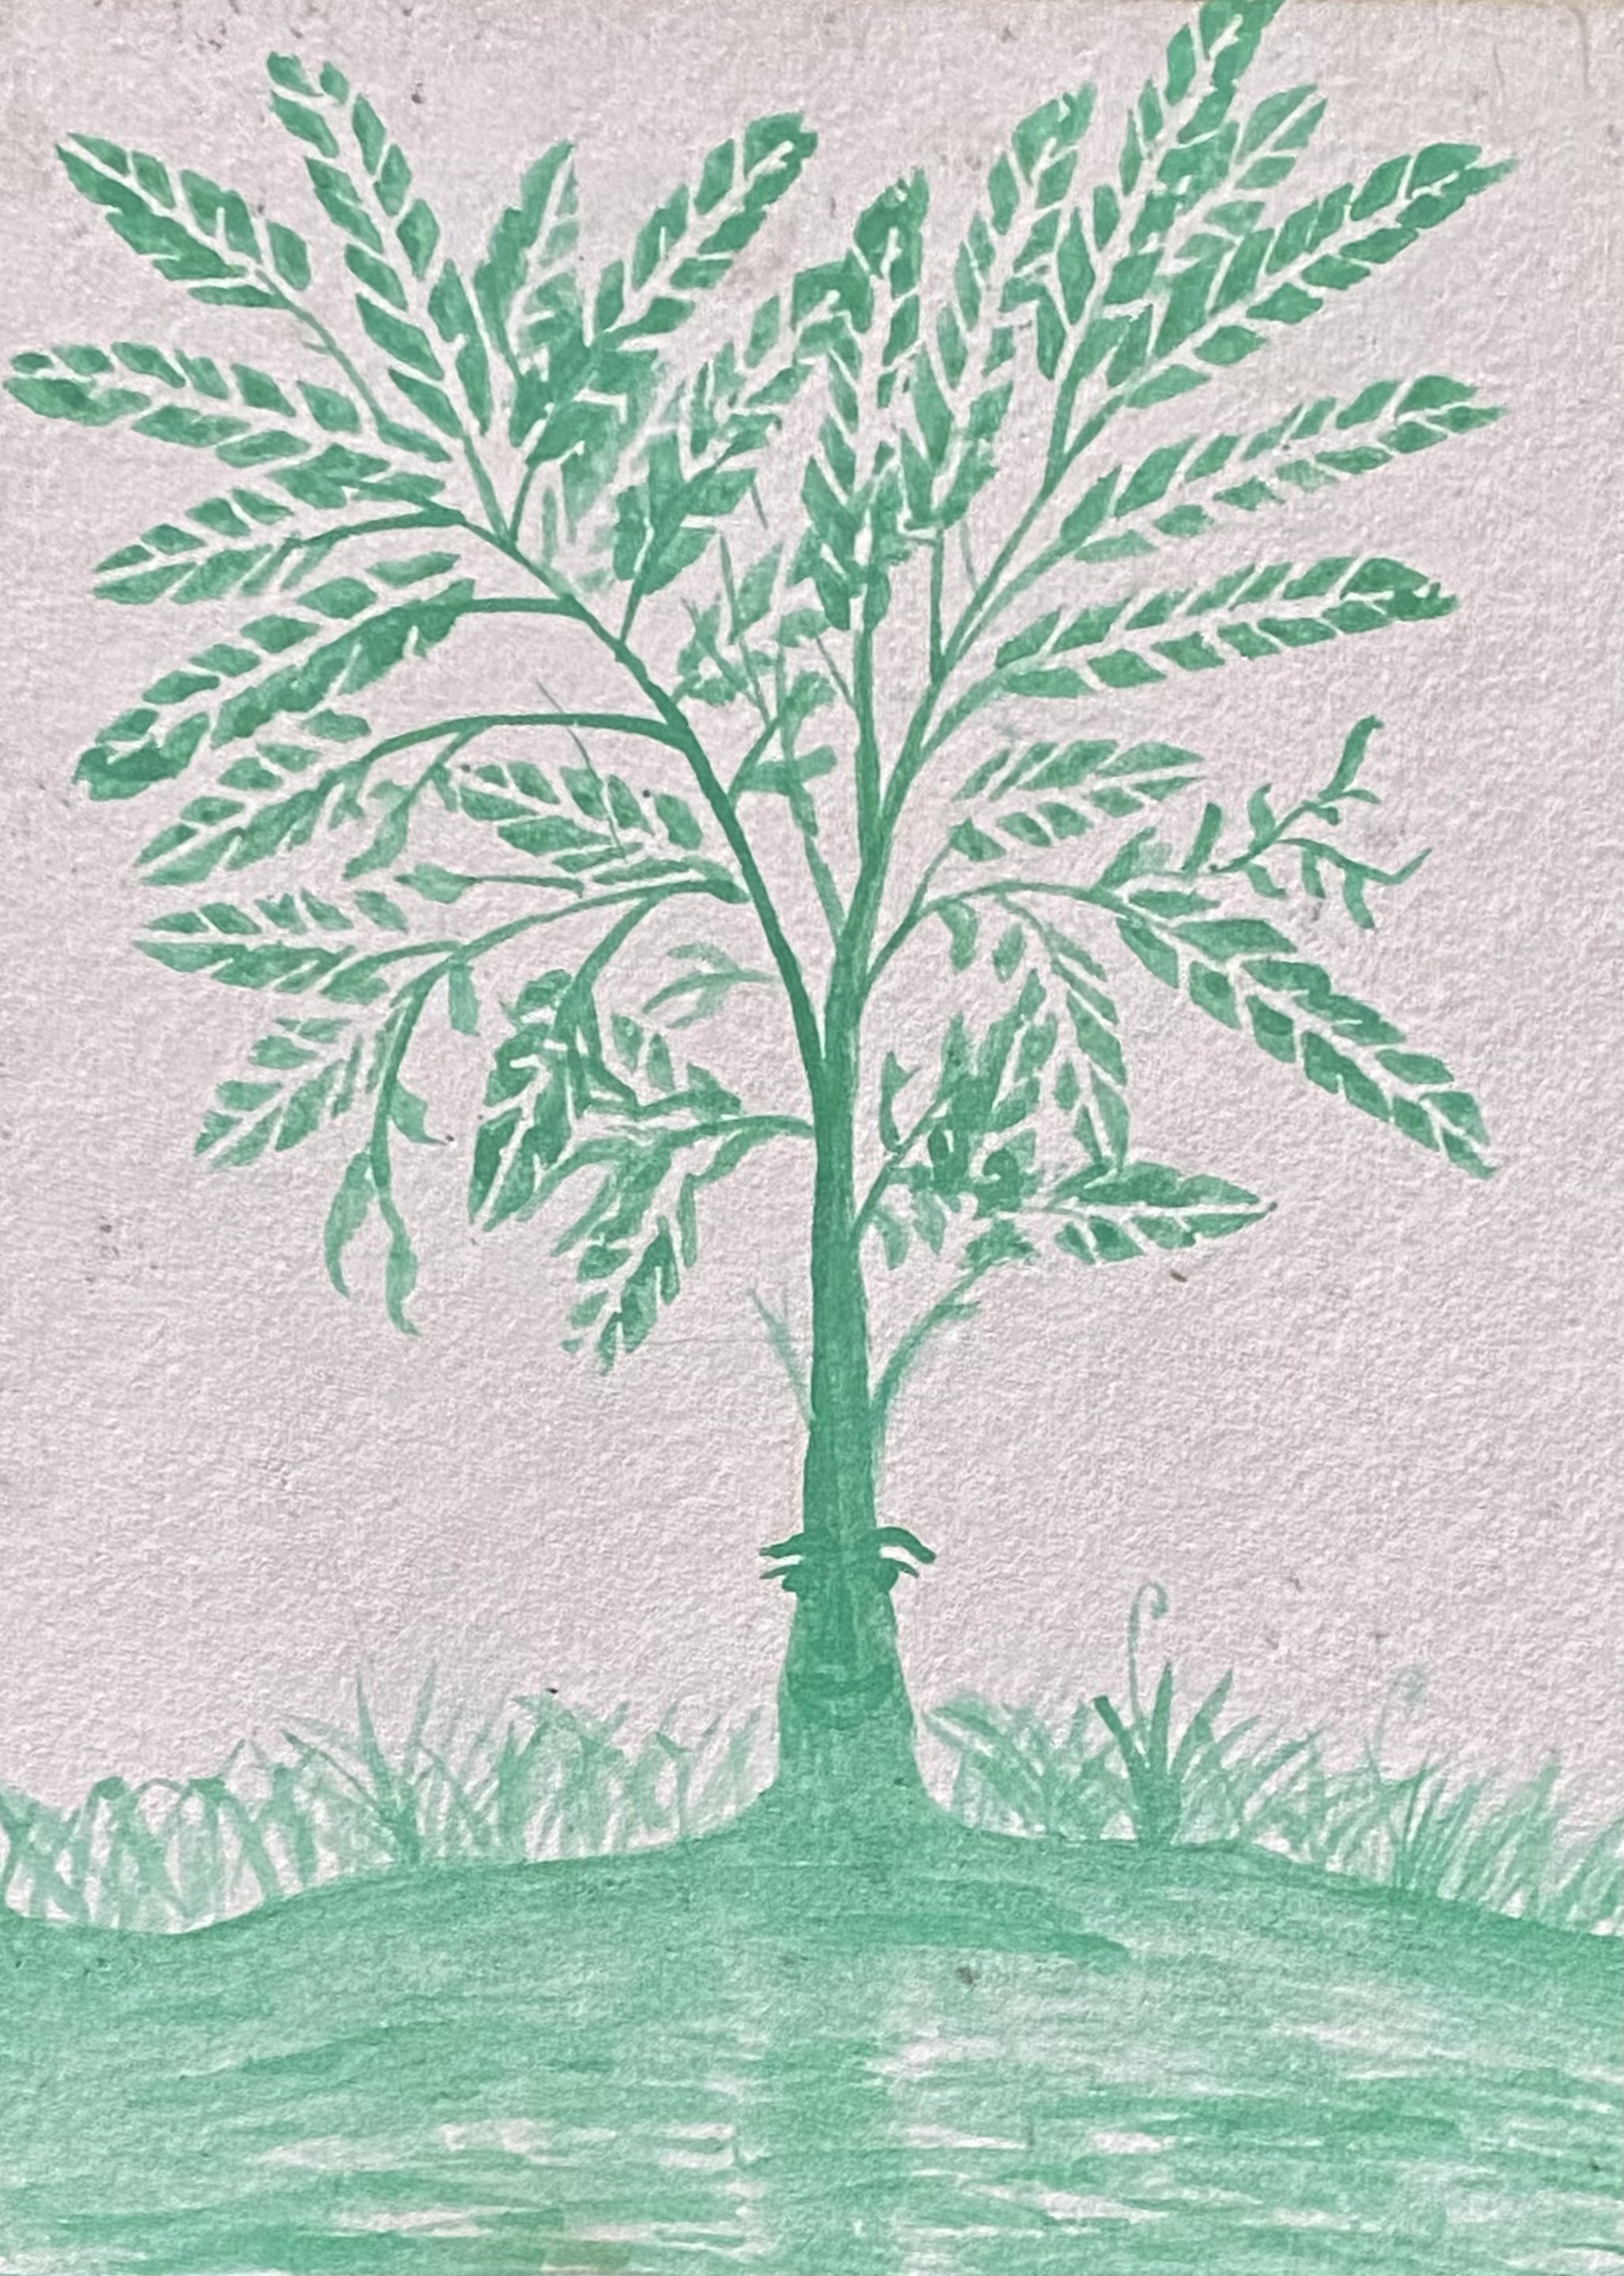


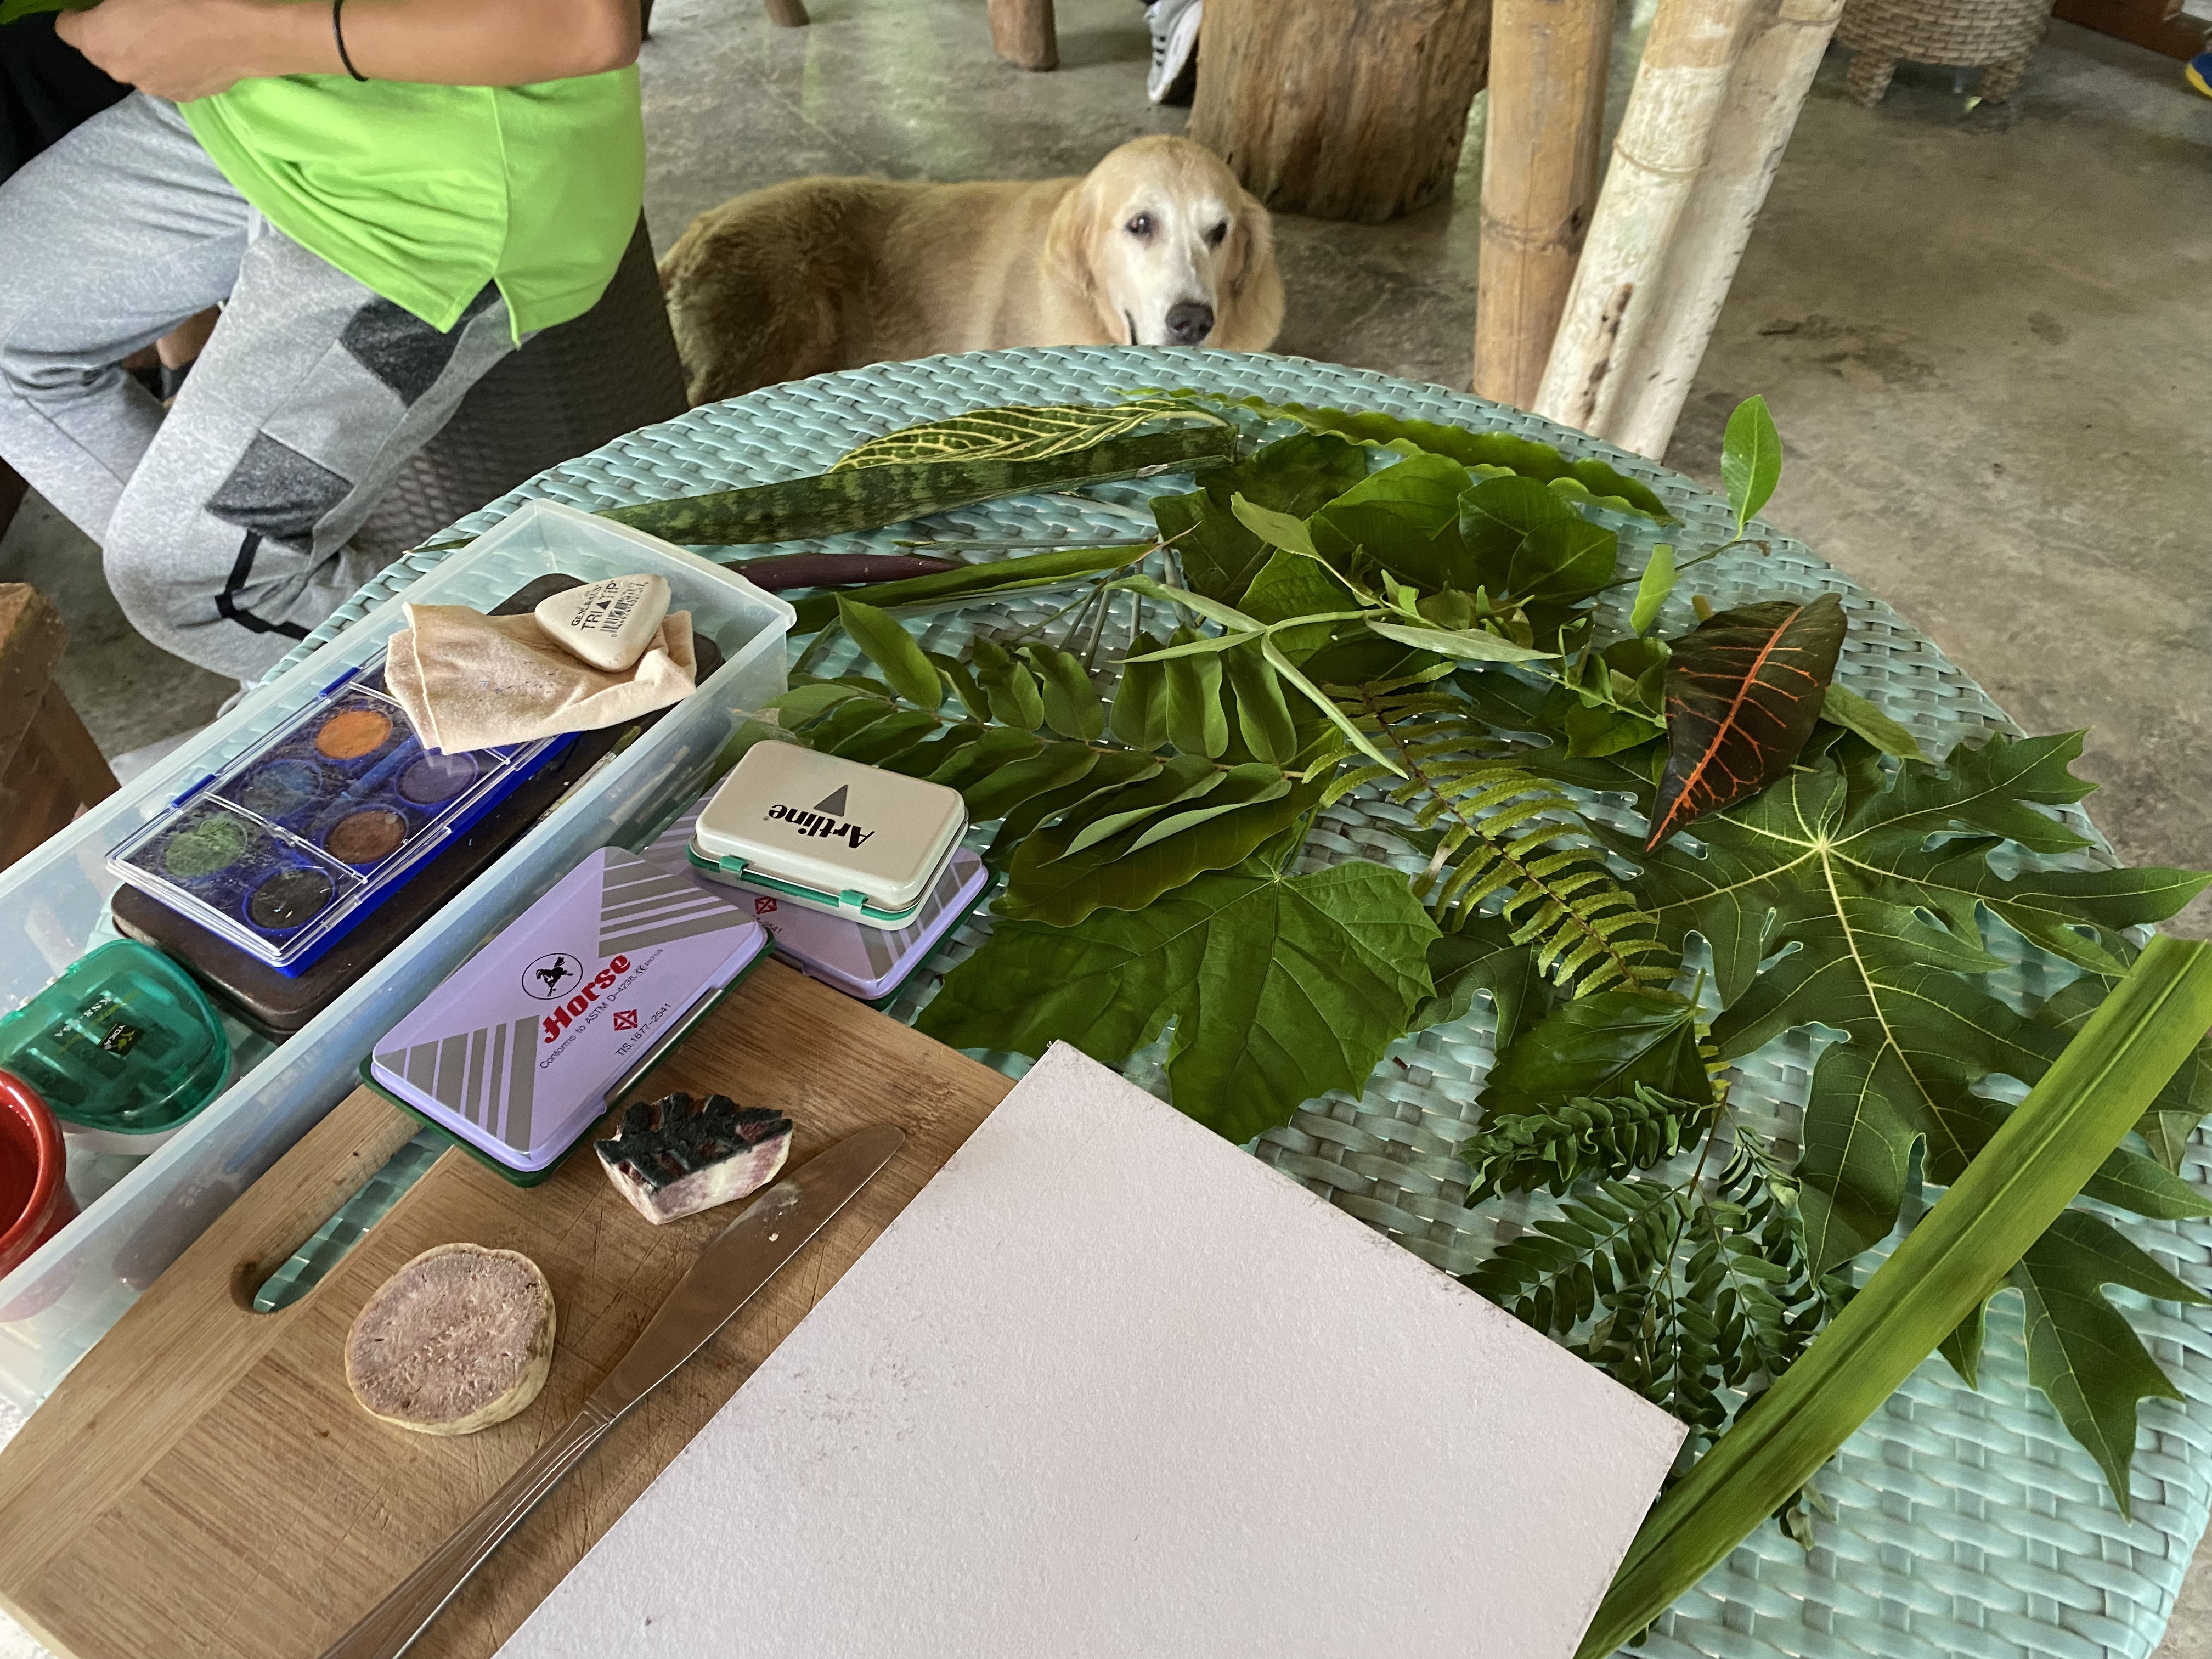


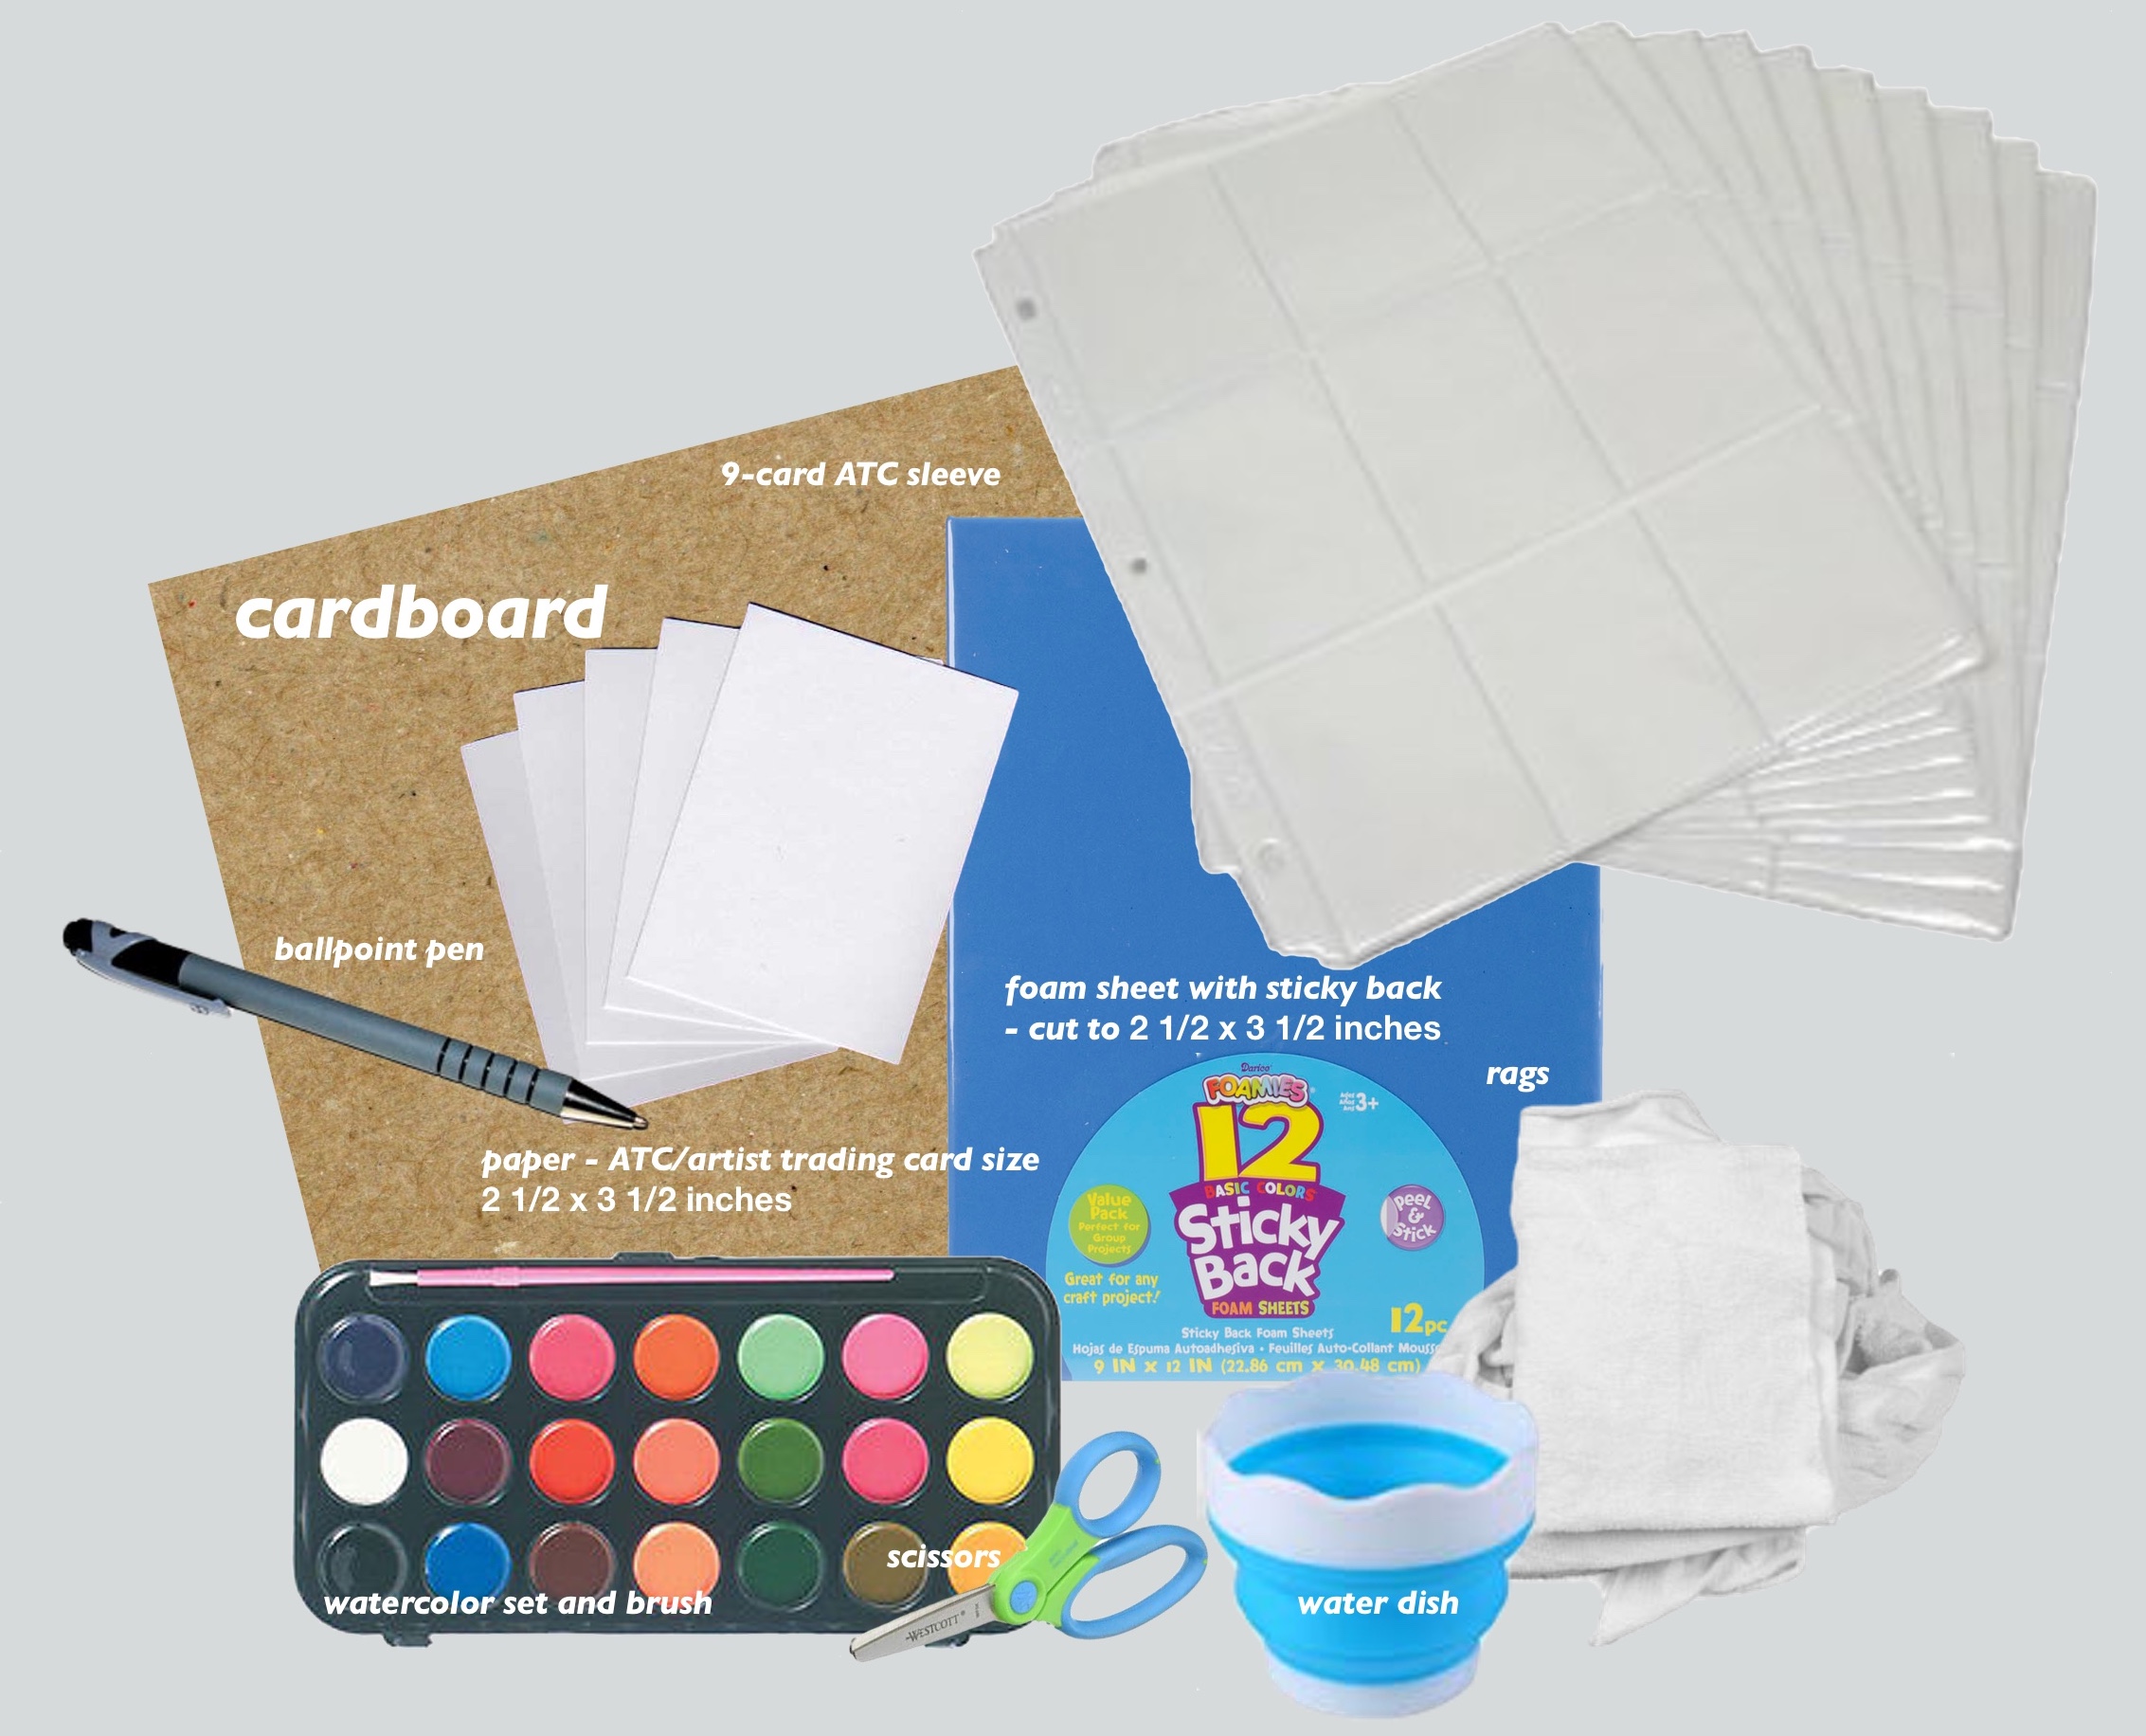


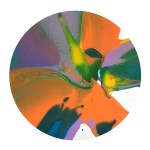
 Optional: Spritz a bit of water if you want the paint to flow more (as long as paper quality allows it).
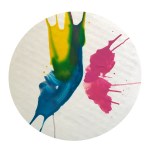