It has been many years since I went somewhere for the sole purpose of engaging with artists/artisans and other creative spirits. The last time was in 2016 at the International Meeting of Naïve Artists in Slovenia. I long for solo trips like this for they echo warm inspirations in my soul for many, many years!
This year, just before my 53rd birthday, I decided to return to Mexico. My last visit was in 1999. Although I got to visit the states of Oaxaca, Veracruz, Michoacan, I mostly stayed in San Miguel de Allende, Guanajuato during that stay which lasted over 3 months.
GUANAJUATO, 1999

Here are photos of me in San Miguel de Allende – Top L & R: Handbuilding Ceramics Class at the Instituto Allende, Bottom L: Hojalatería class at Instituto Nacionál de Bellas Artes (INBA), and Bottom R: Photo of me with a Japanese ceramic artist and our studio dog at the Clay Olé studio which was run by Canadian ceramicist Leslie Bergeron.
OAXACA, 2023
This time I searched where I should go to allow me to visit as many talleres (workshops/studios) and experience many different art forms/mediums as possible in one place. And all the roads led to Oaxaca! So, Oaxaca it was! I was originally supposed to stay for 2 weeks, but I had a nagging cough that just wouldn’t go away so I had to shorten my visit and commit to only a few things.
One was a 2 day workshop “Deshilado y Bordado” (Frayed and Embroidered) with master embroiderer Guadalupe Vásquez (bordados_donaji) at the Centro de Artes Textiles Oaxaca (CATO) in Oaxaca de Juárez.

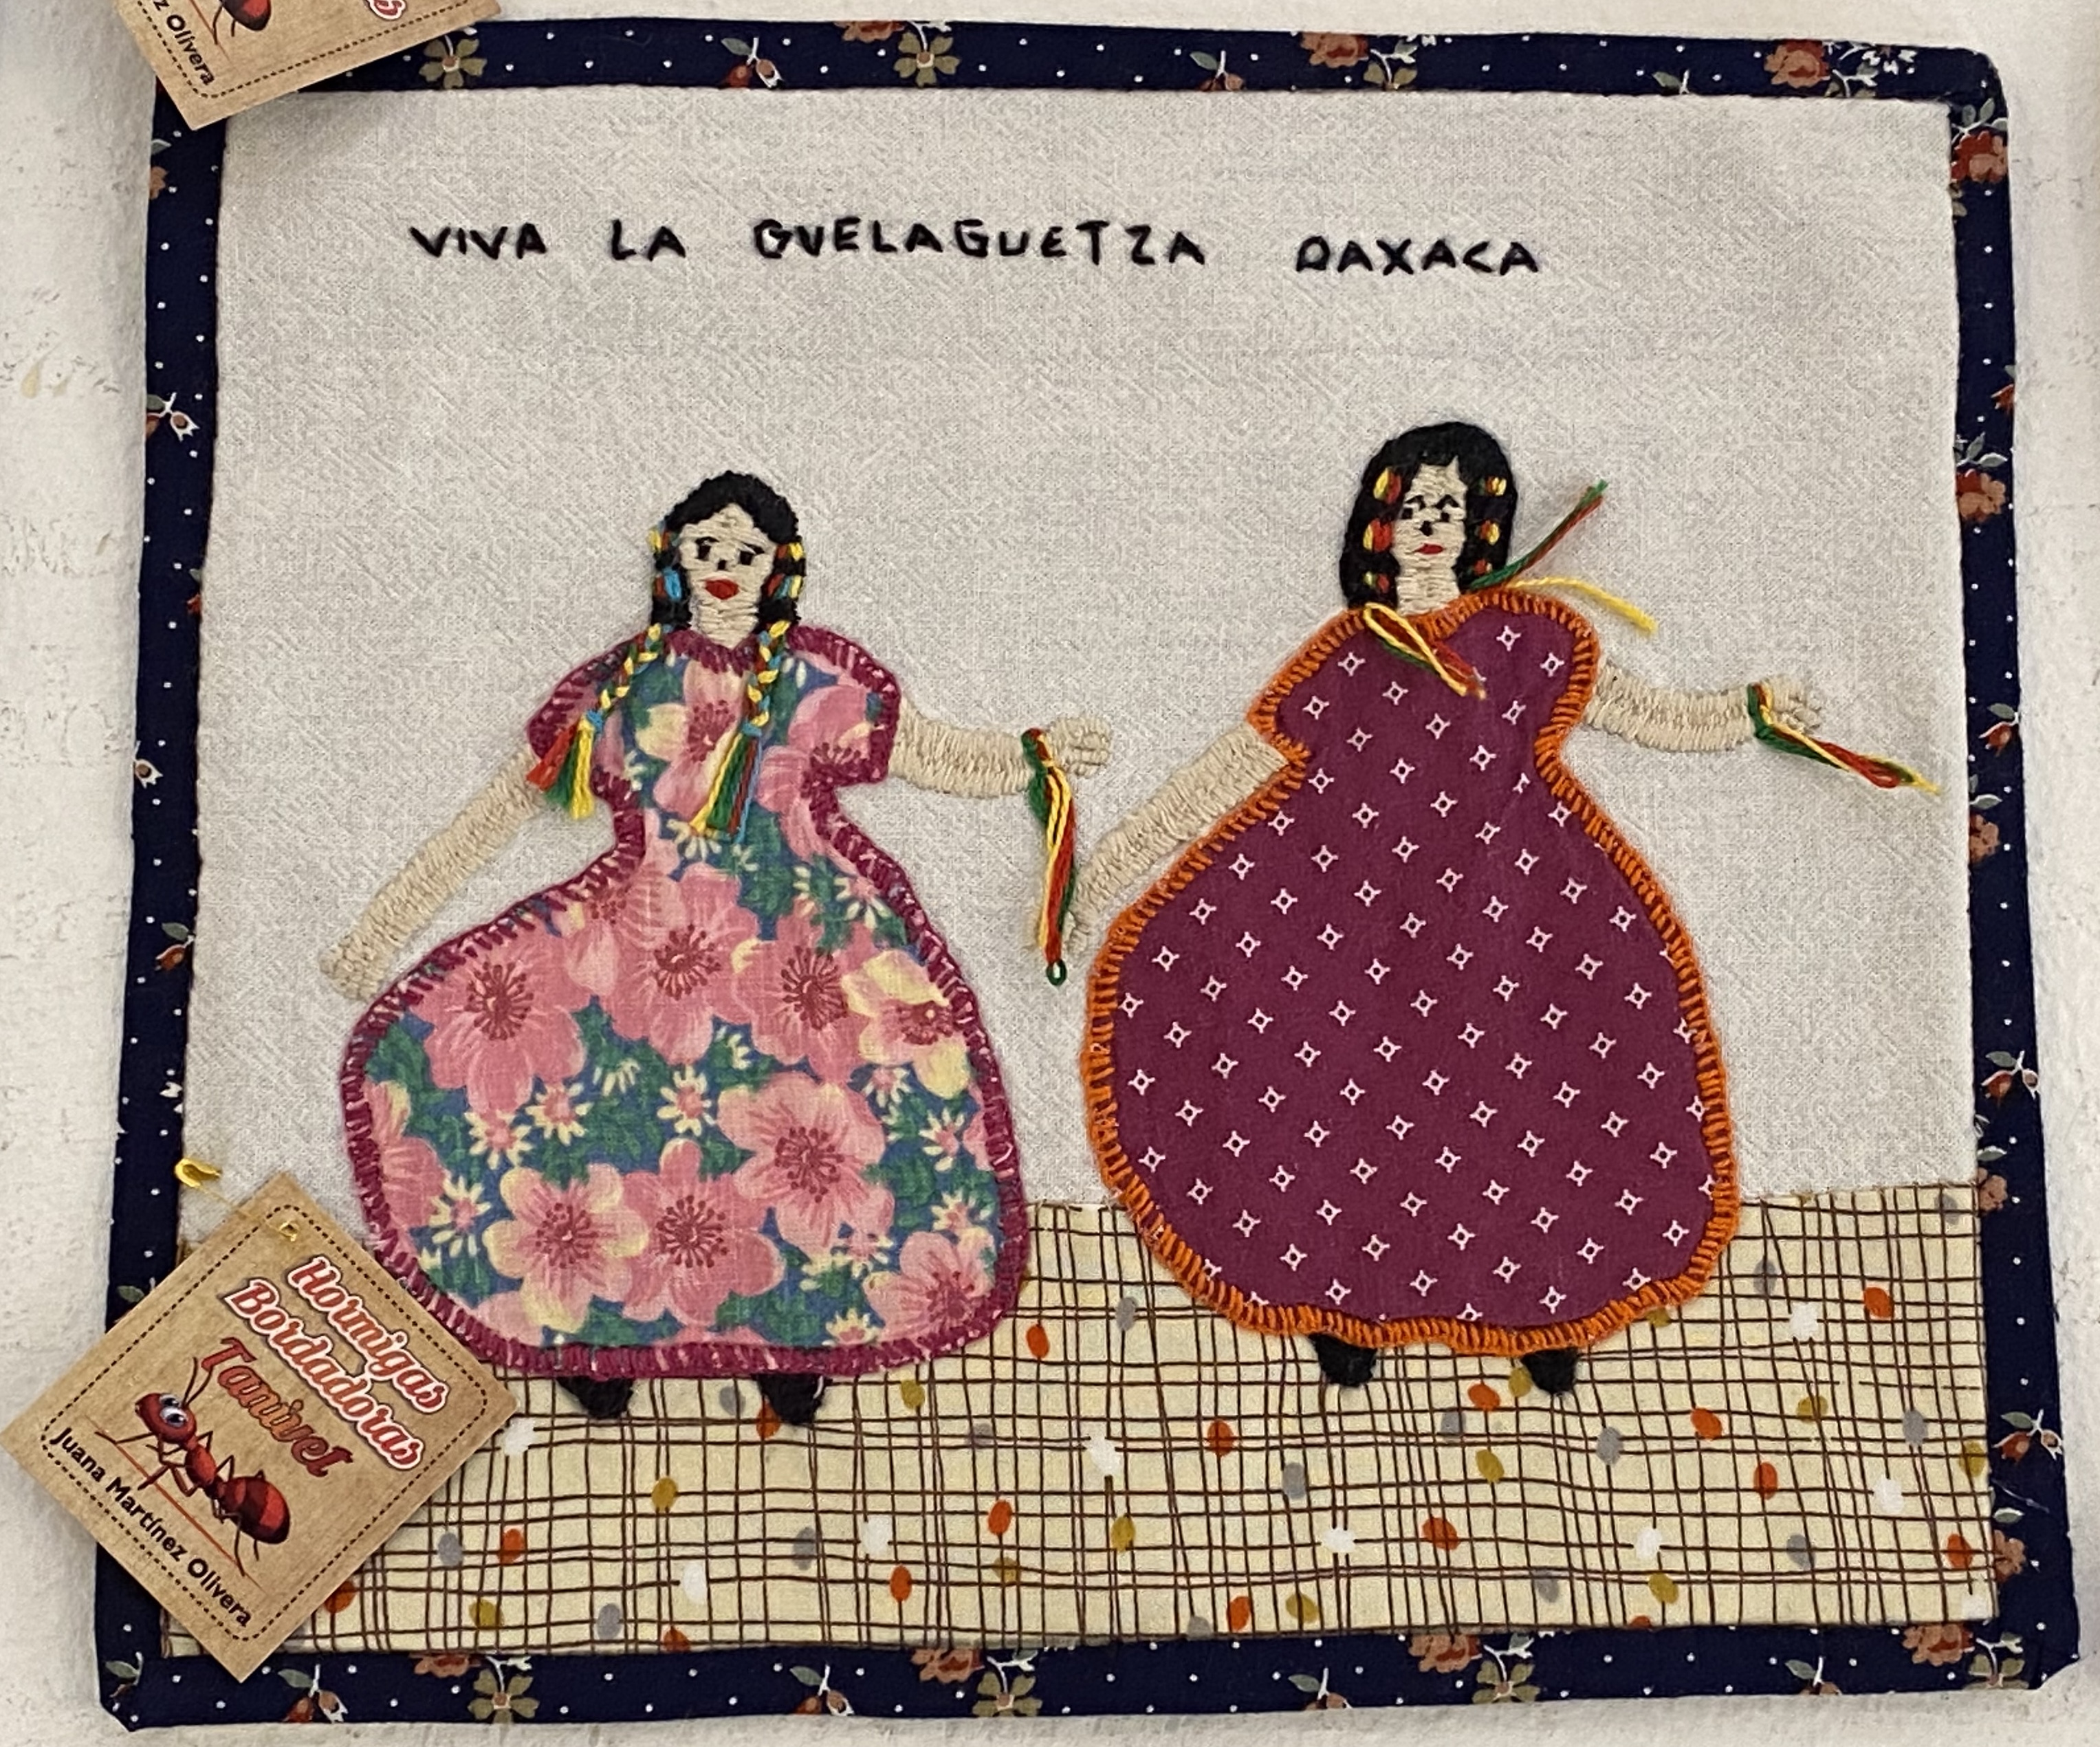
The other was a day workshop and engagement with the “Hormigas Bordadoras” (Ant Embroiderers) of San Francisco Tanivet, a women’s artist coop in Oaxaca who developed their own visual language using appliqué and pattern.
I must say it has been a short but sweet and inspirational visit to Oaxaca. I will be sharing with you some details of these engagements in my succeeding posts, but just wanted to share photos with the wonderful people at CATO who made these interactions with these wonderful textile artists possible.
Photo with CATO Founder Alelí Hernandez

Photo with CATO Program Coordinator Antonio Peña

Centro de Artes Textiles de Oaxaca (CATO)
Centro de enseñanza, producción e investigación de artes textiles – Educational, production and research center for textile arts.