What’s a T-Rex’s favourite number? Eight (ate!) And yes, that’s the same number my son is at. For his 8th birthday he asked for a Dinosaur-themed party. He decided on a crafts and cupcakes party in his school. So today I will share with you the Dino sock puppets that he and his friends created during the workshop that I facilitated for his class.
Here are the steps in pictures:
This slideshow requires JavaScript.
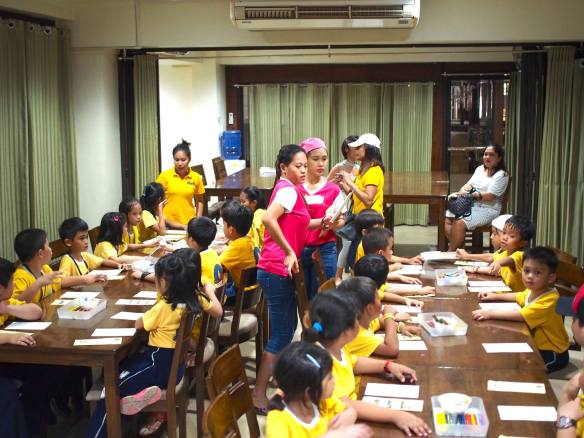
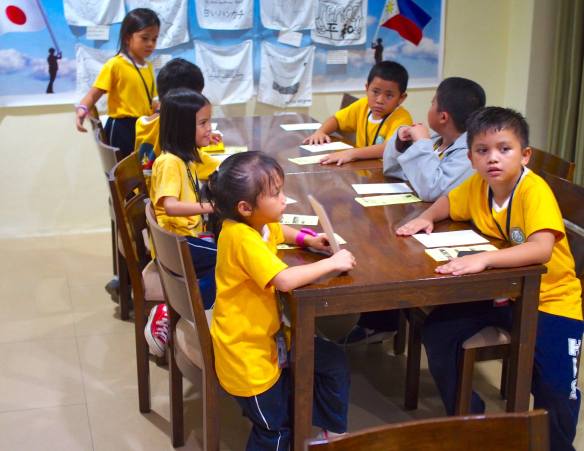
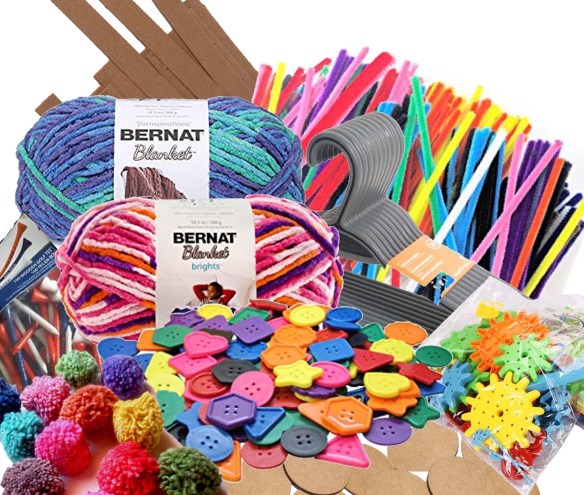
The socks were pre-sewn and most of the embellishments had sticky backs. Other embellishments had to be adhered (like spikes, pompoms, etc) using a hot glue gun. The kids would come to us and the teacher and I were the only ones allowed to handle the hot glue gun. So we did that part for them while they waited.

Here is the craft supplies buffet table. Each of the kids got a tray and then they picked socks and embellishment for their Dino puppet.
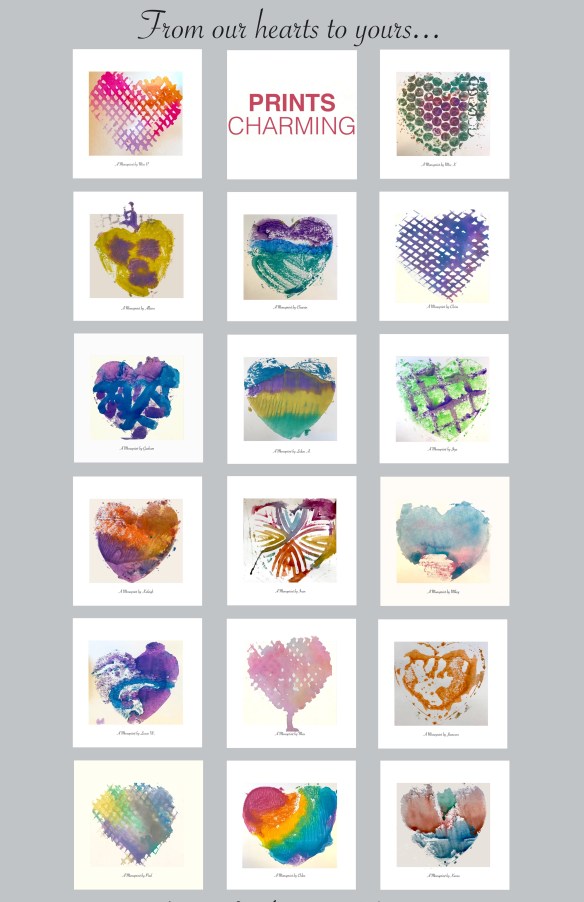
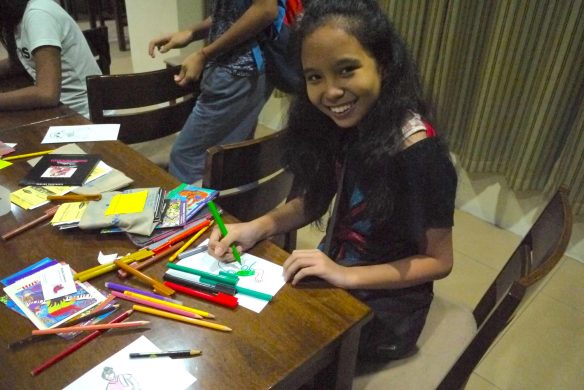
Here are the puppets my son and his classmates handcrafted during his birthday crafting workshop:
Click on image to enlarge.
It was so much fun for all of us… and to add to the birthday fun here are some dinosaur jokes. Here’s to some ROARing laughter for you folks!
Q: Can you name 10 dinosaurs in 10 seconds?
A: Yes, 8 Iguanadons and 2 Stegasaurus.
Q: What do you call a dinosaur that never gives up?
A: Try and try and try and try-ceratops
Q: Why can’t you hear a pterodactyl using the bathroom?
A: Because the ‘p’ is silent
Q: What do you call it when a dinosaur gets in a car accident?
A: Tyrannasaurus wreck!
Q: What do you call a dinosaur with an extensive vocabulary?
A: a thesaurus.
DINO JOKES Source: www.jokes4us.com


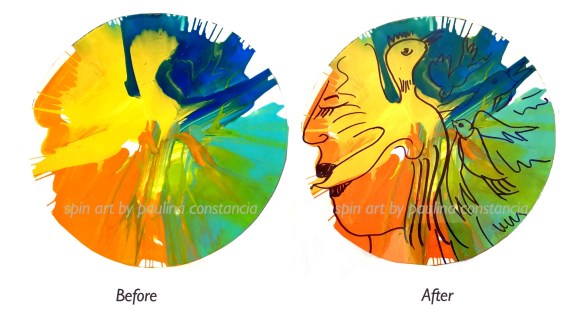
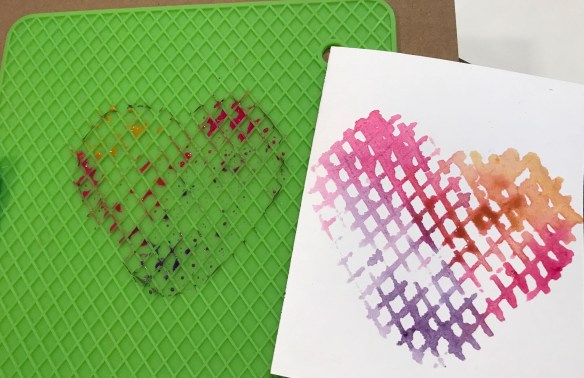
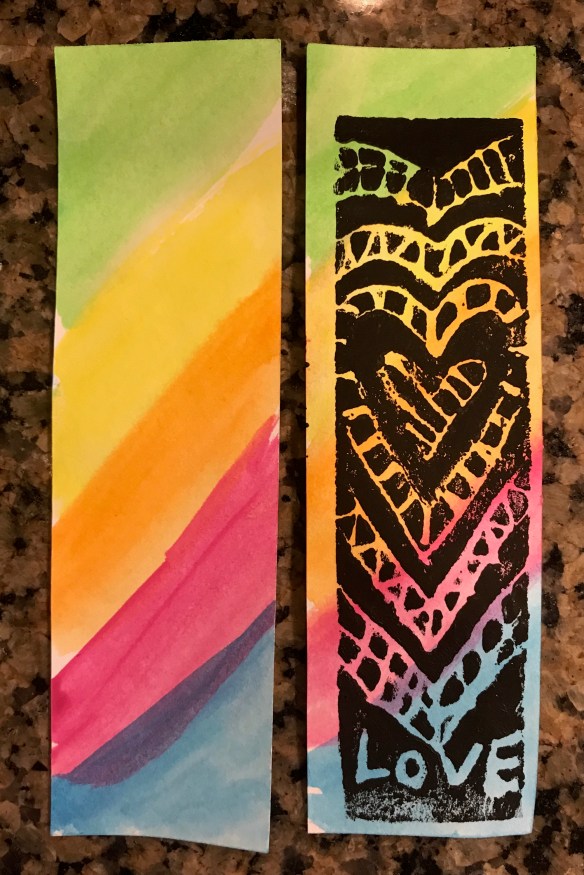
 Optional: Spritz a bit of water if you want the paint to flow more (as long as paper quality allows it).