LEARNING FROM NATURE’S RESILIENCE 4: FLOWERS & FRUITS

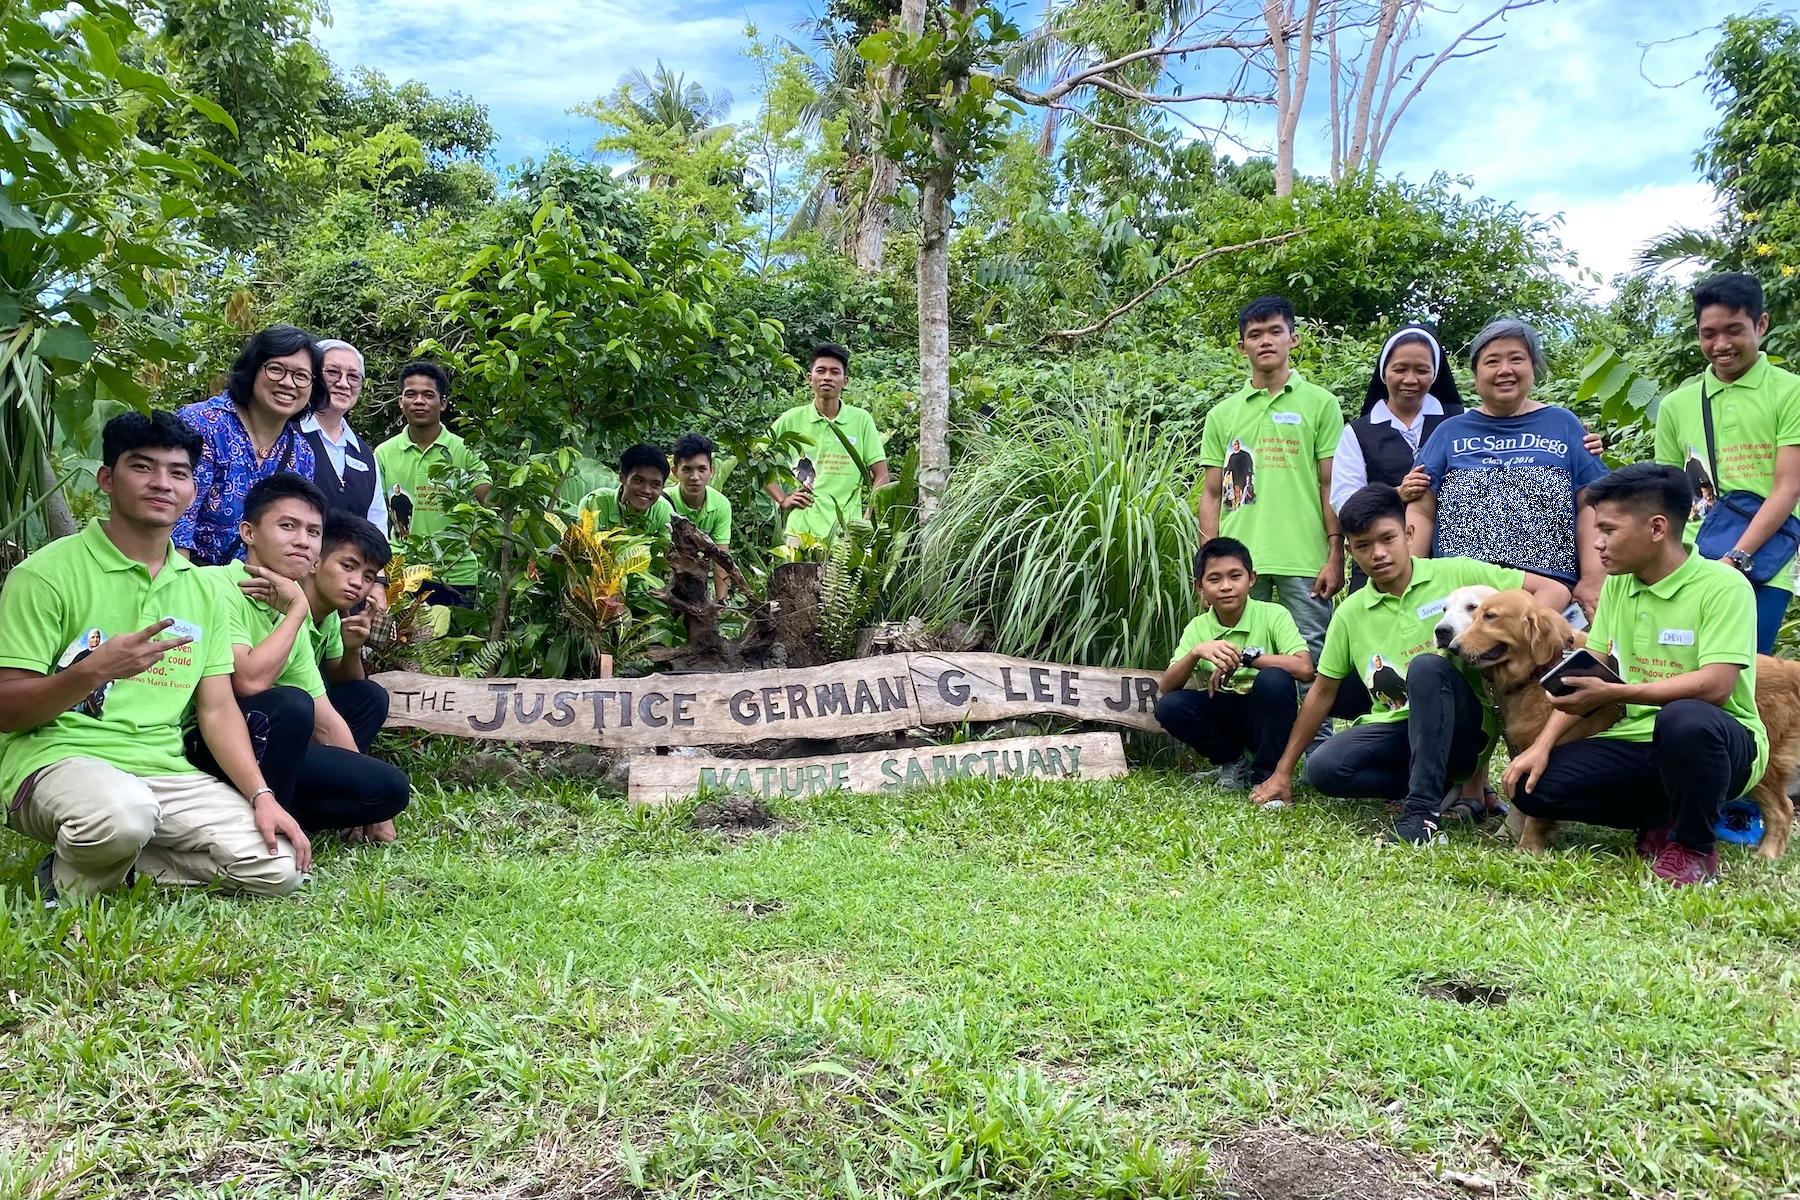
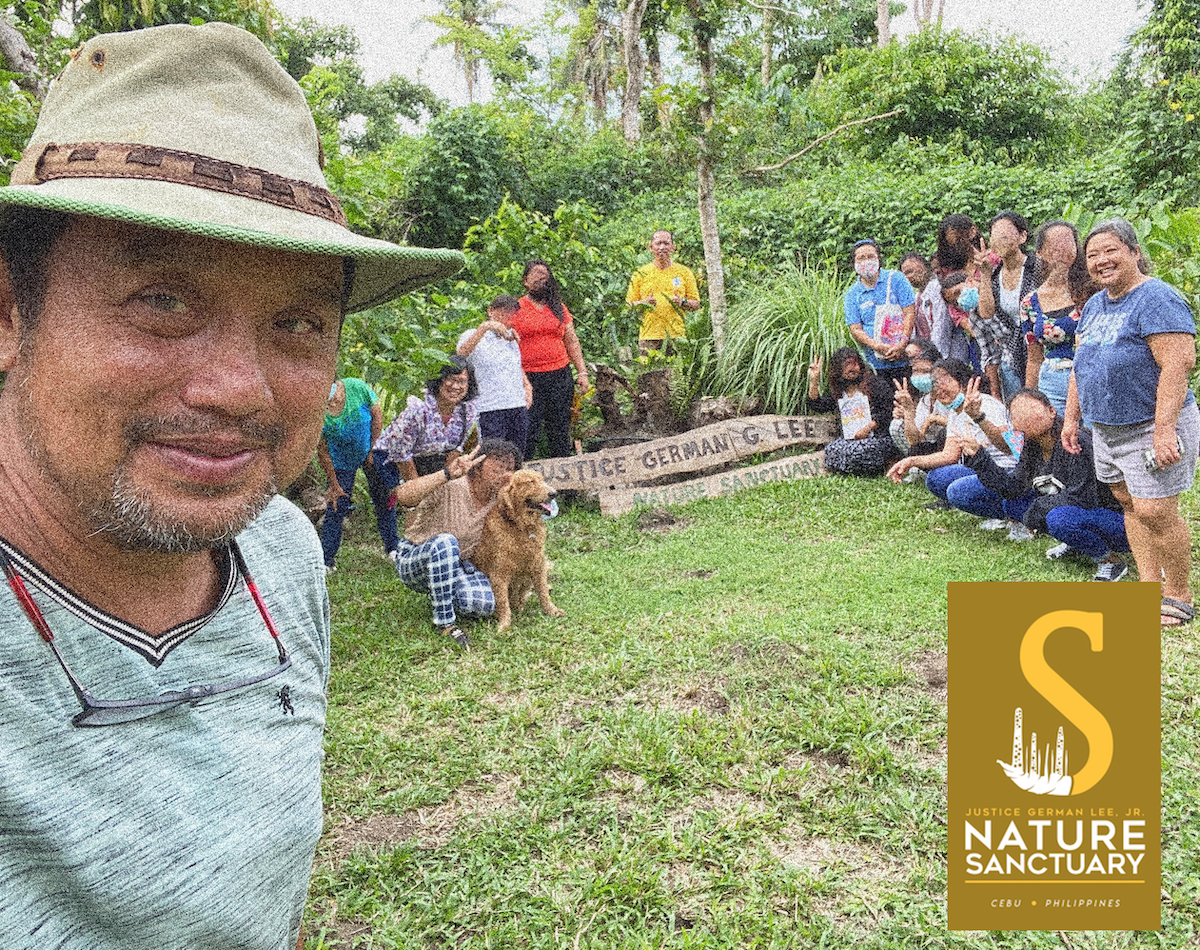
Yesterday, my siblings and I co-taught  part 4 of our Learning from Nature’s Resilience workshop series. This time we took inspiration from the surviving trees and other flowering plants that have recovered and started to bloom, and some are even bearing fruit again!!!

Our participants were homeschooled teenage survivors of difficult situations traveling all the way from Northern Cebu.

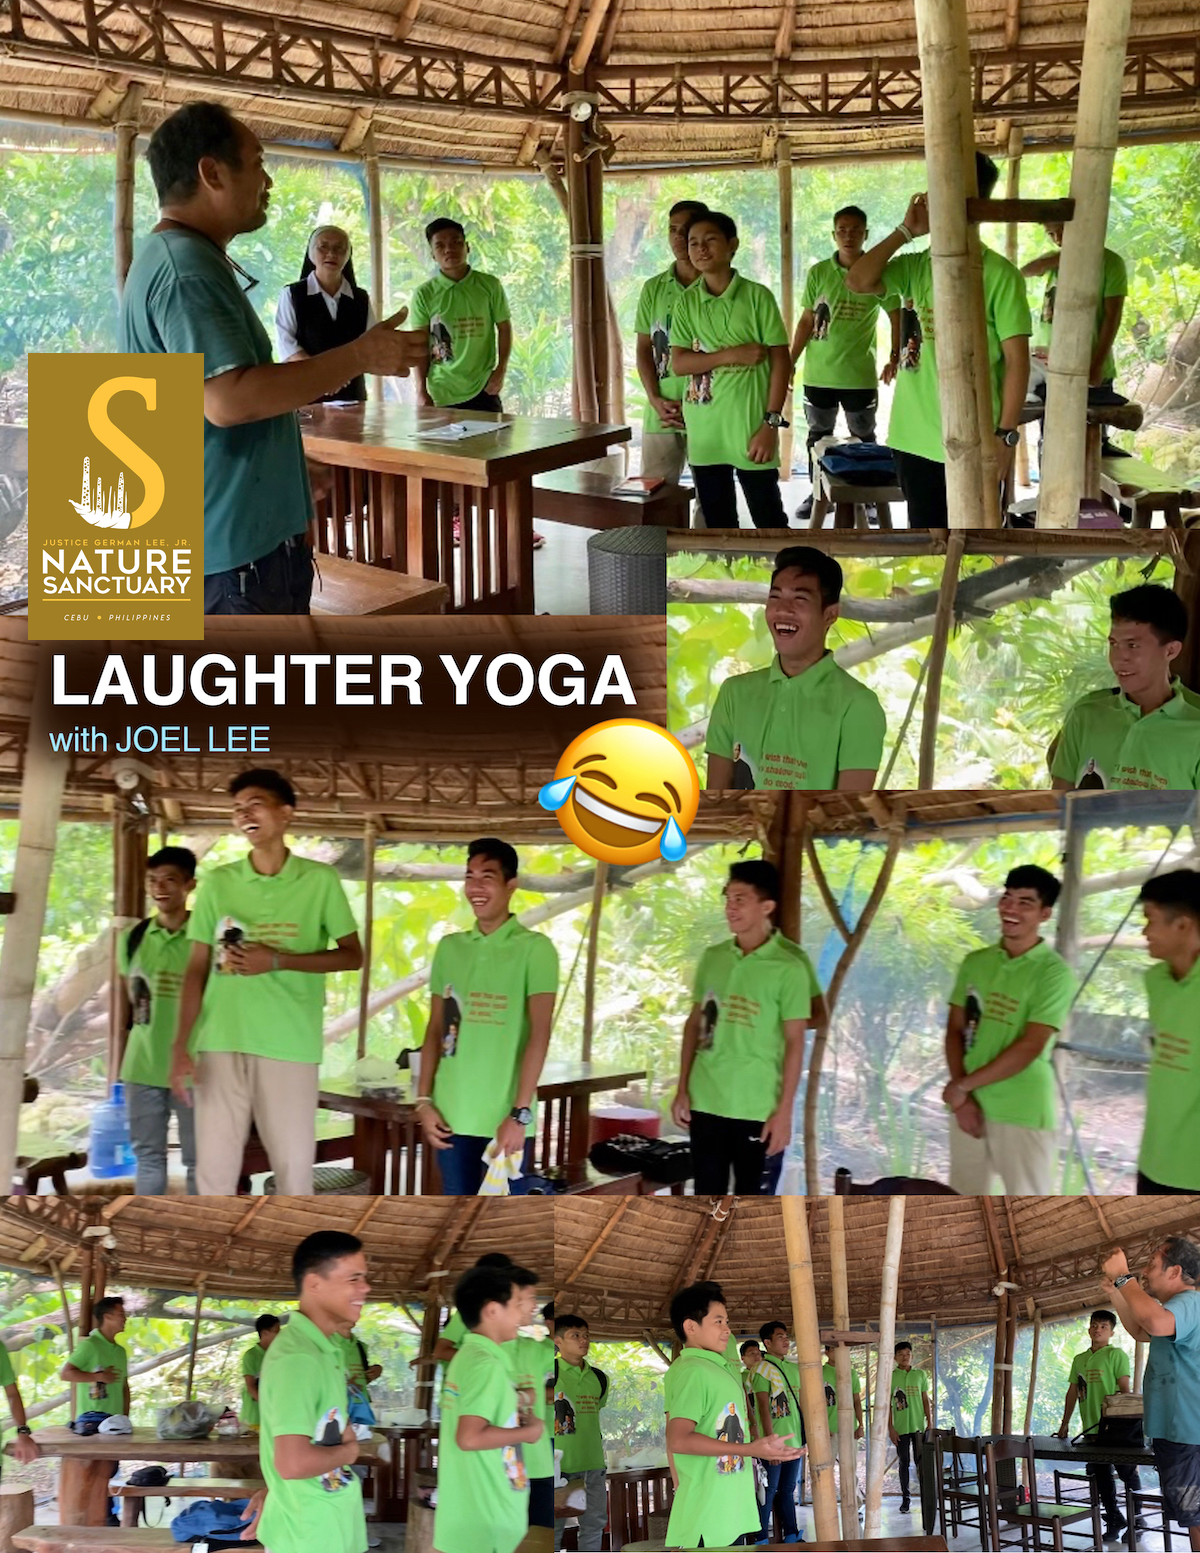
My brother Joel Lee, Permaculture and Aprotech Solutions educator, facilitated the warm up laughter yoga and encouraged its regular practice as a way to health and relaxation. 

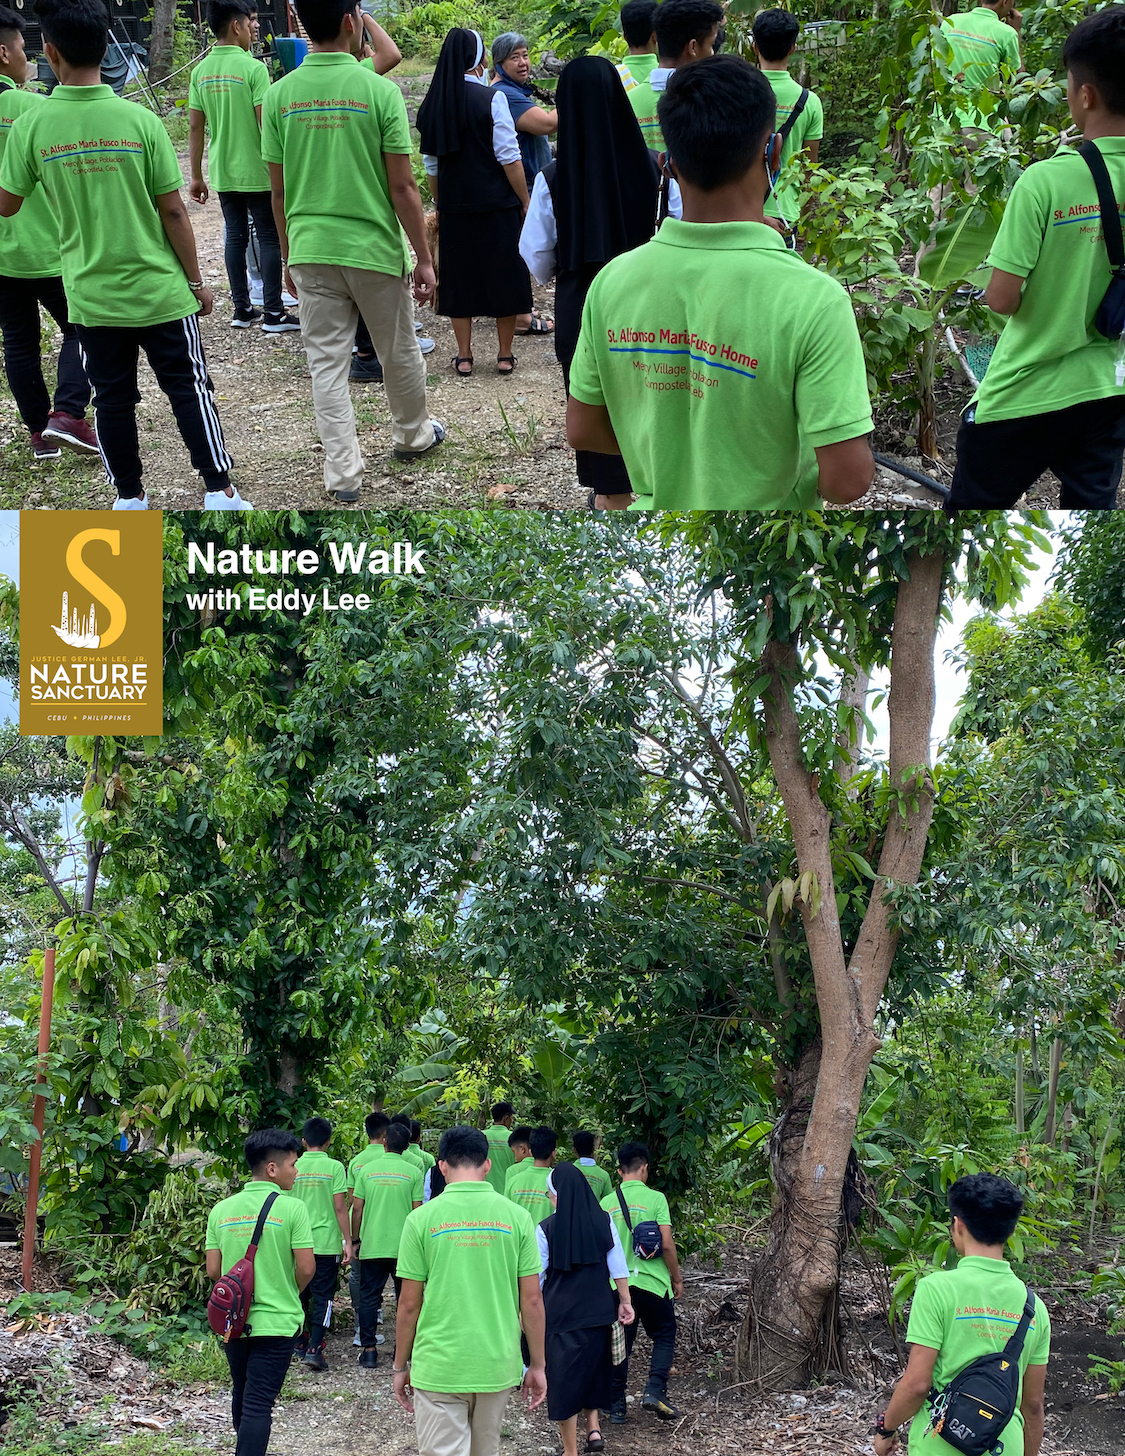
My sister Eddy Lee, a conservation educator and ecotherapist,  led the tour of the sanctuary’s food forest, higlighting the effect of Typhoon Odette on the fruit trees that were bent, and broken and uprooted. They noticed how the trees are starting to recover because the leaves have sprouted back.  Some of the surviving trees, including a few mango trees, are even flowering. The meditation and vegetable gardens have also recovered and are blooming.

Here are the tools for the expressive arts session: Floral Bouquet Self-Portraits

Before starting the expressive arts segment of our Learning from Nature’s Resilience workshop I distributed the flower quotes below for the participants to discuss within their groups:

“Happiness held is the seed; happiness shared is the flower.” -John Harrigan
Flowers grow back even after they are stepped on, so will I!” – Author Unknown
“Nothing in nature blooms all year. Be patient with yourself!”
“A flower does not think of competing with the flower next to it. It just blooms.” – Zen Shin

Paulina Constancia demonstrates how to make the Floral Bouquet Self-Portraits using fruit stamps
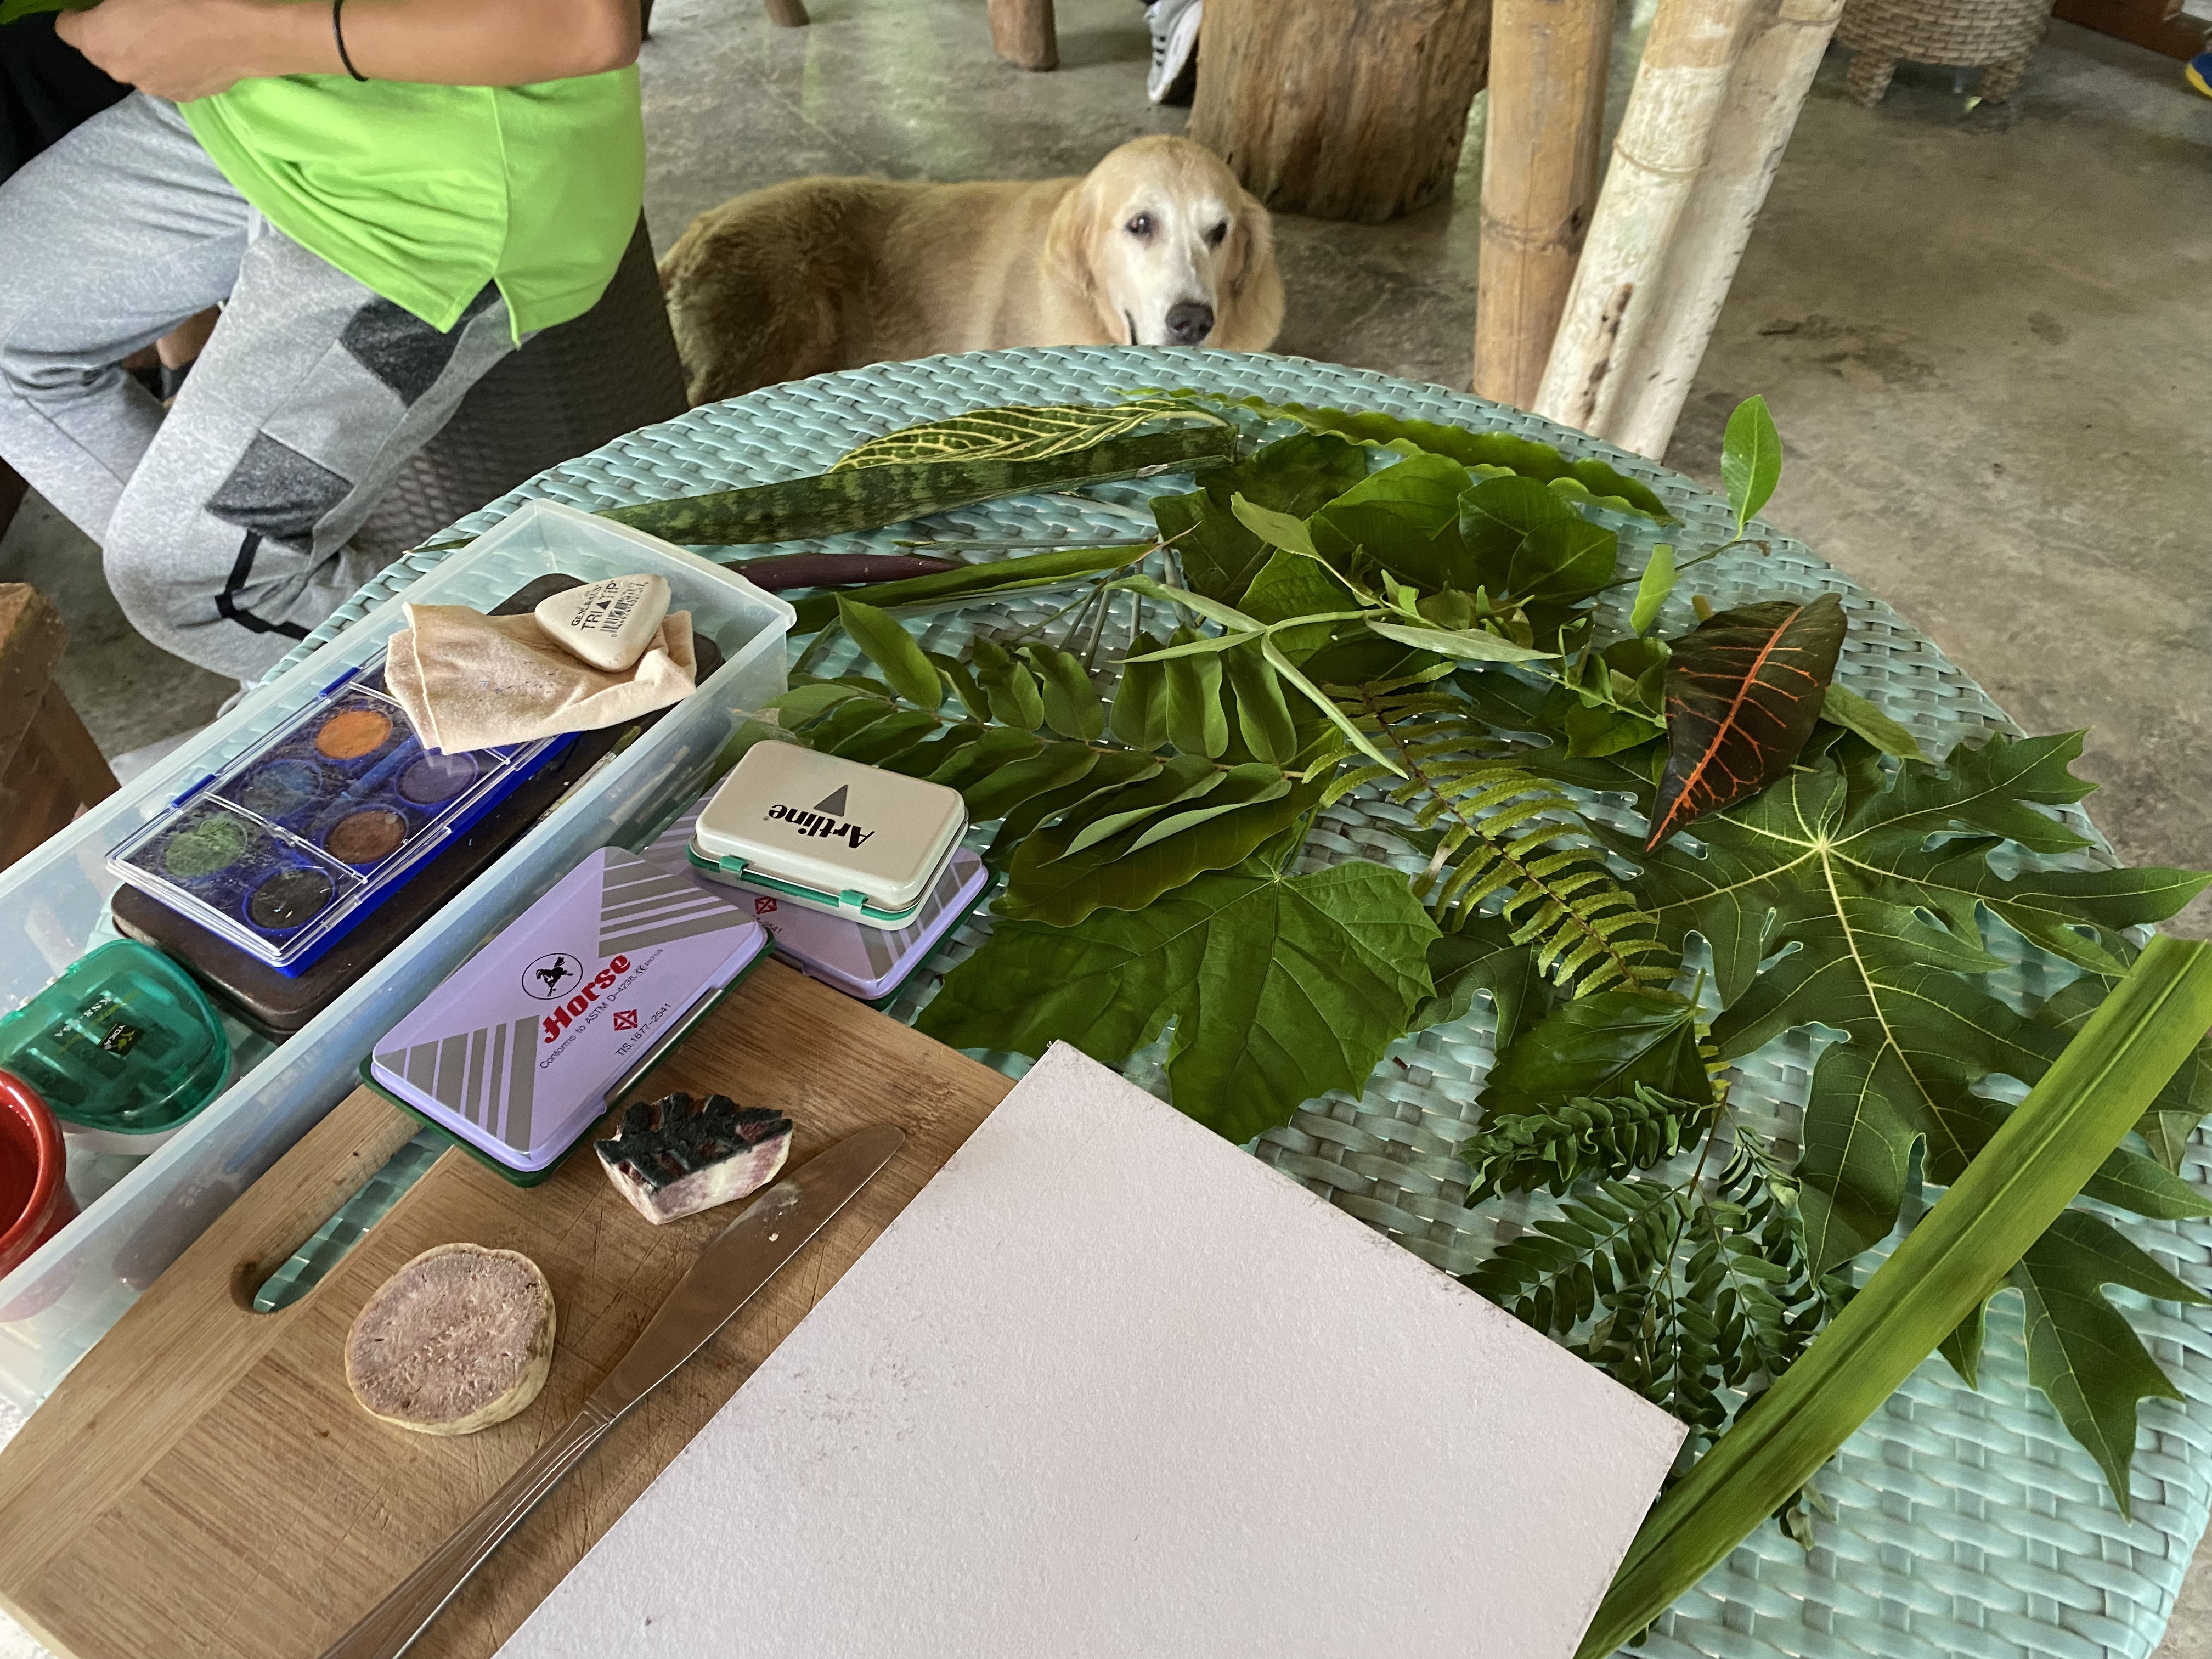
(slices of the following fruit were provided: okra, cucumber, eggplant and balimbing aka starfruit or carambola)

The instruction for the expressive art session was :
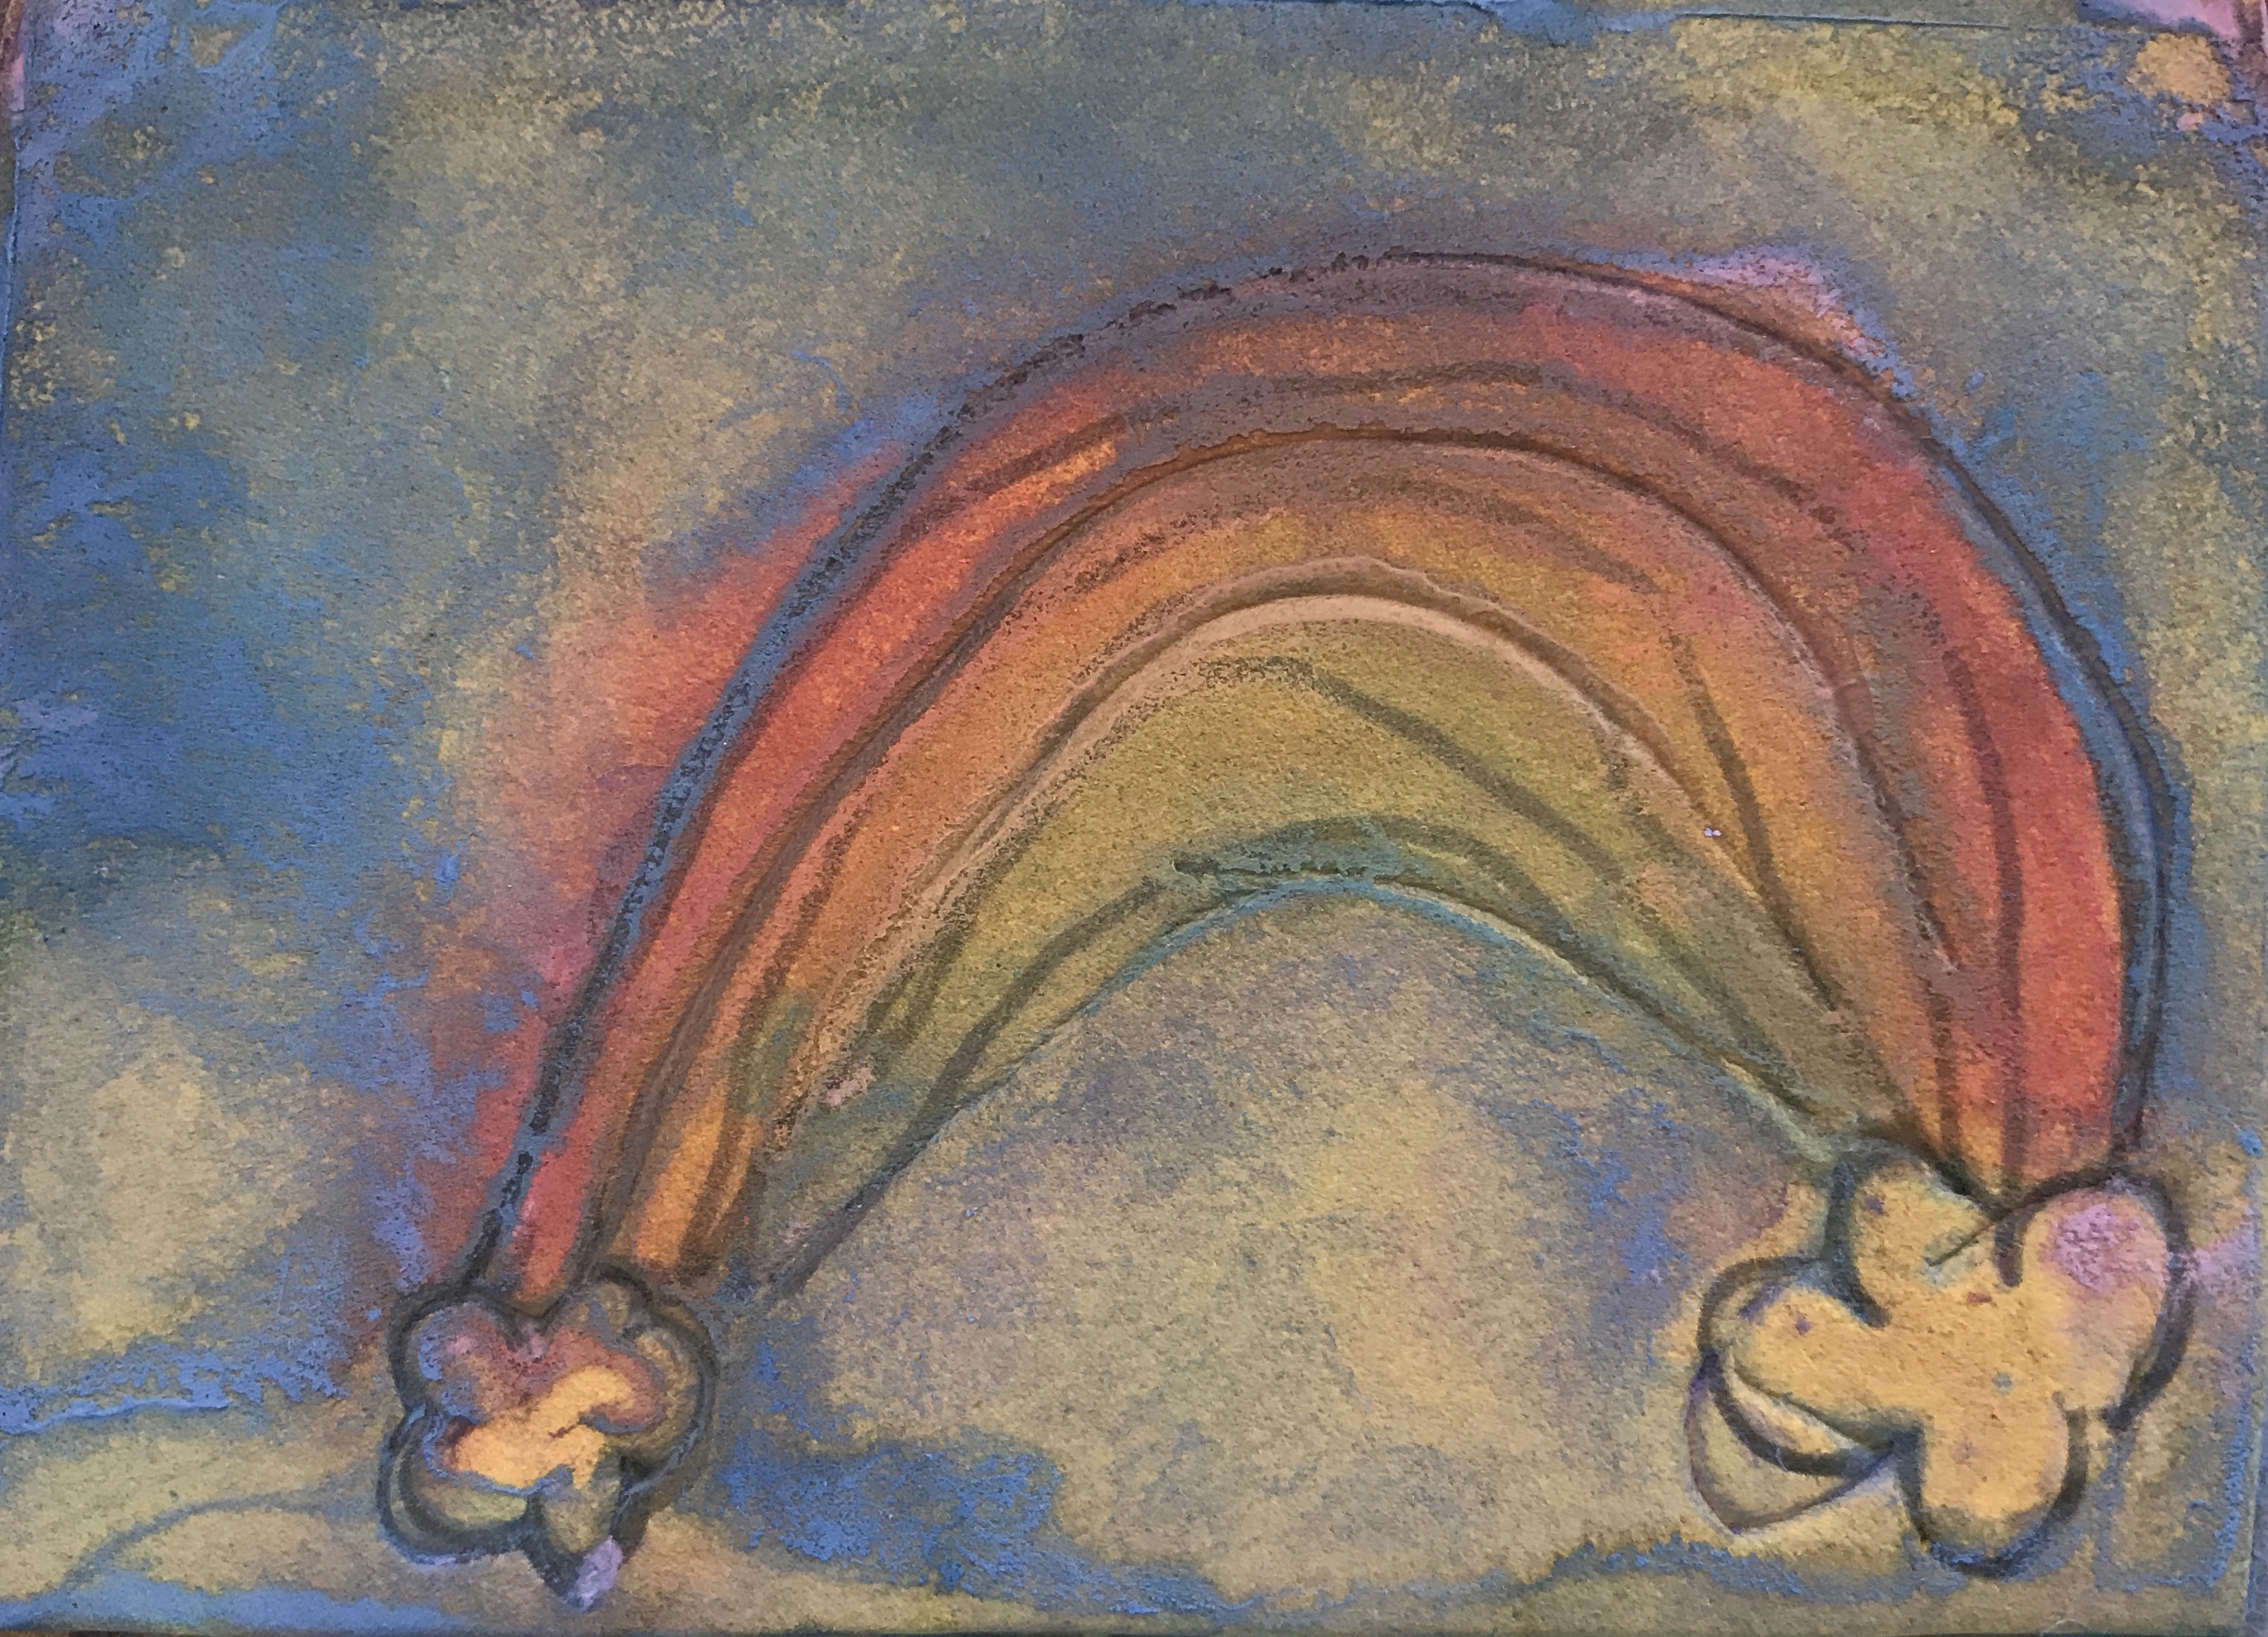
Your life is God’s gift to you and what you make of it is like a bouquet of flowers that you give back to God, the earth and humanity.  What kind of blossoms will you bear?
 As you create your floral bouquet portrait focus on your pesonal resilient trait and be ready to share this with the group.

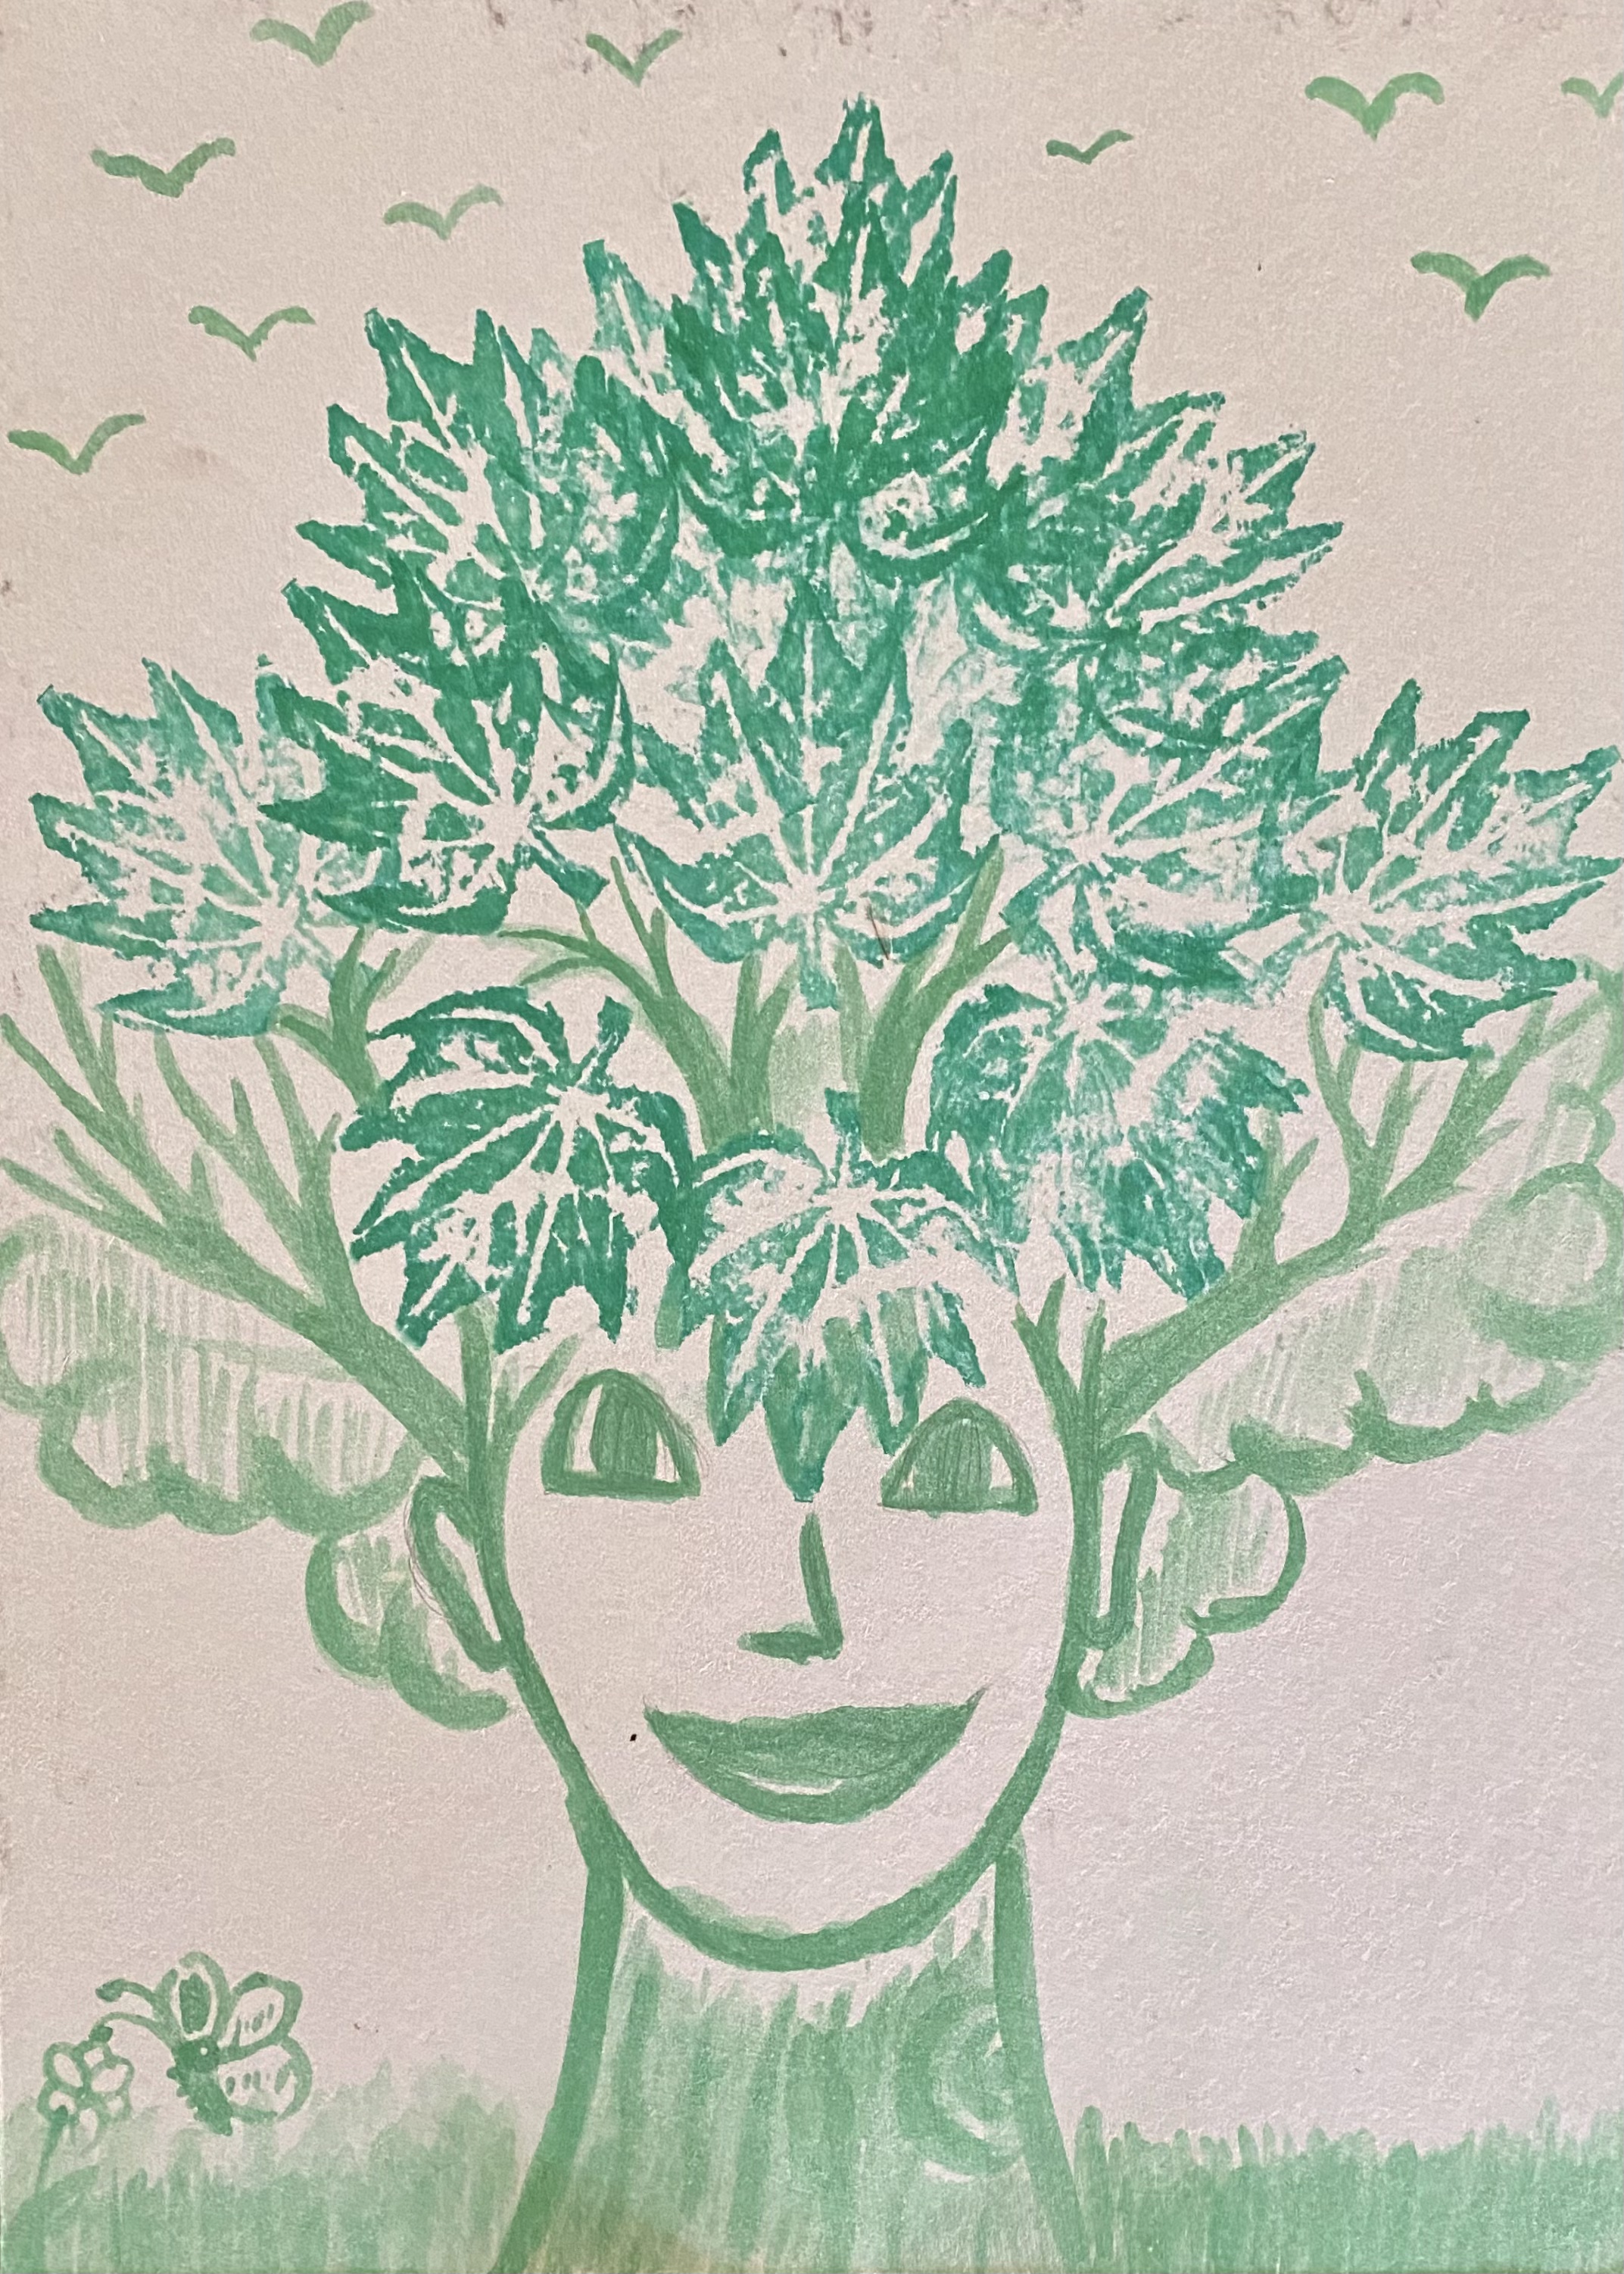
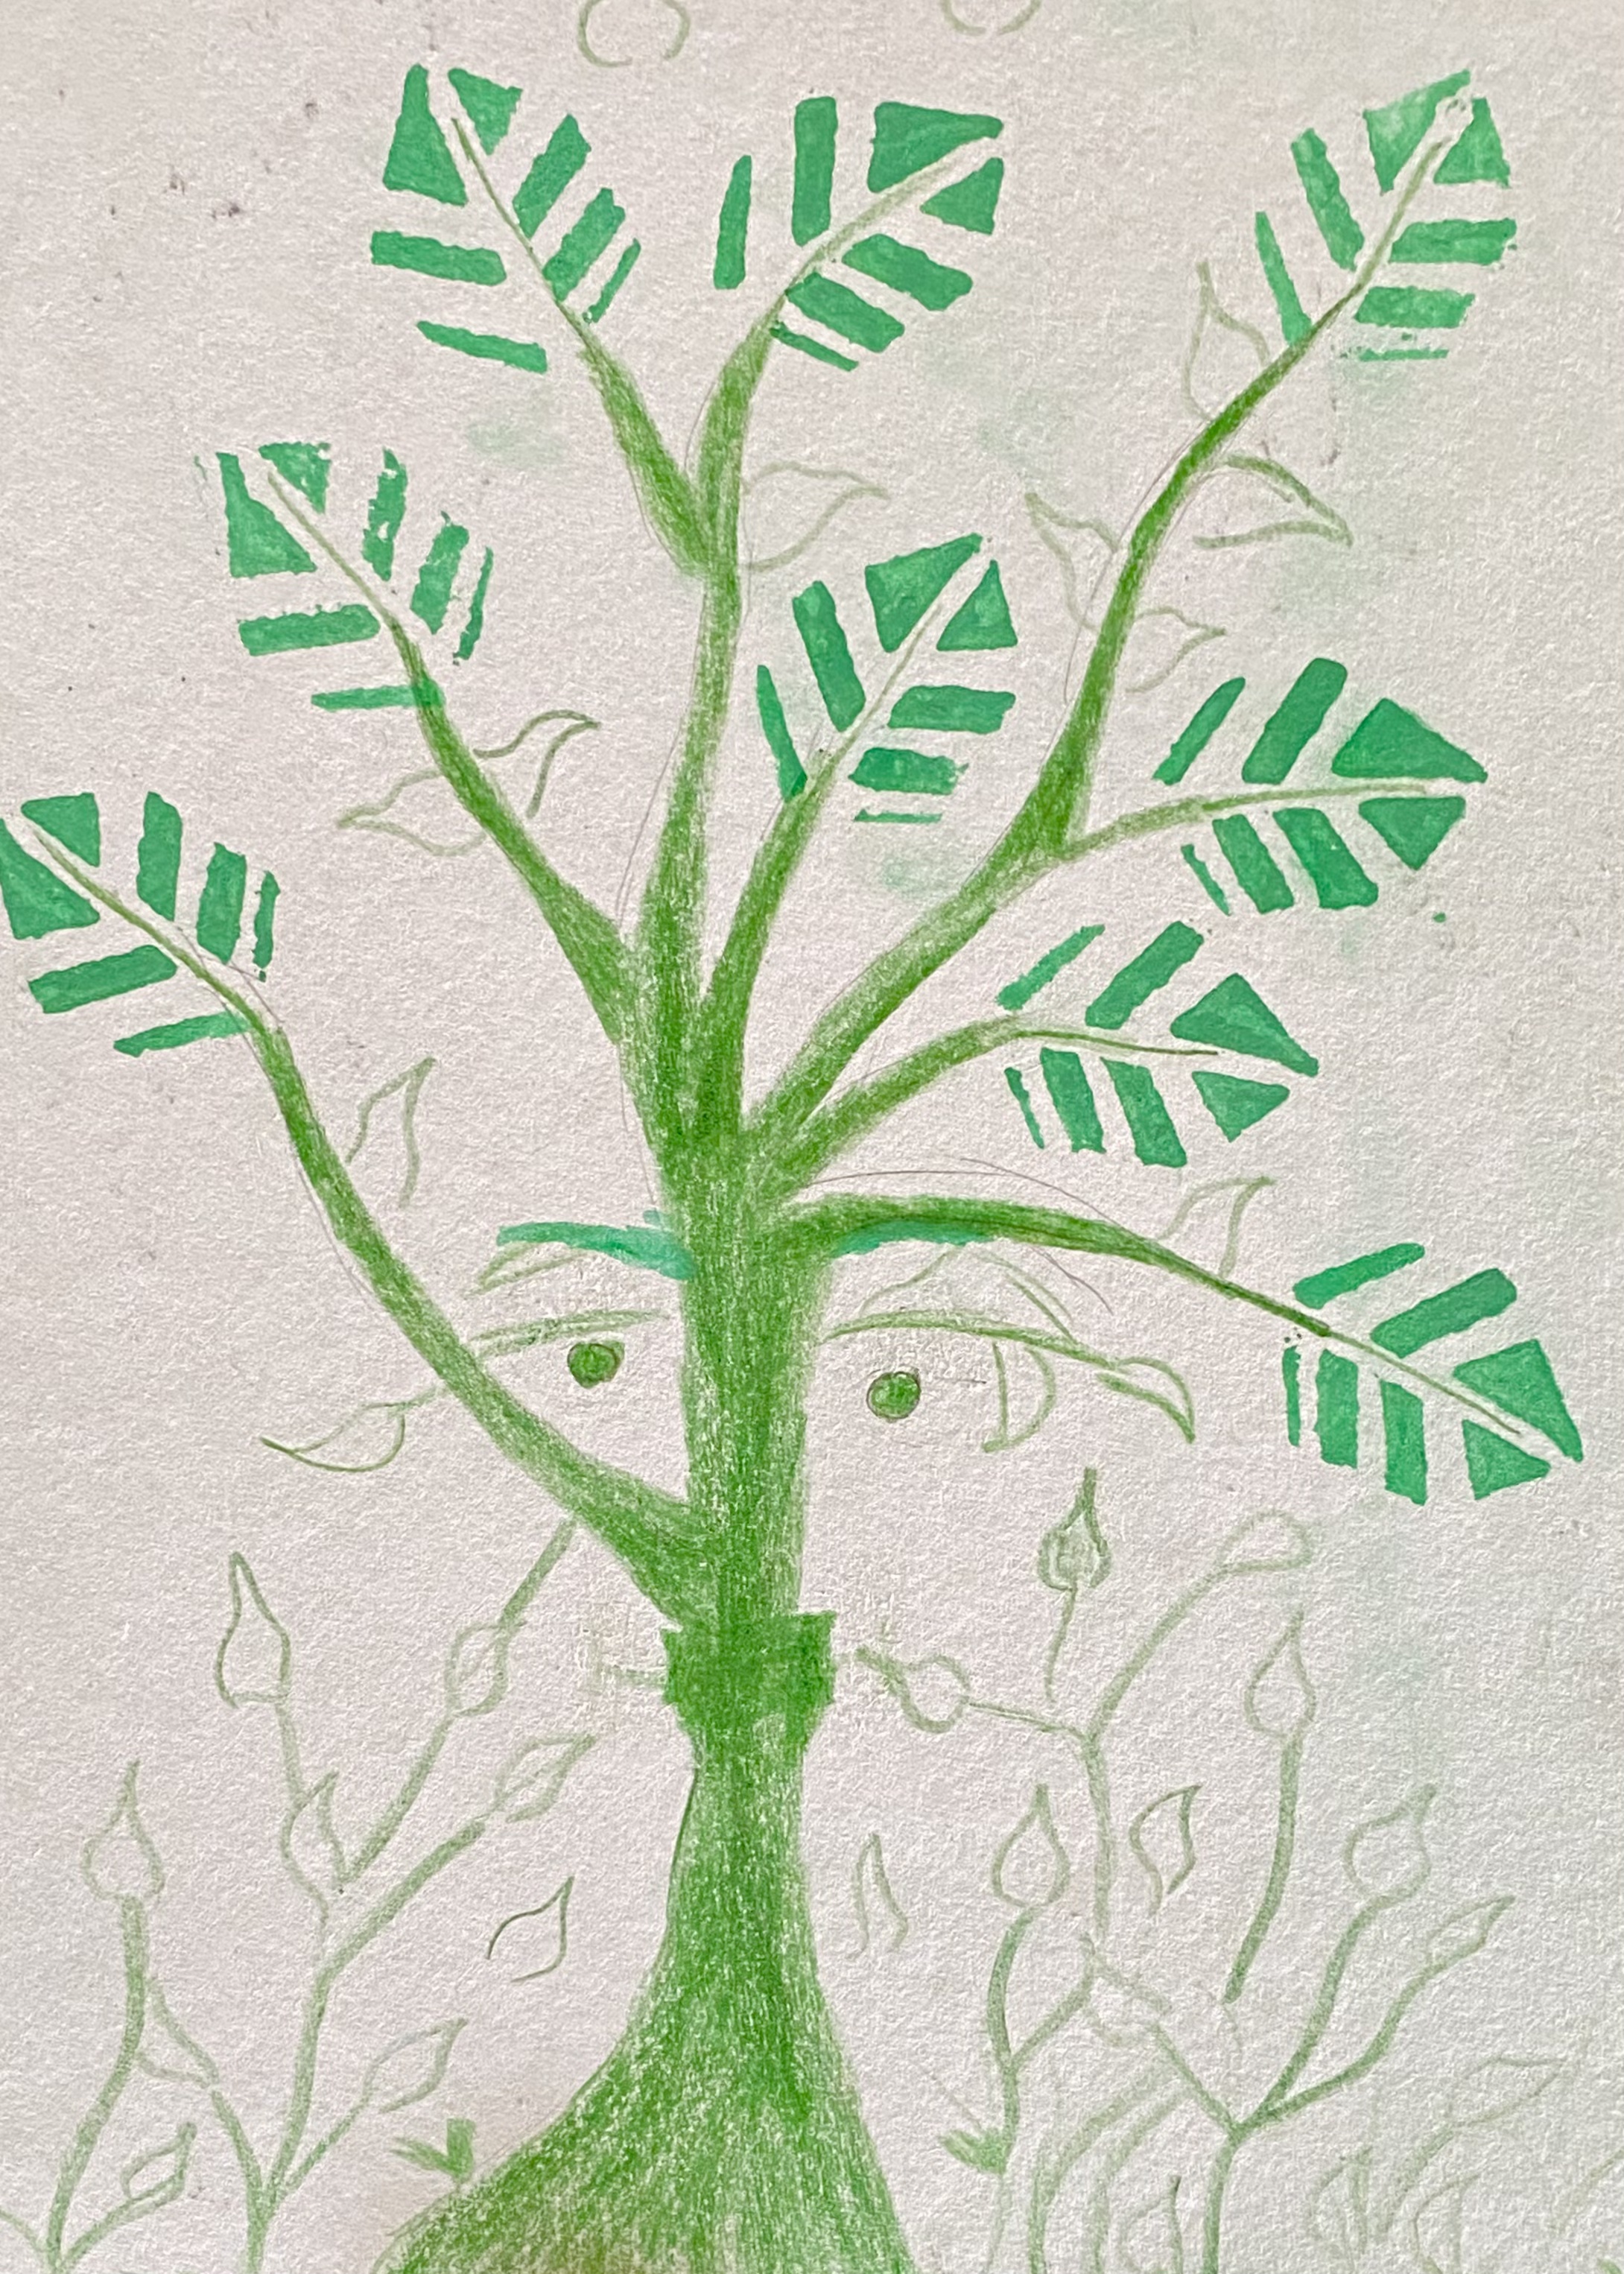
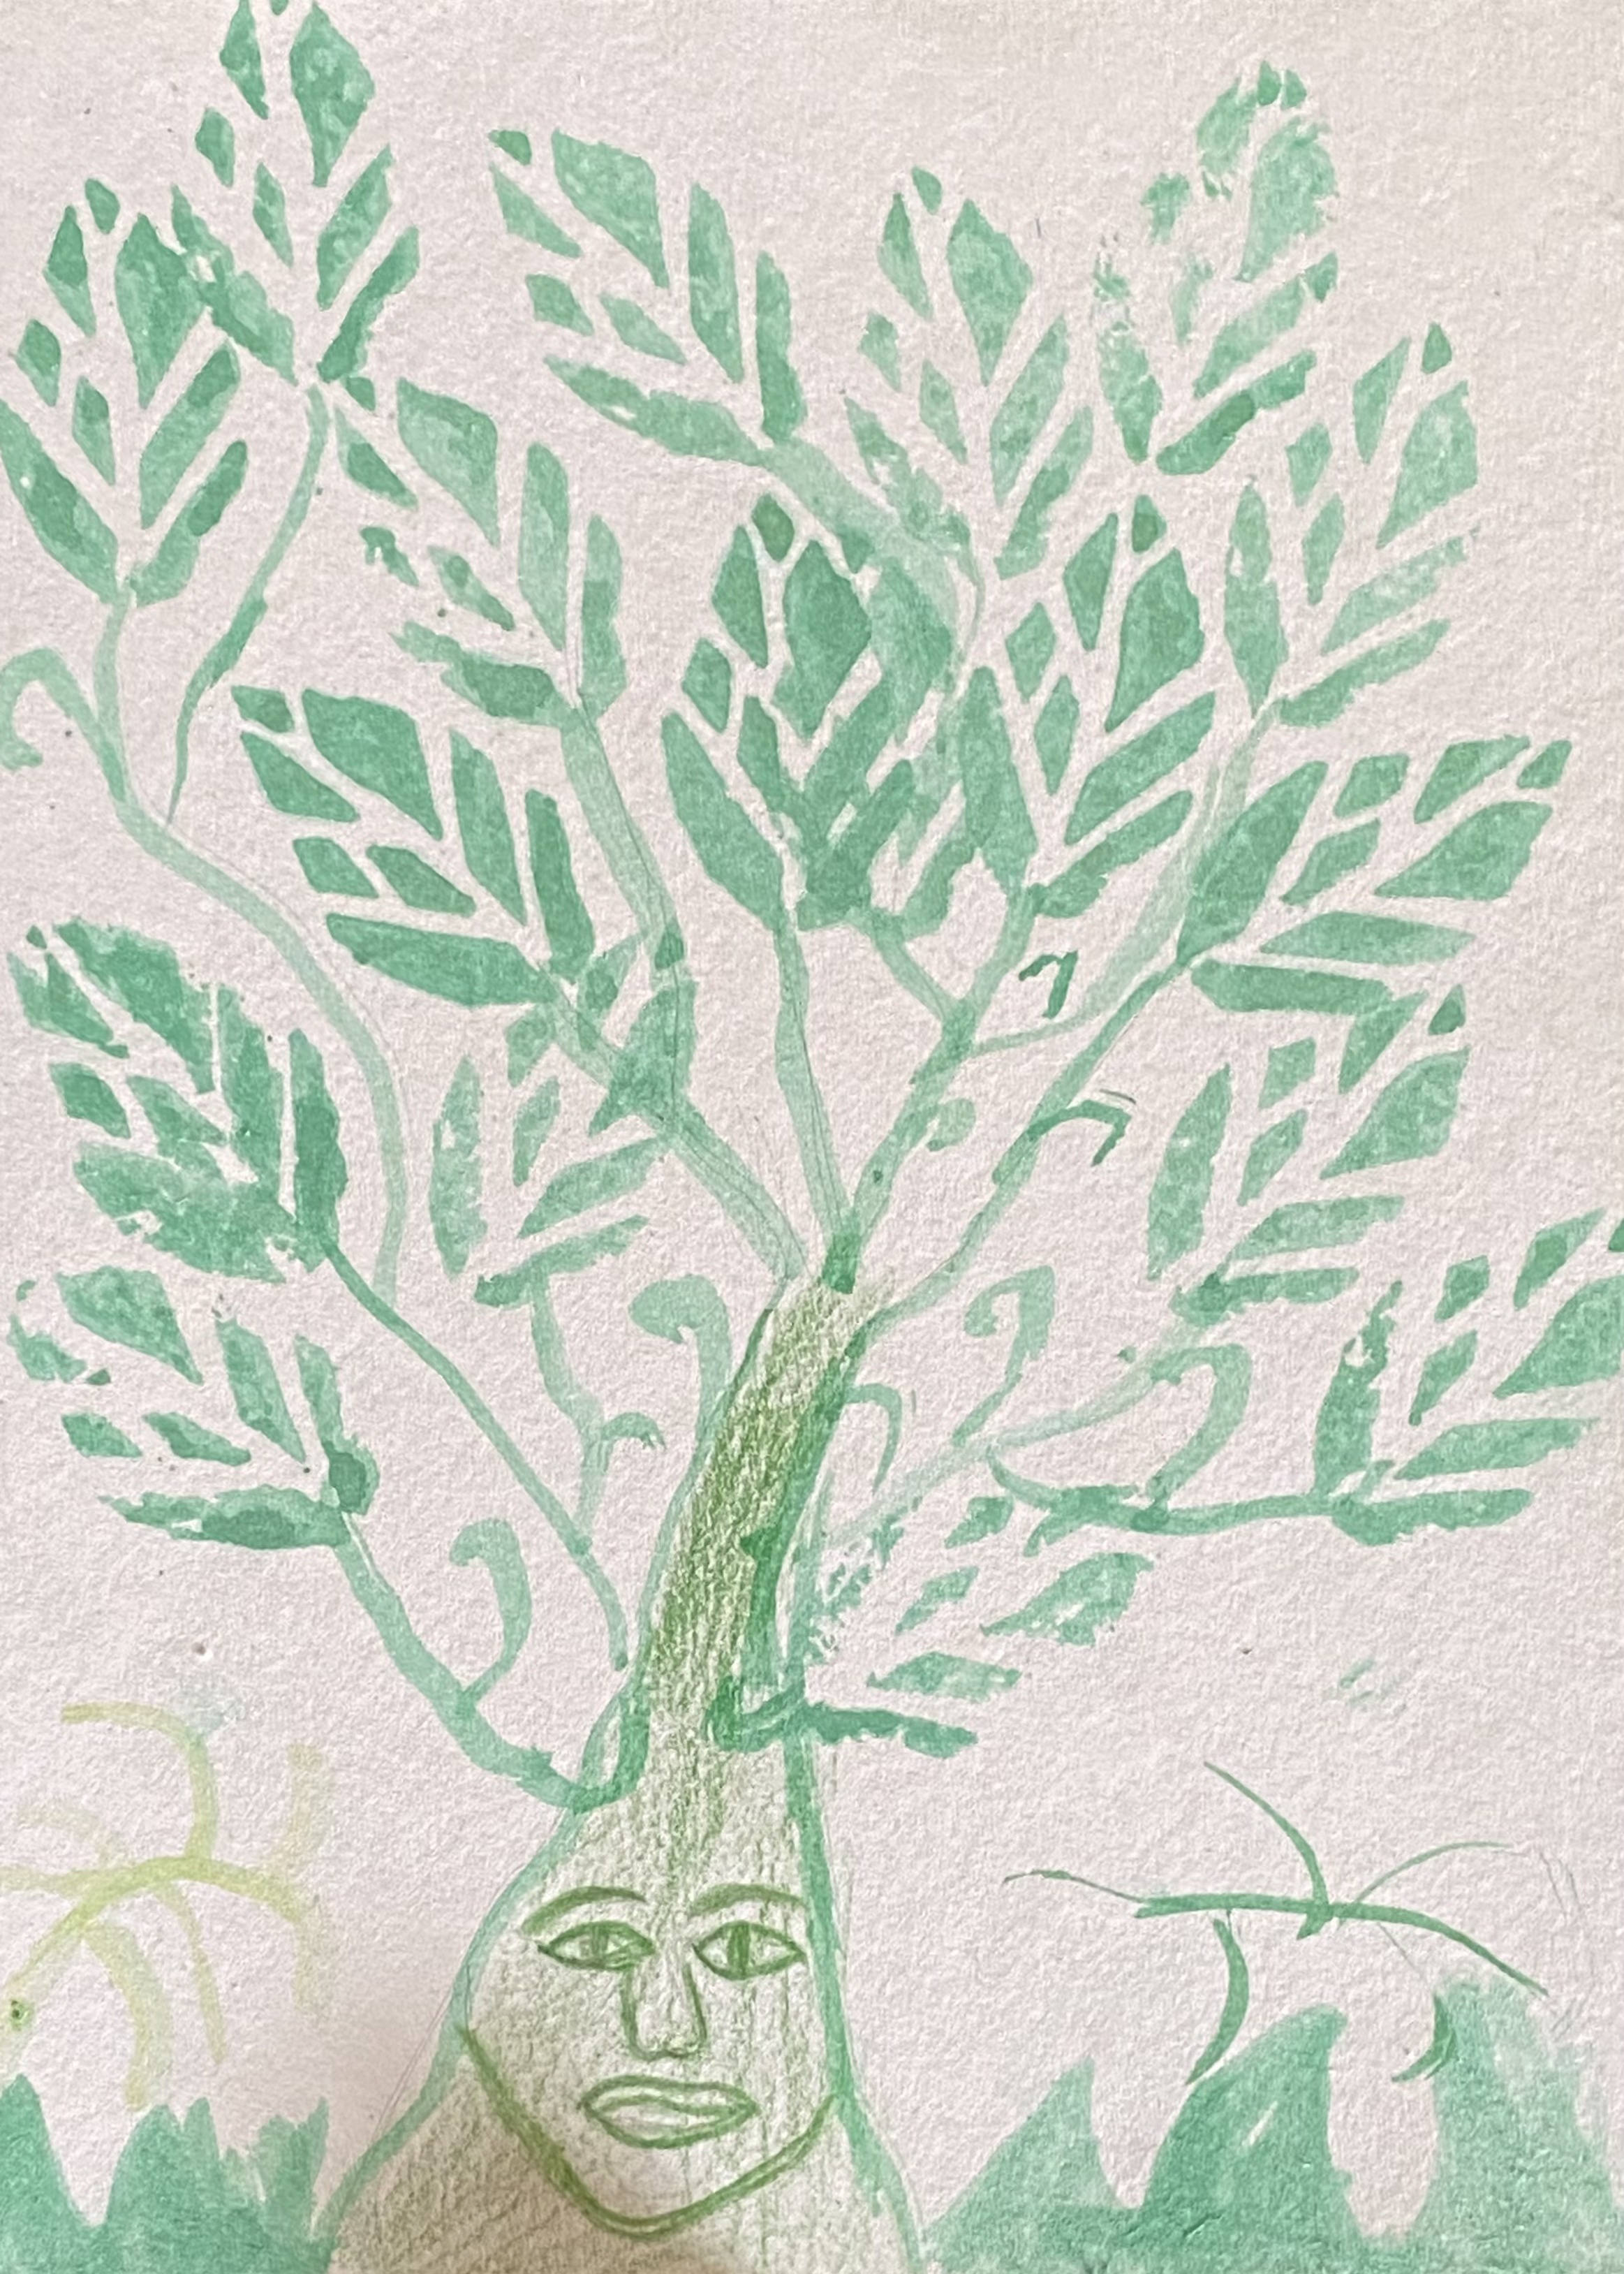
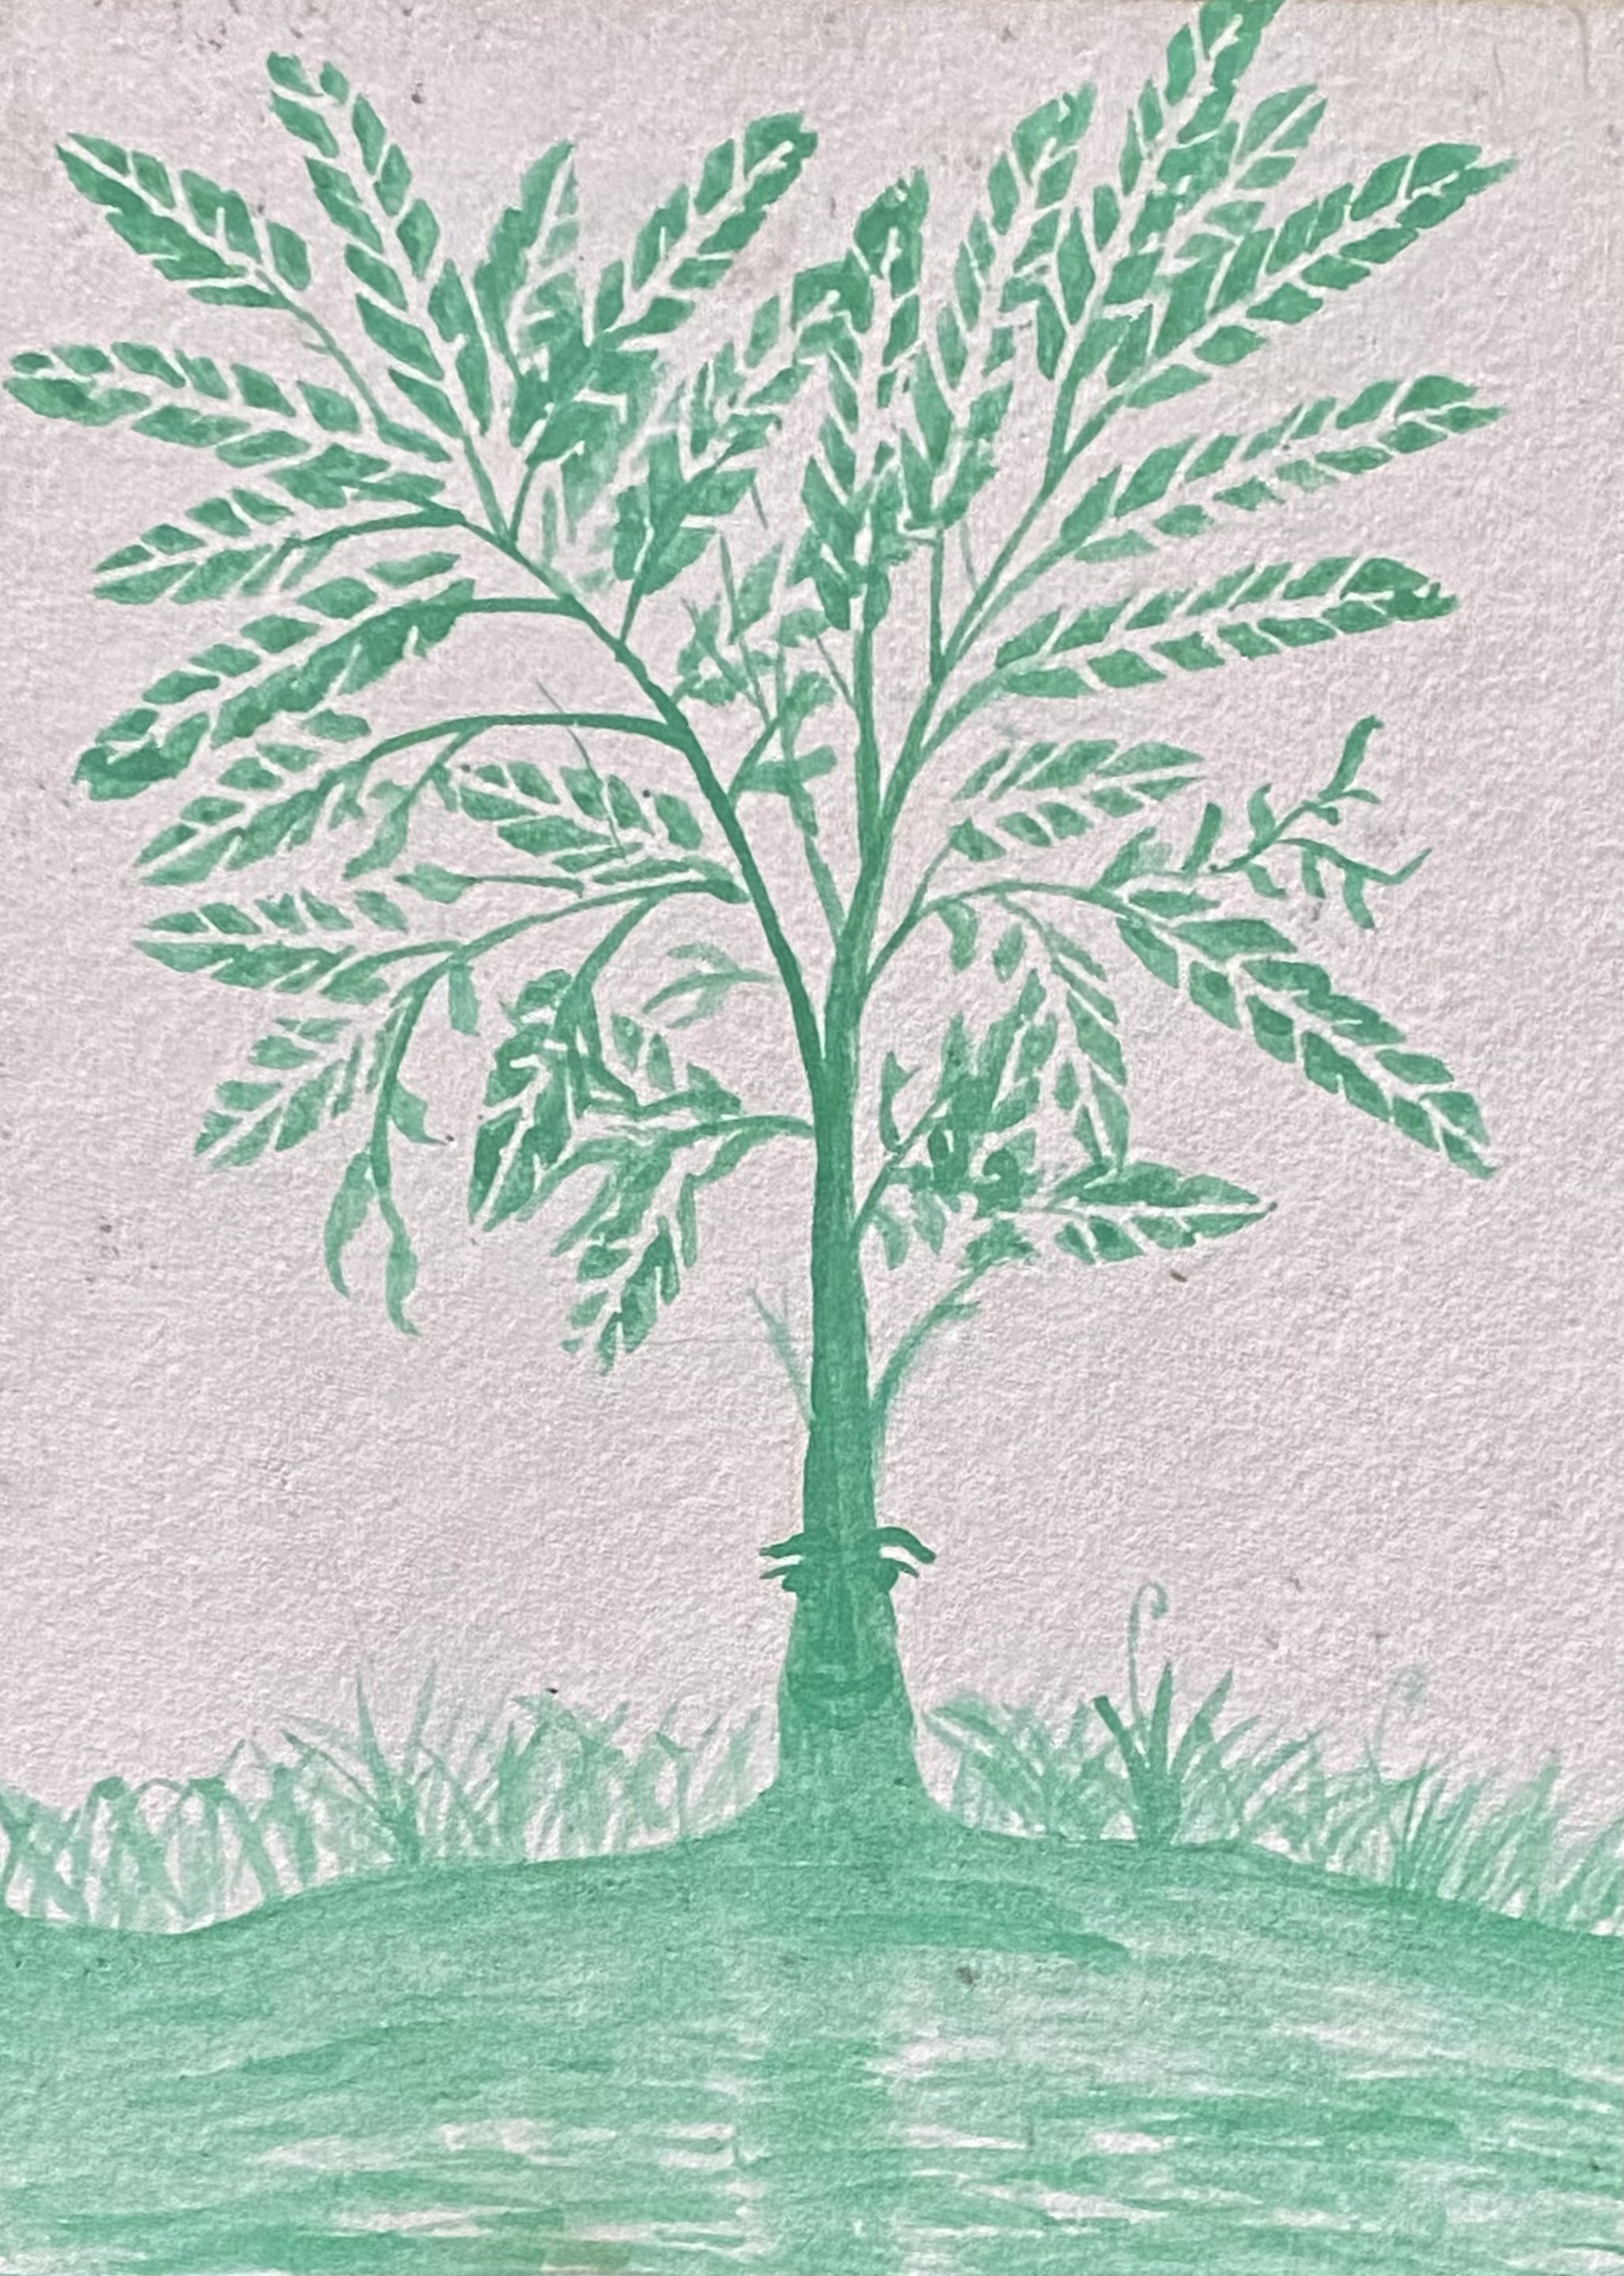
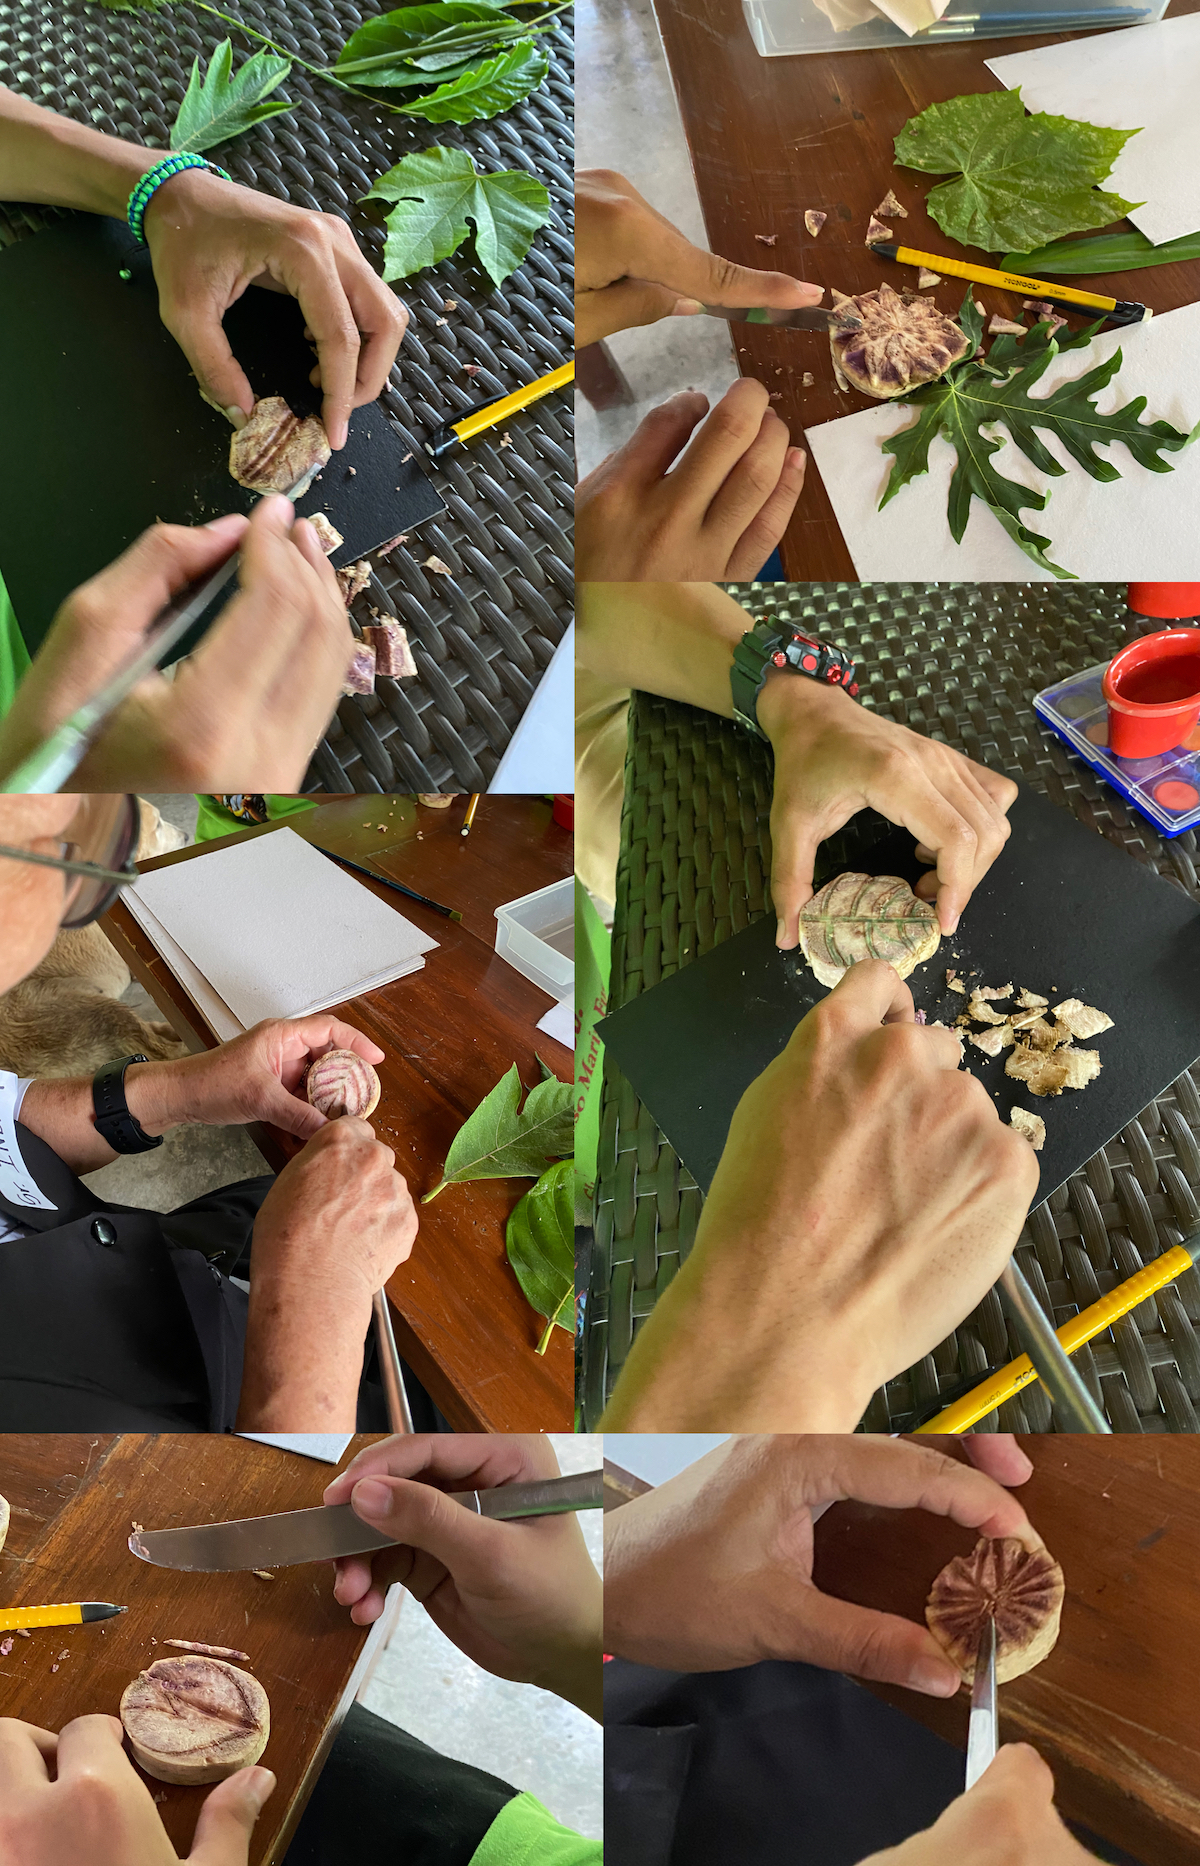
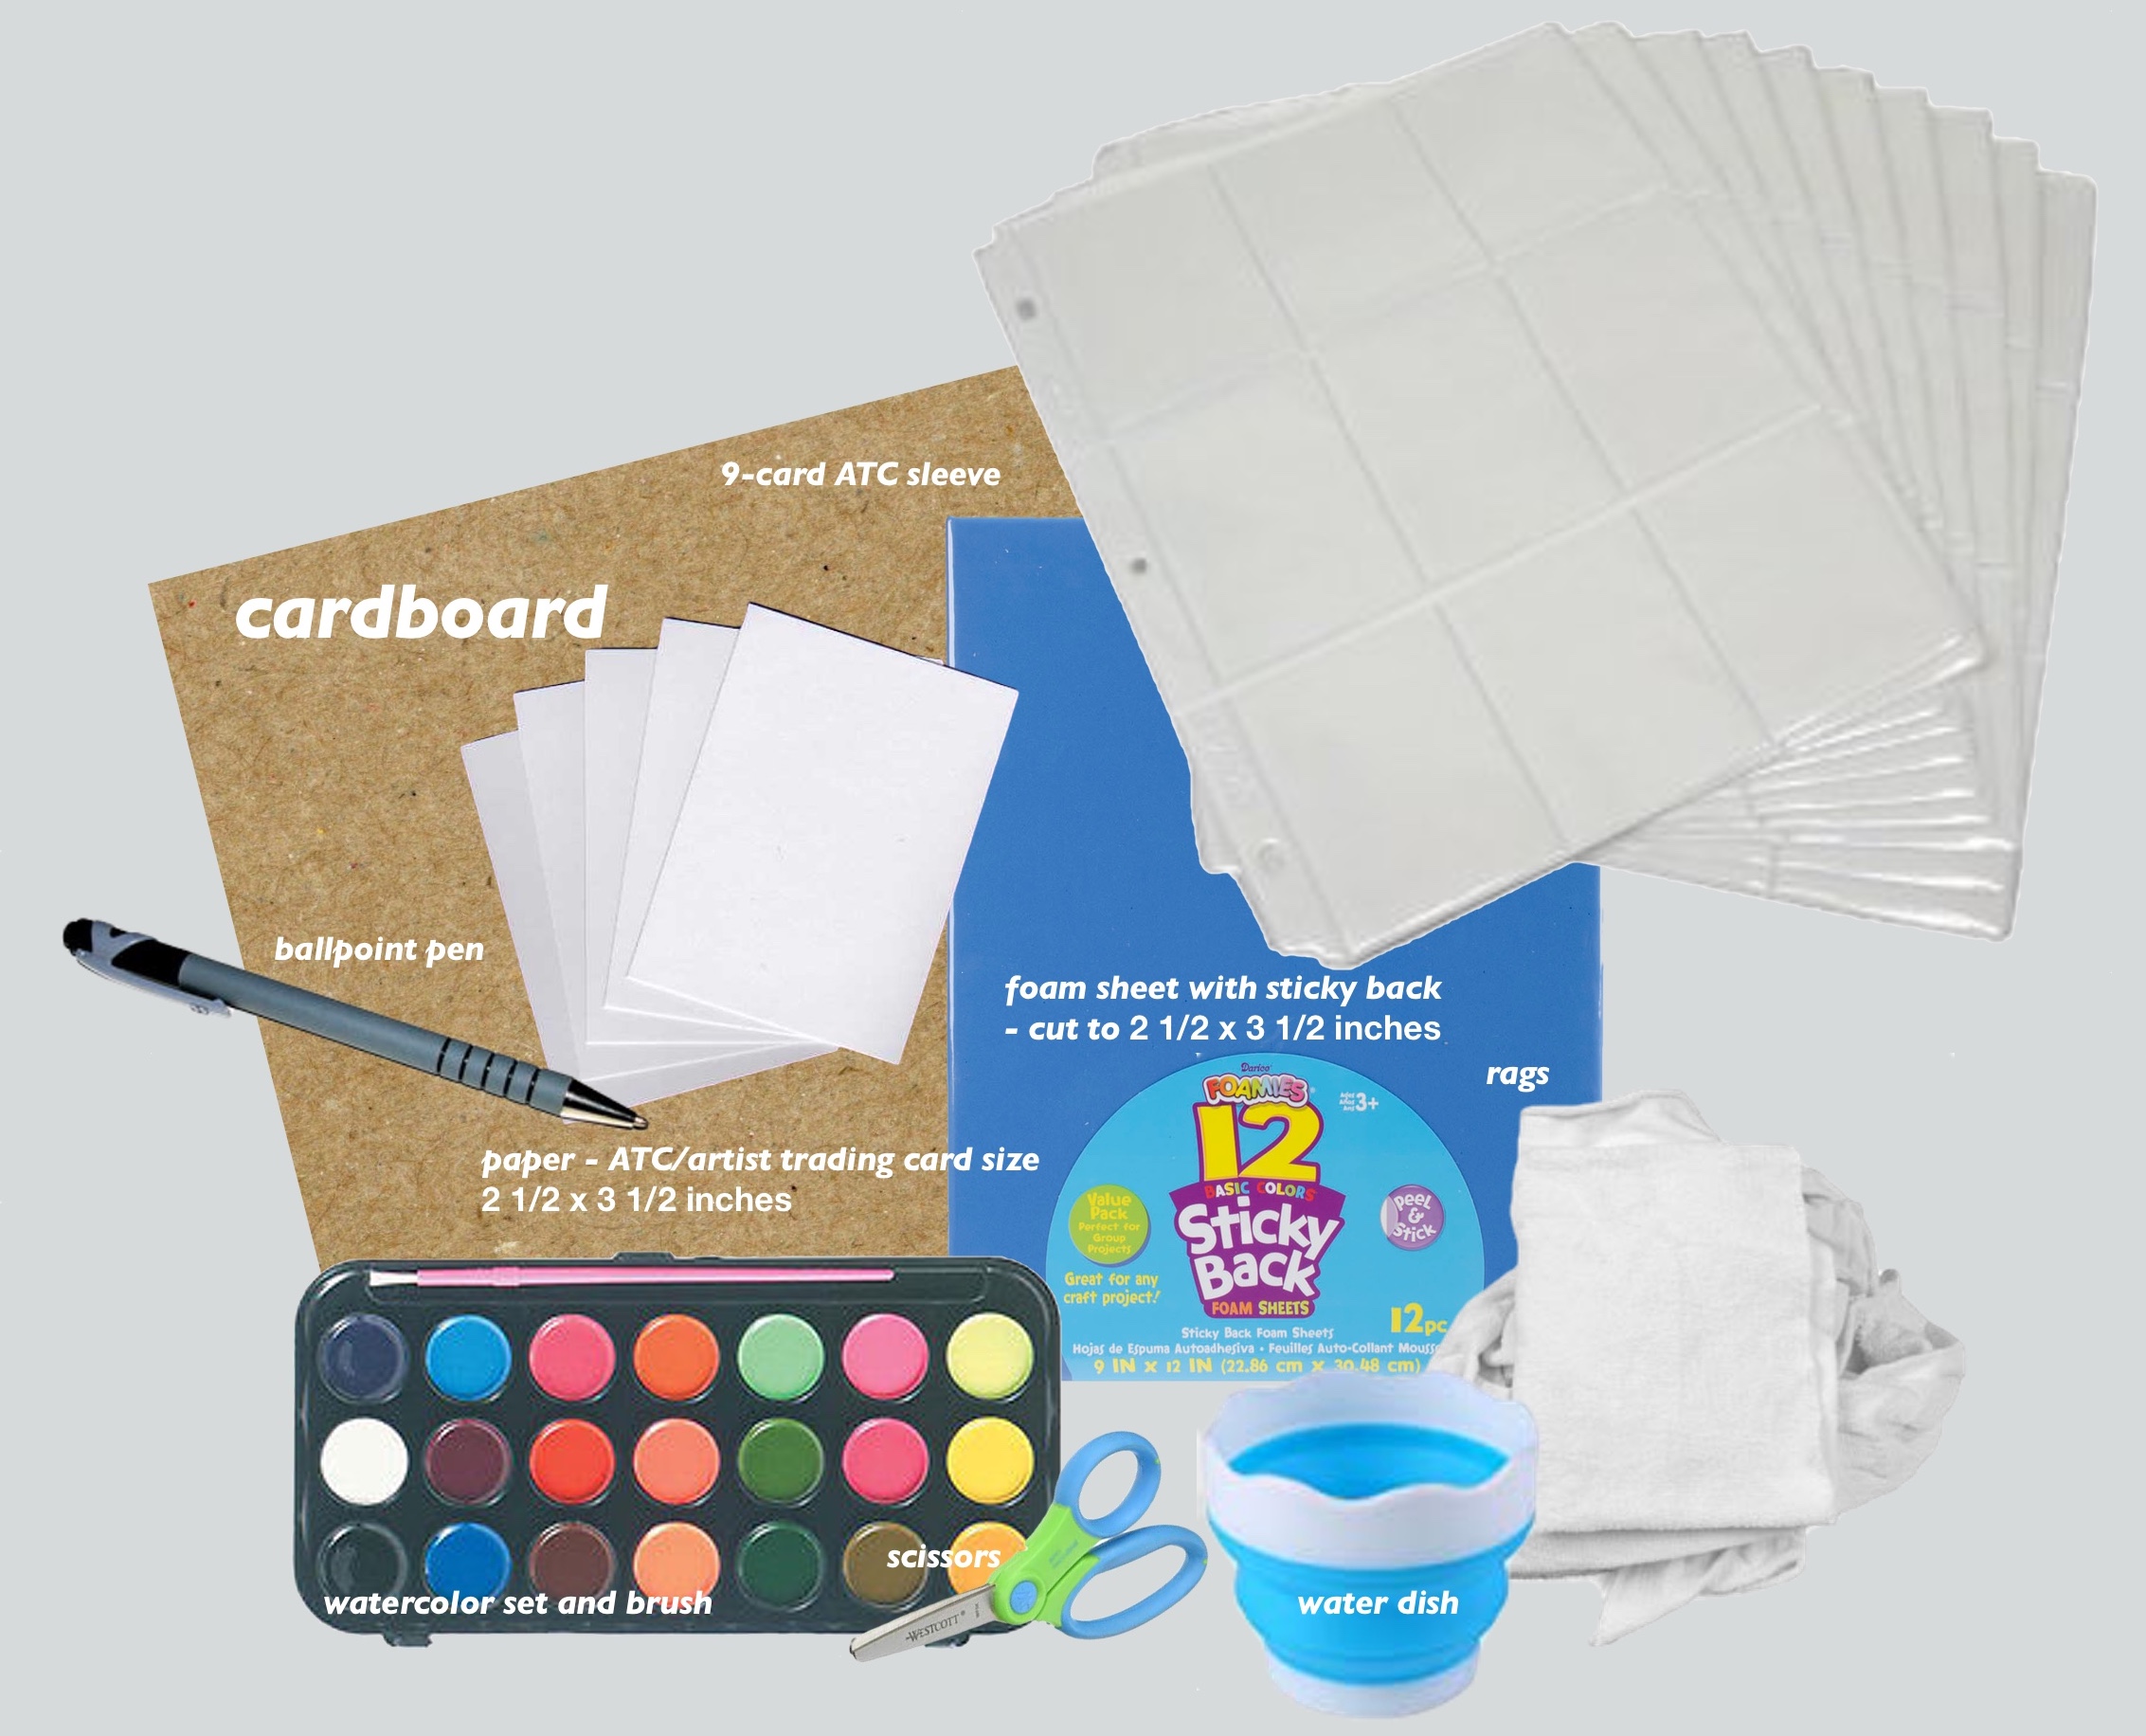
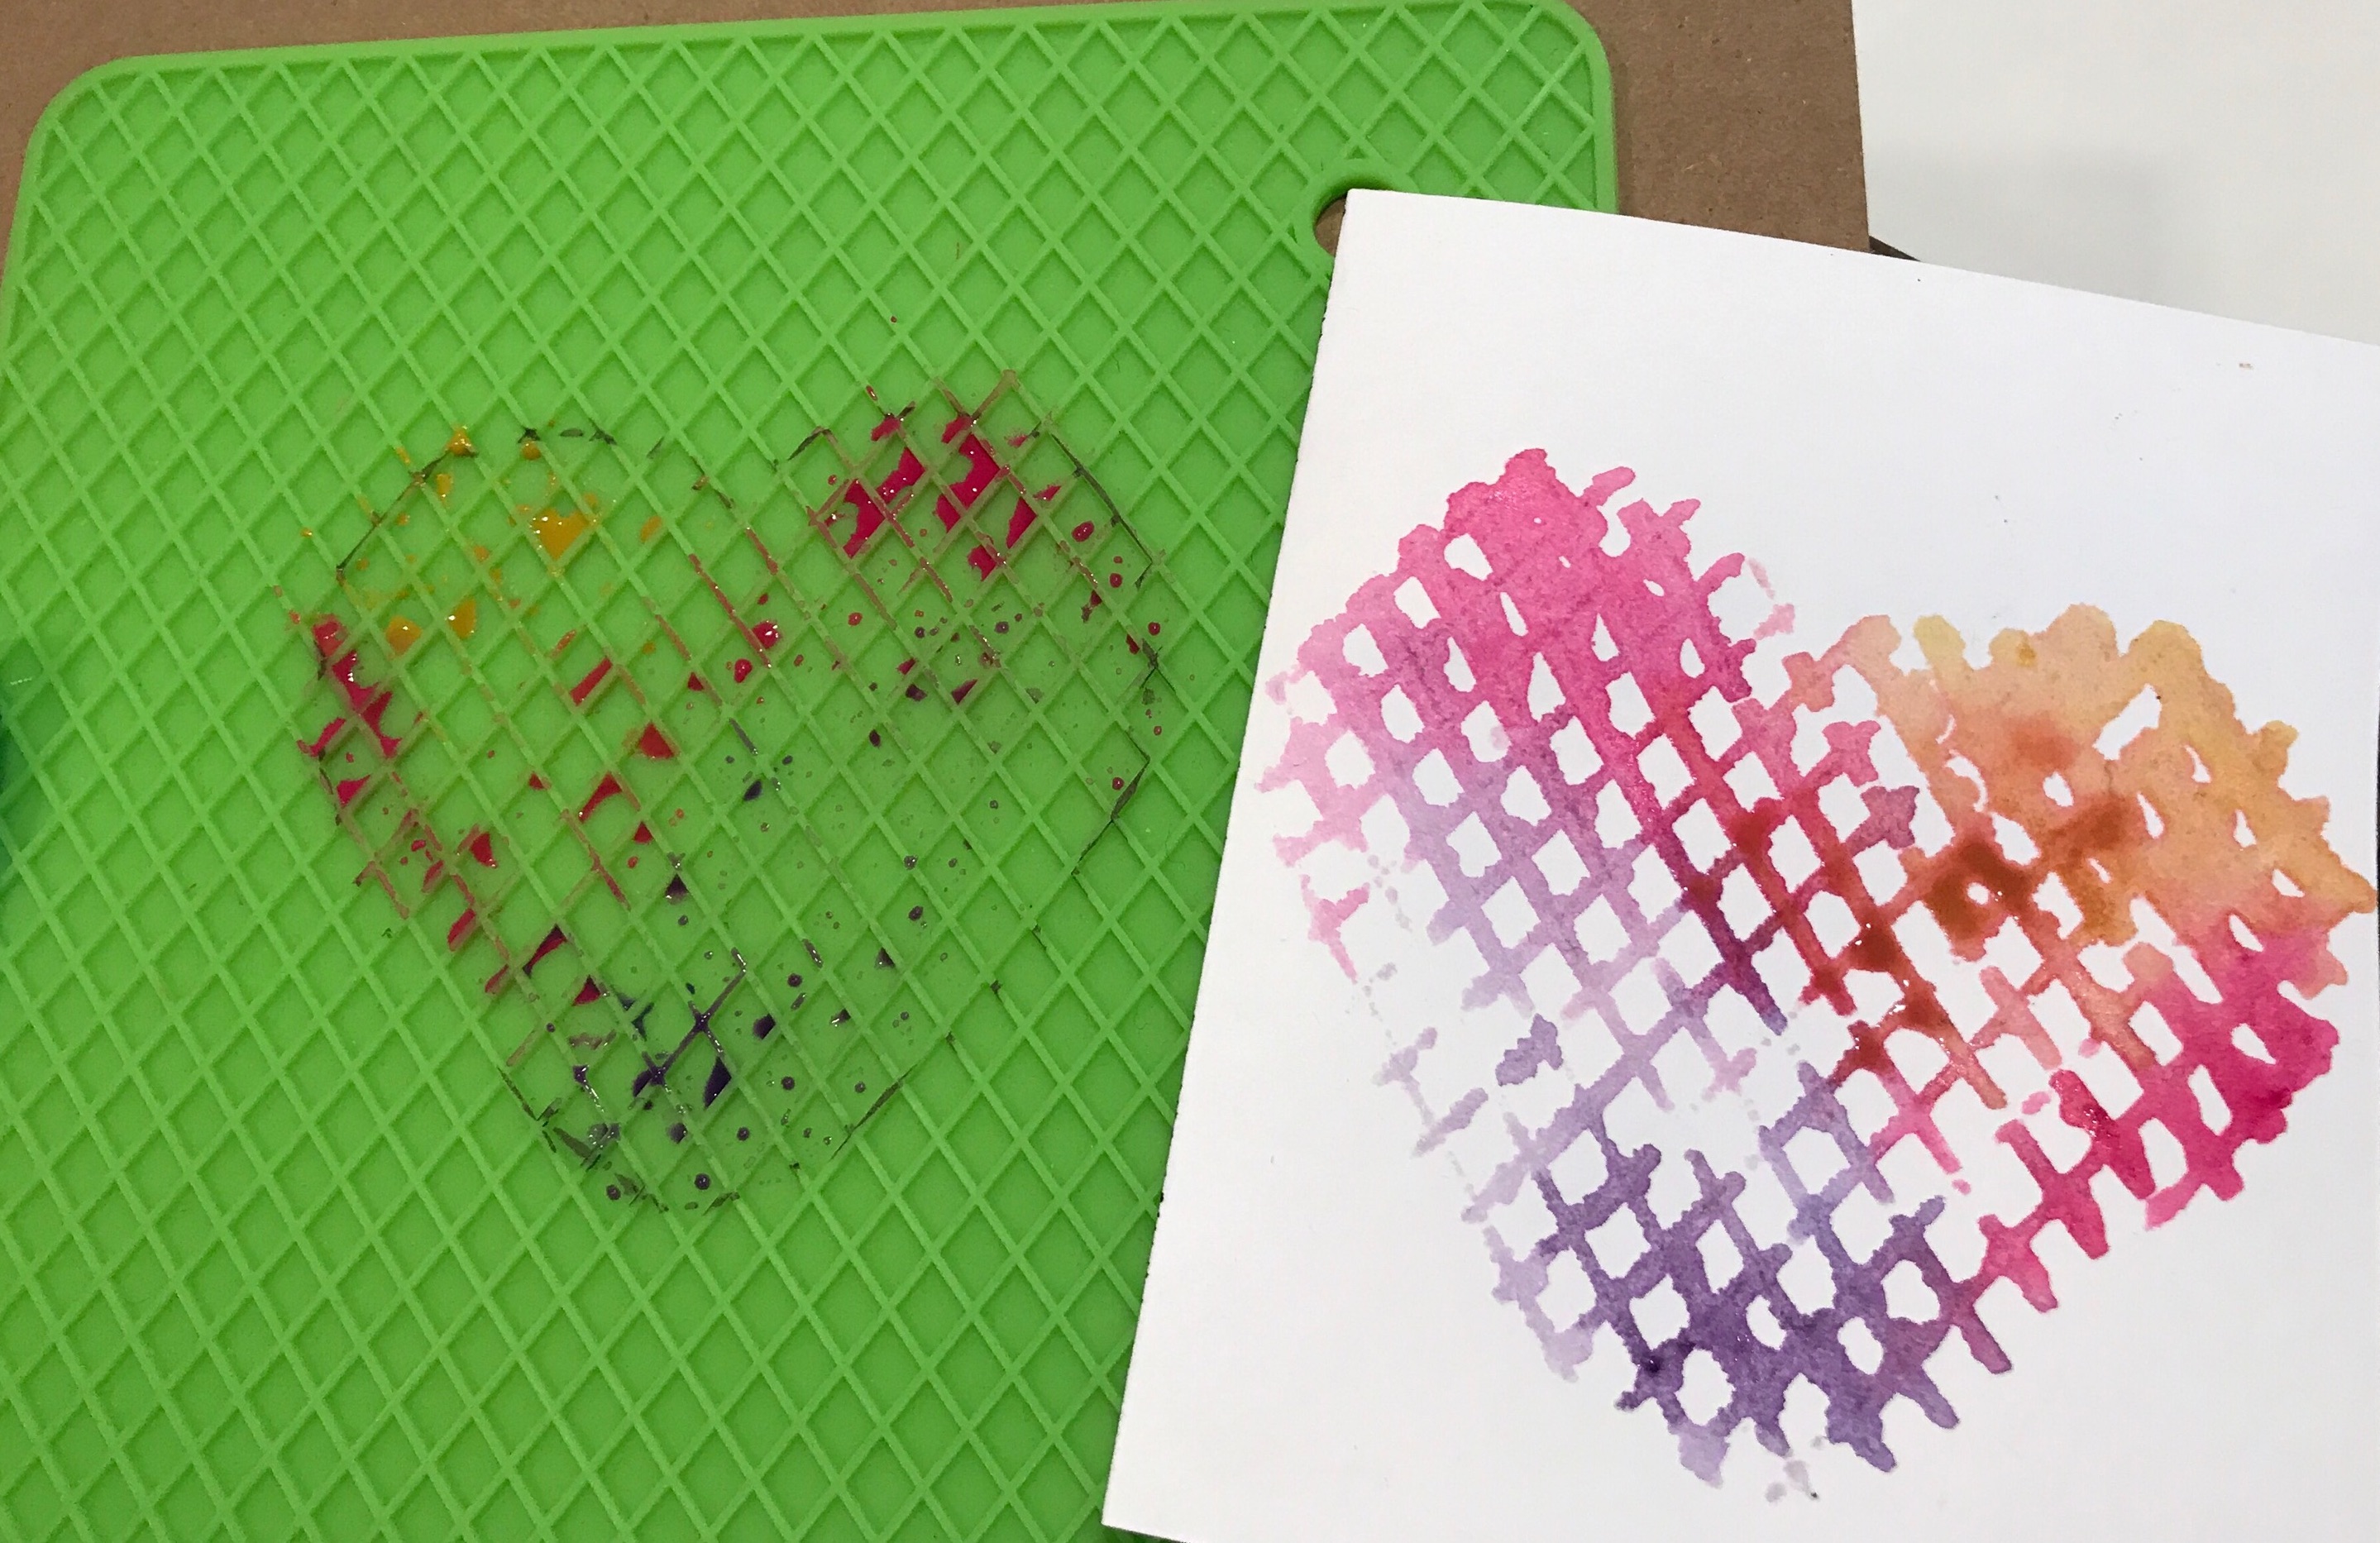
How to Make Your Floral Bouquet Self-Portrait

  1. Use fruit slices provided: (okra, cucumber, eggplant and balimbing aka starfruit, carambola,) and watercolor to make prints on paper of flowers.
  2. Practice with your stamps and layout on scrap paper provided before doing your final layout on the artboard provided
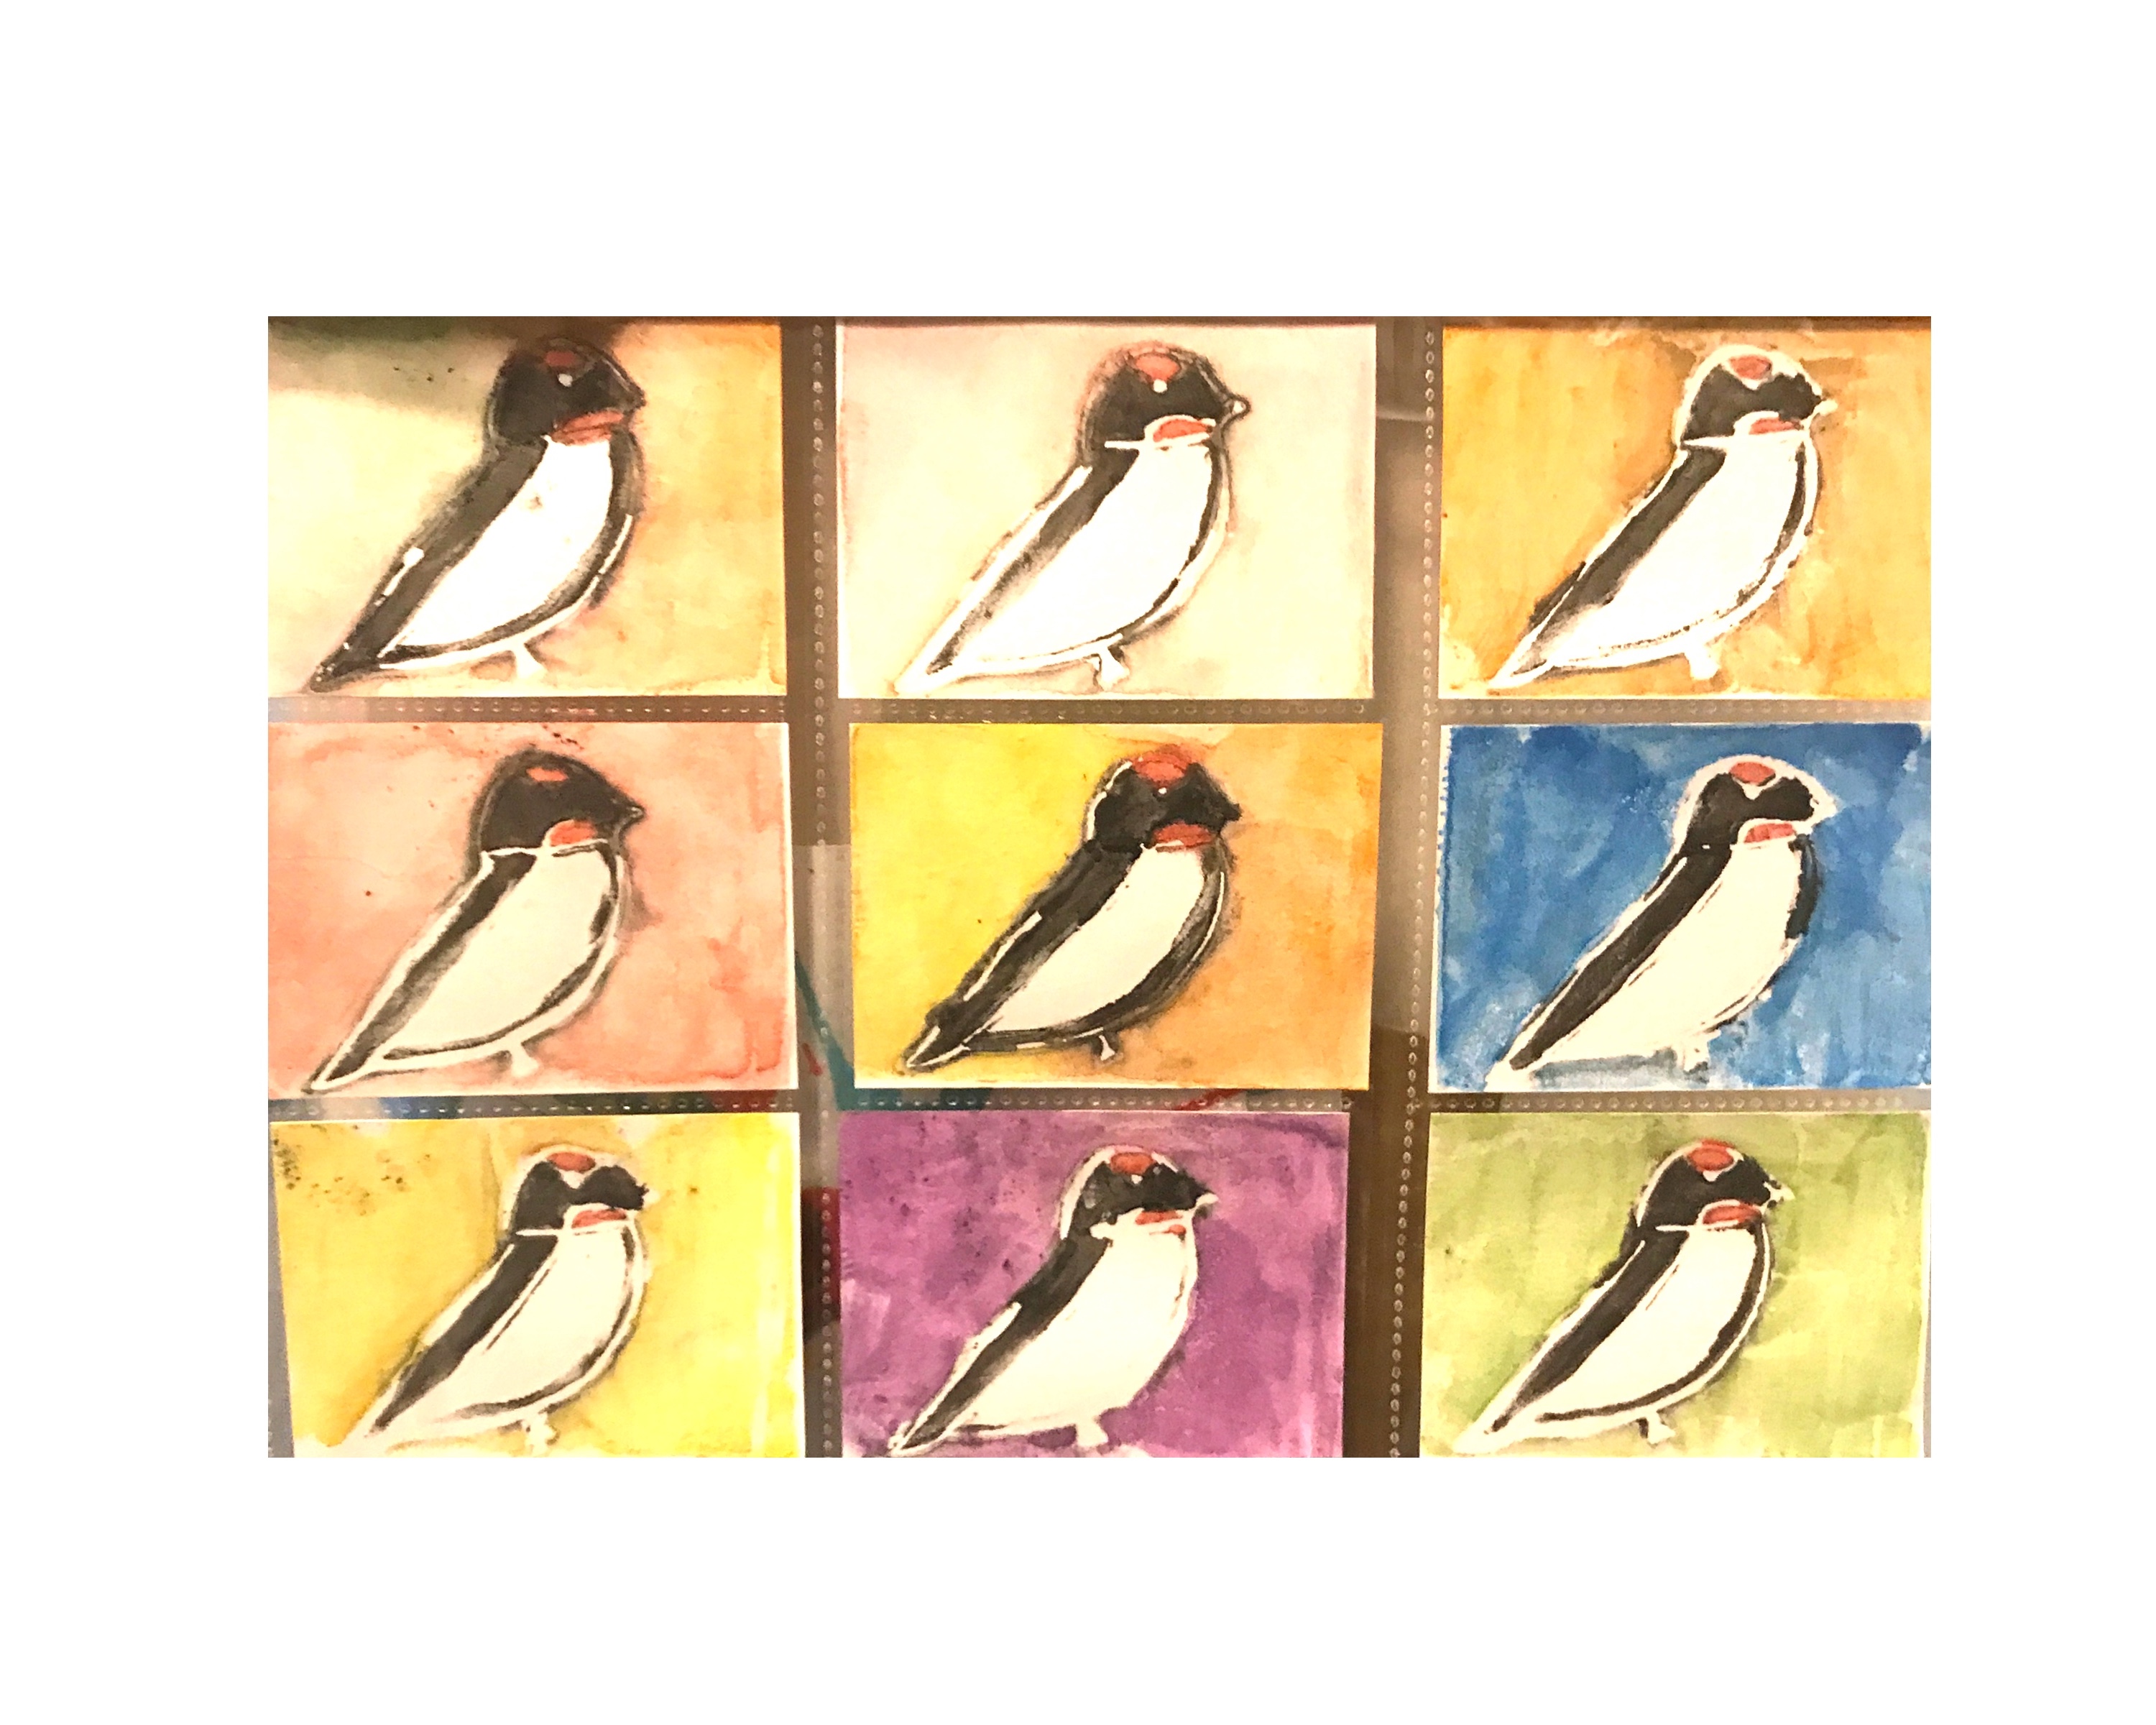
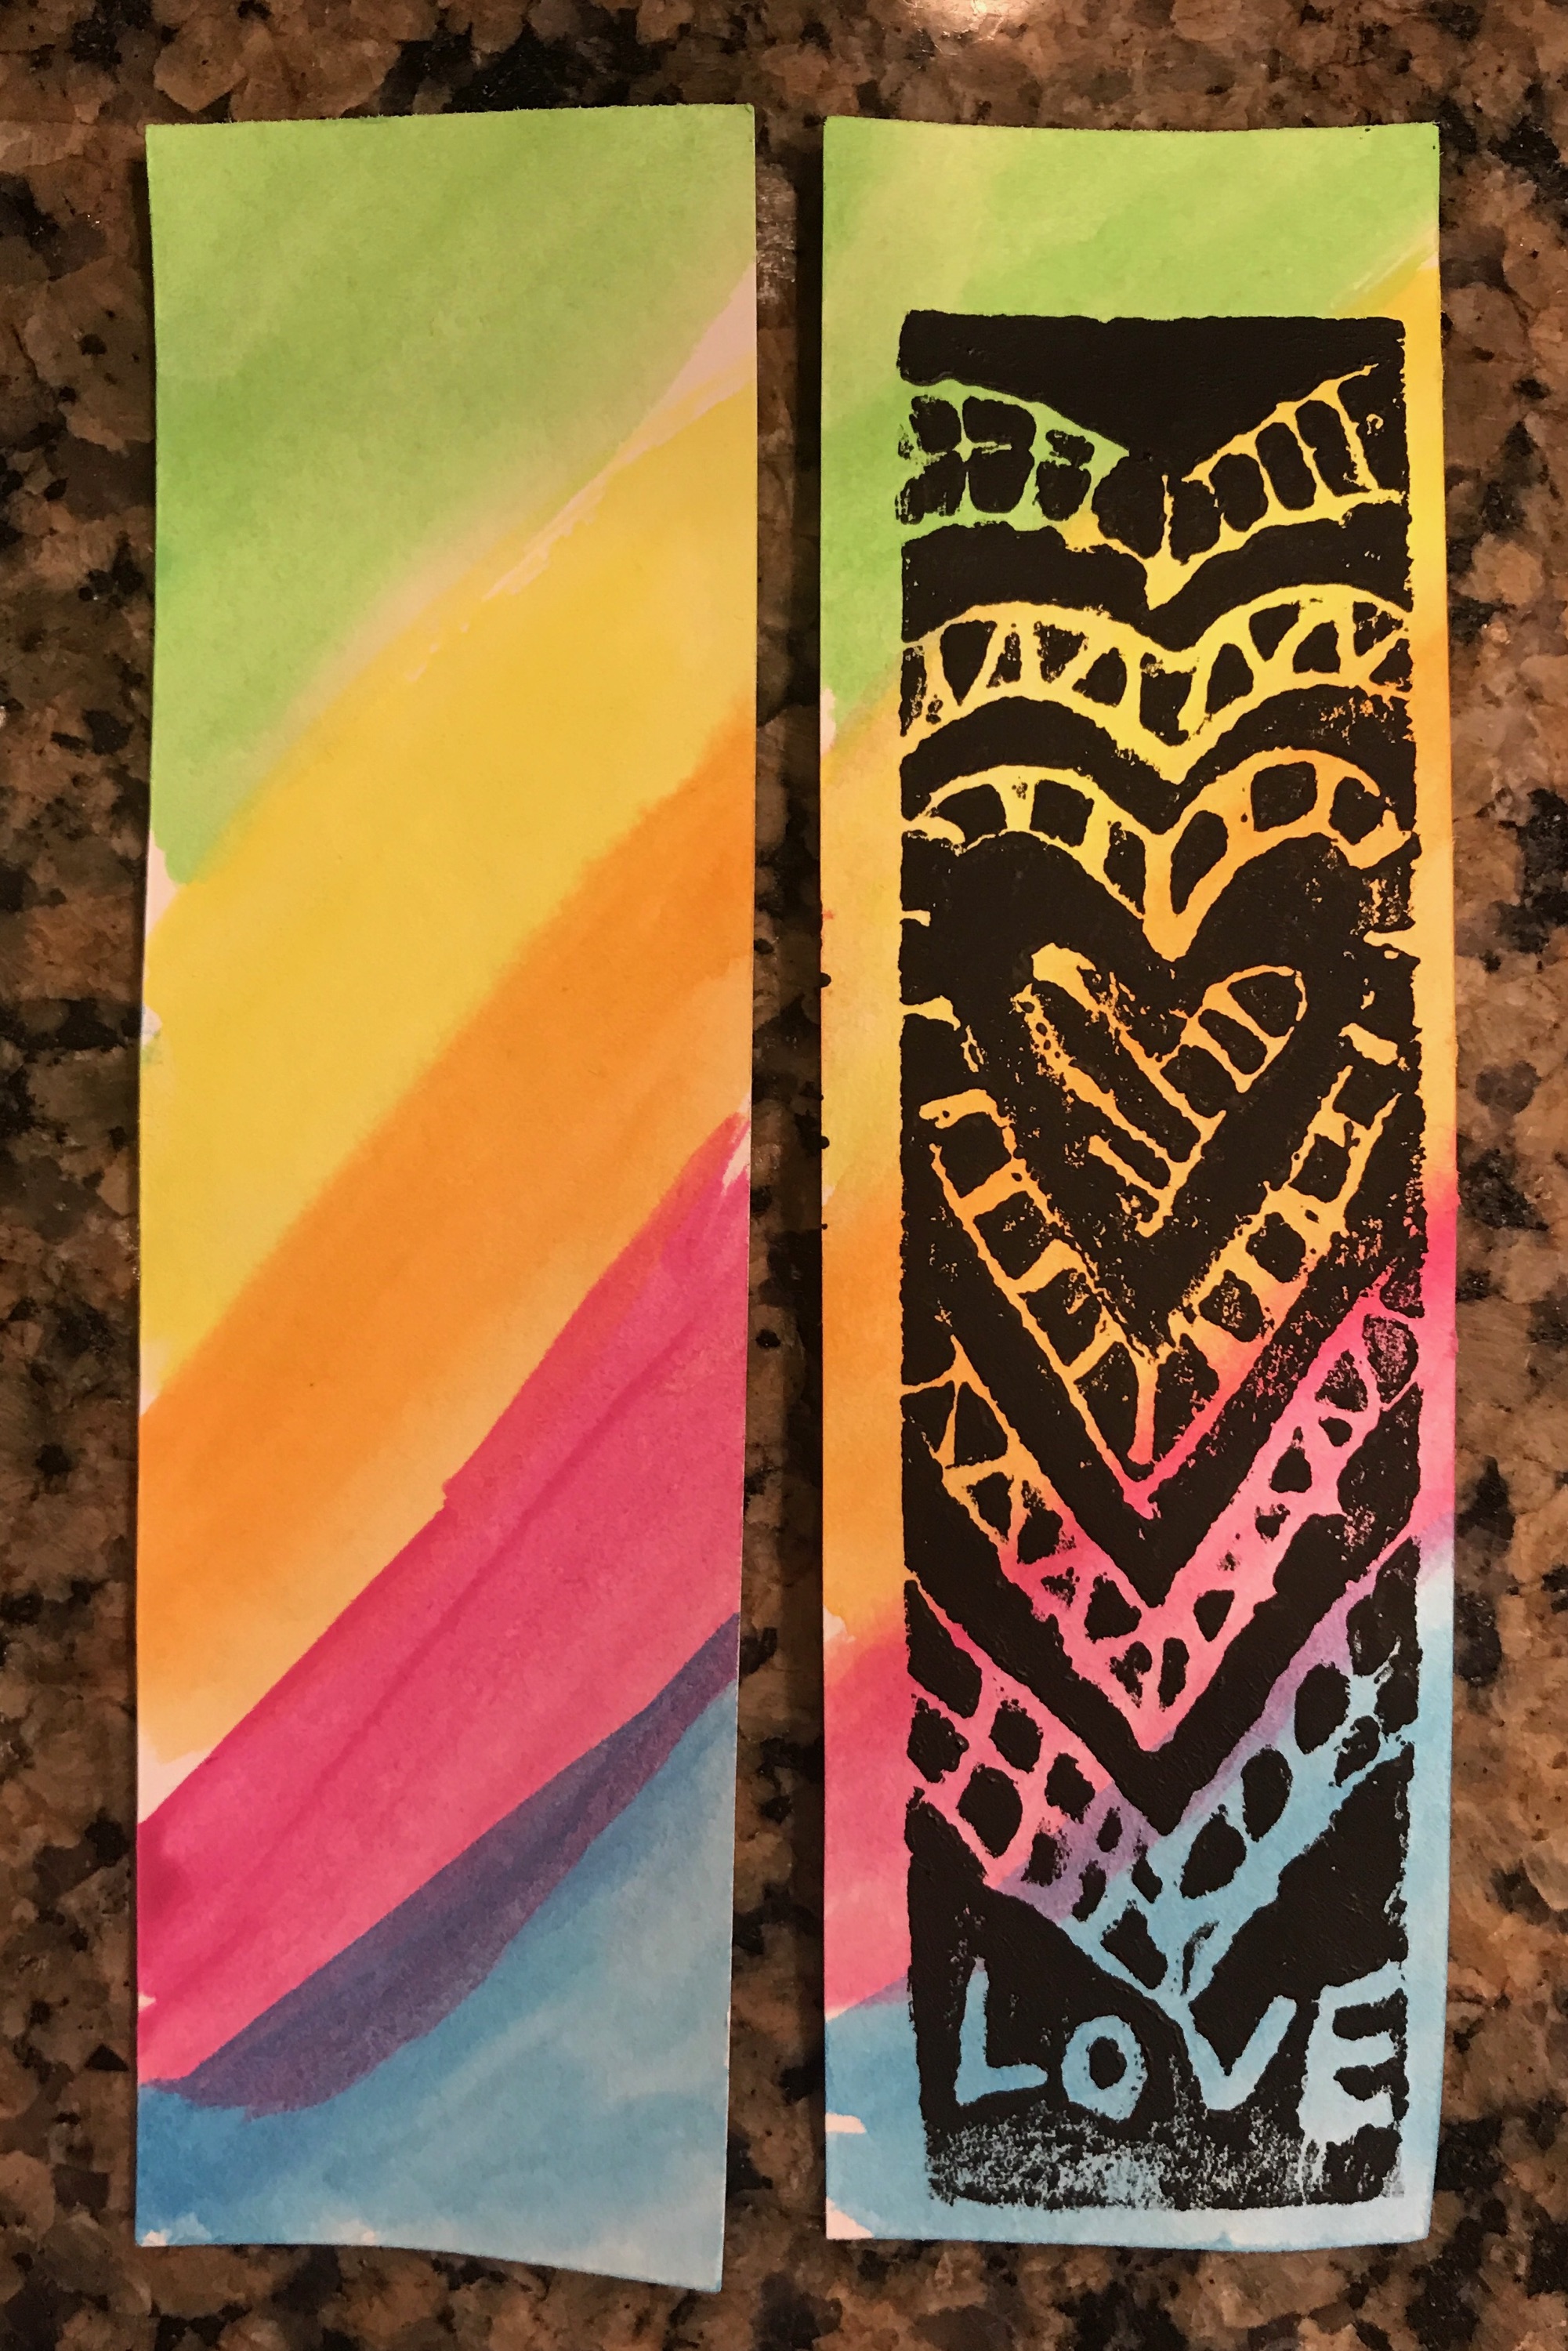
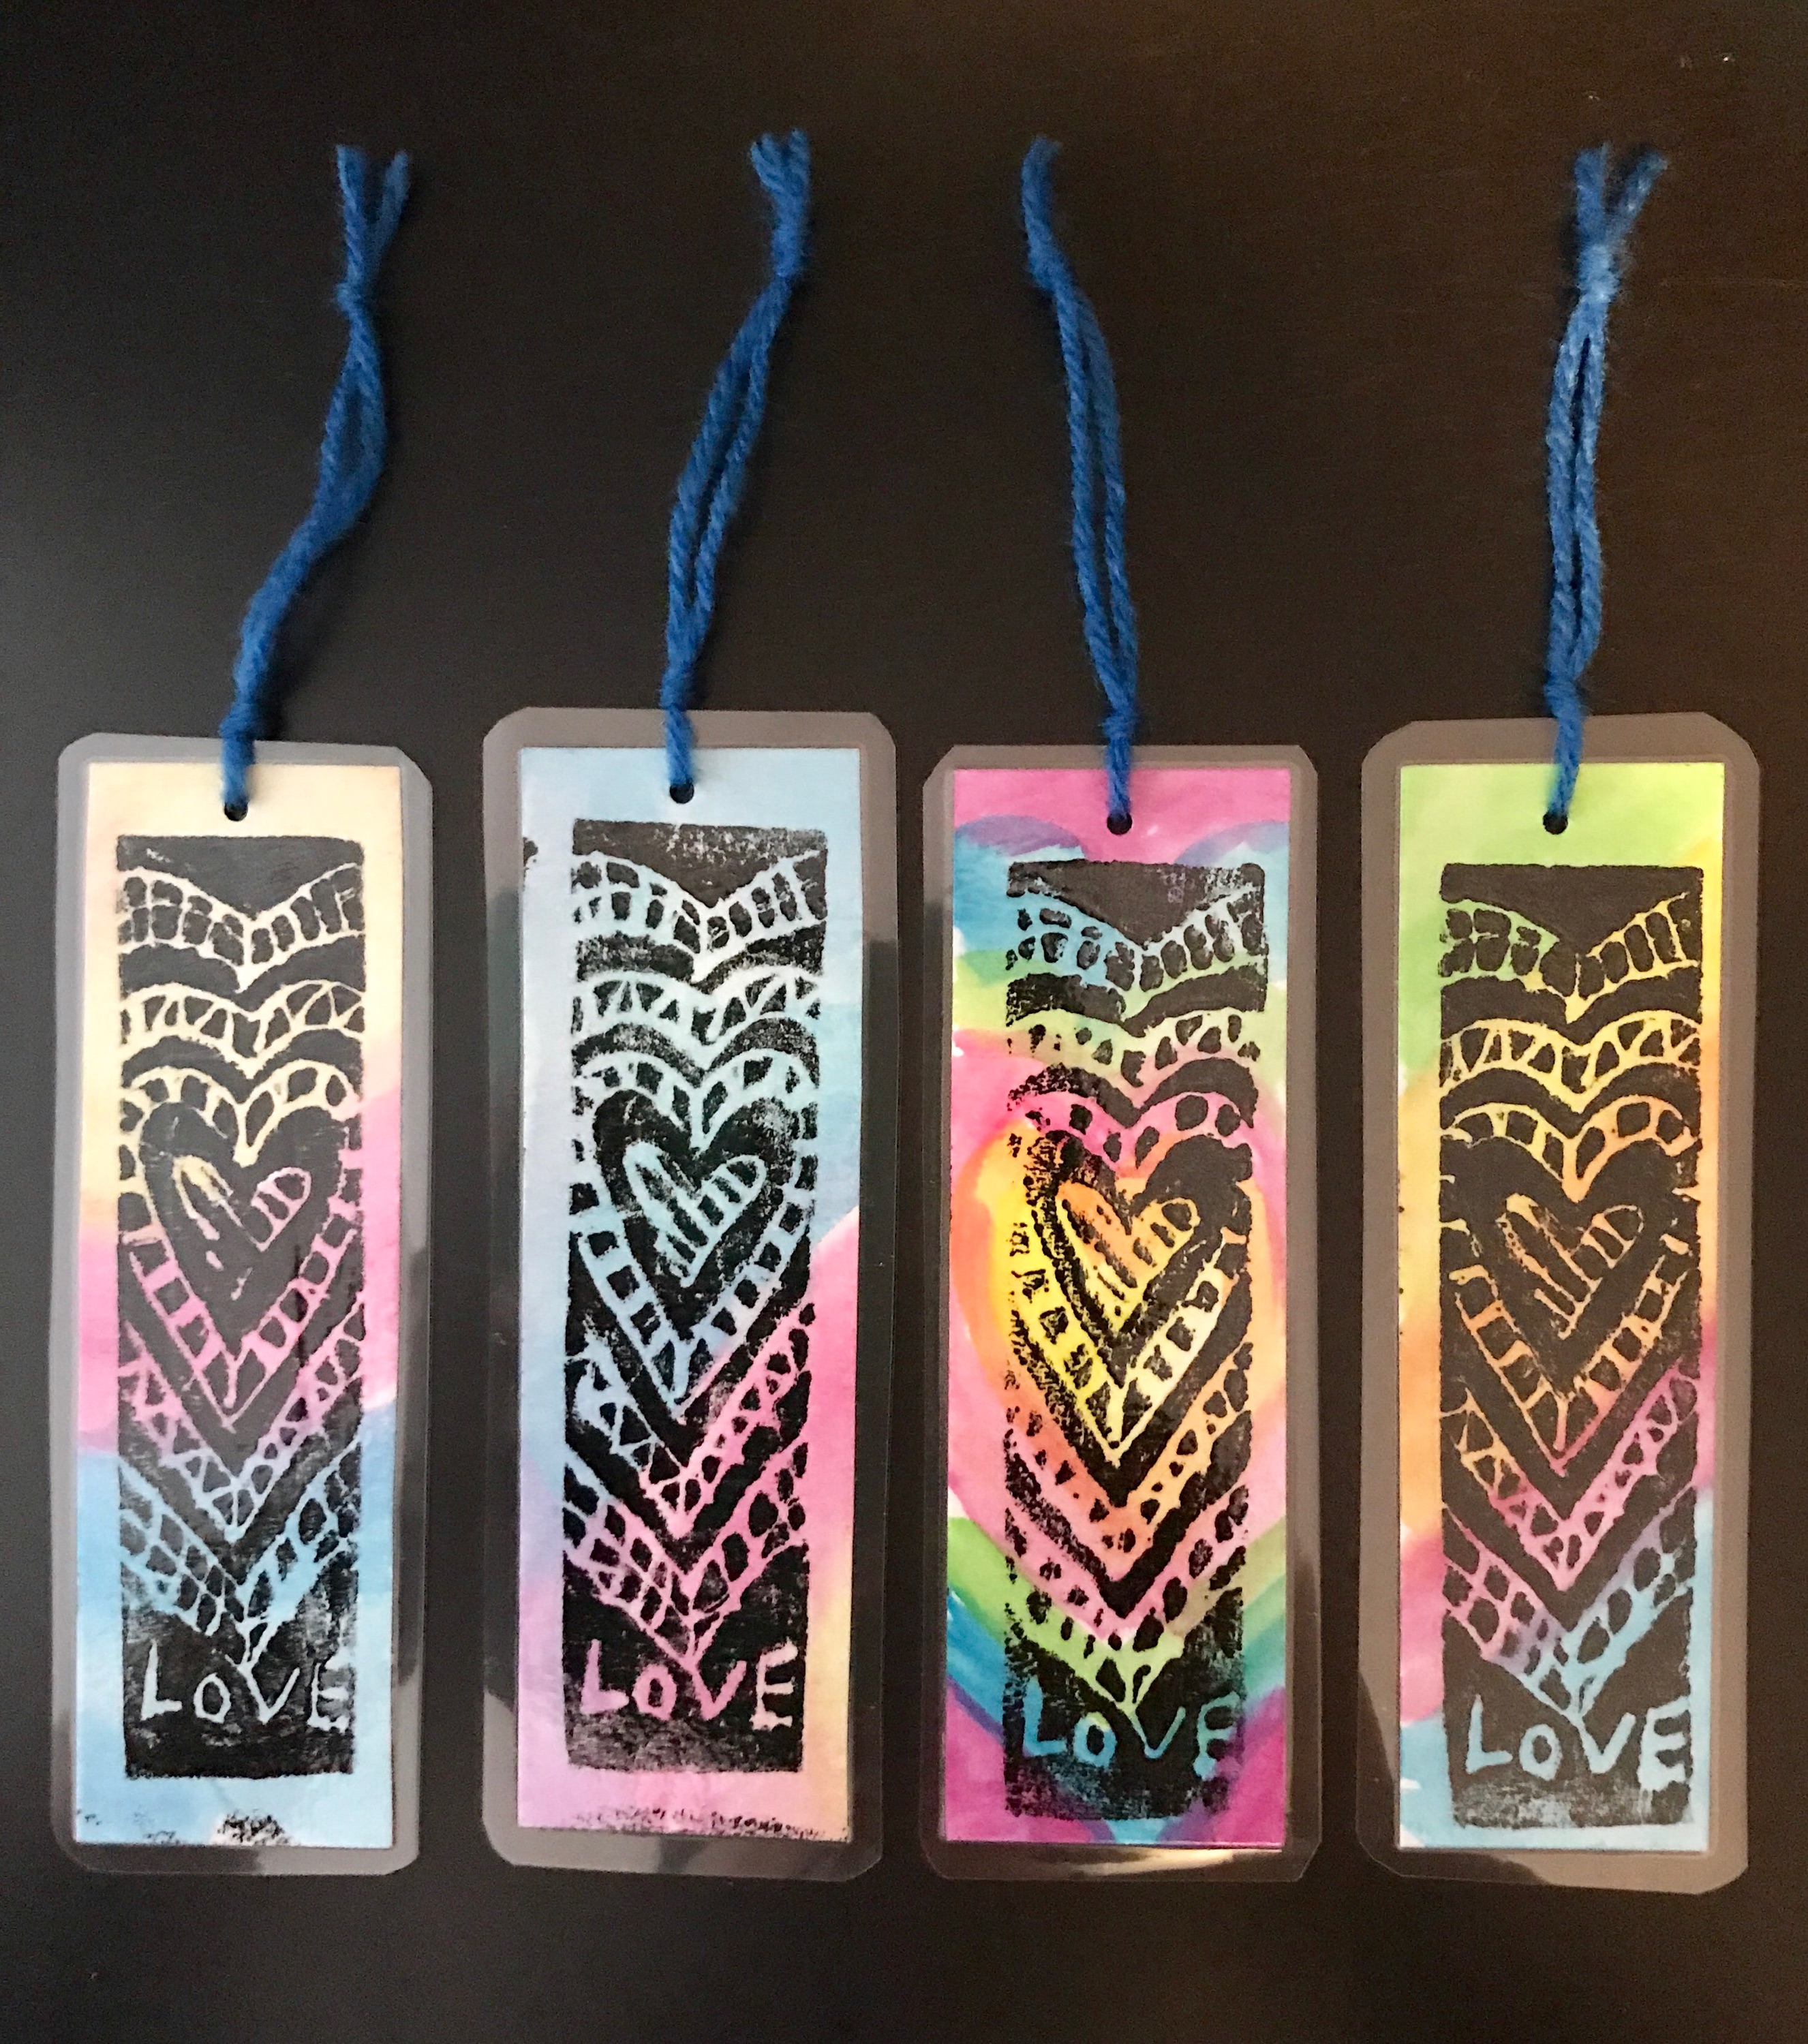
  3. Allow work to dry completely before adding design details with ballpen and pencil crayons. Feel free to do freehand drawing or use some of the stencils available to add details to your work.
  4. Prepare to share your work and personal resilient trait with the group.
Floral Bouquet Self-Portraits in the making
Quick sample floral portrait made by Paulina Constancia
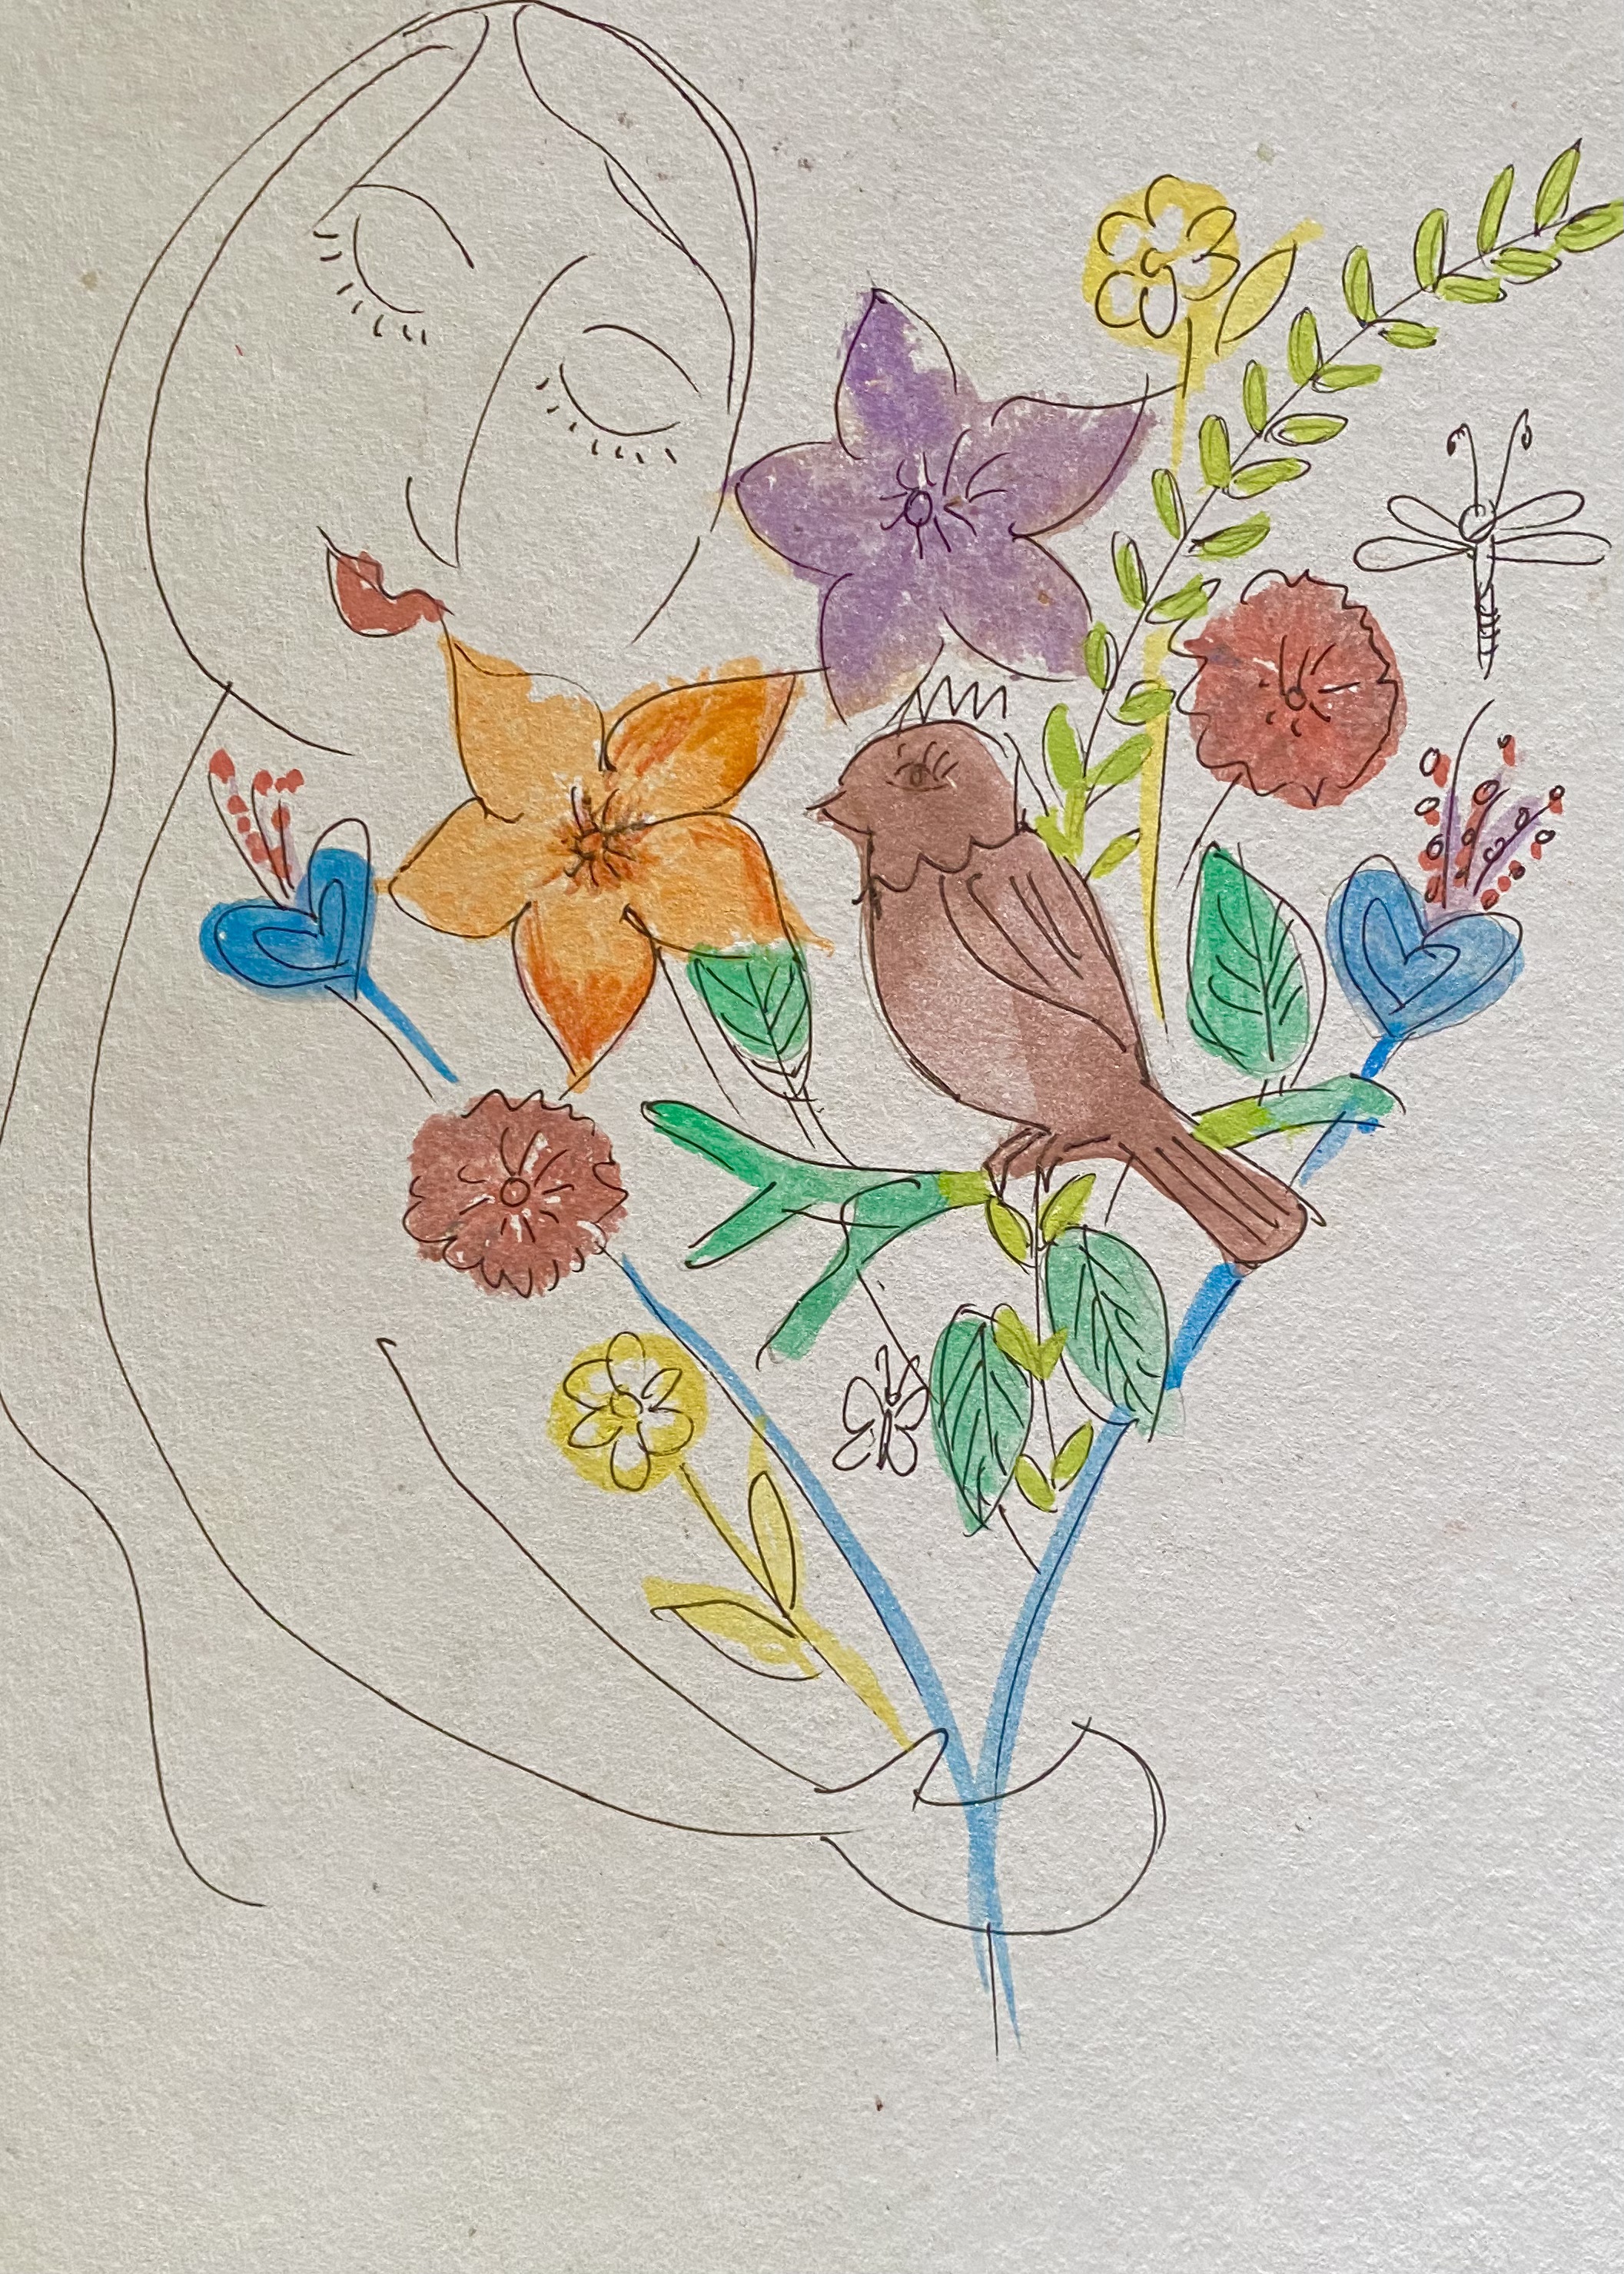
Tools used: carambola (balimbing), cucumber (pepino), bird stencil, water-colour, brush, ballpen
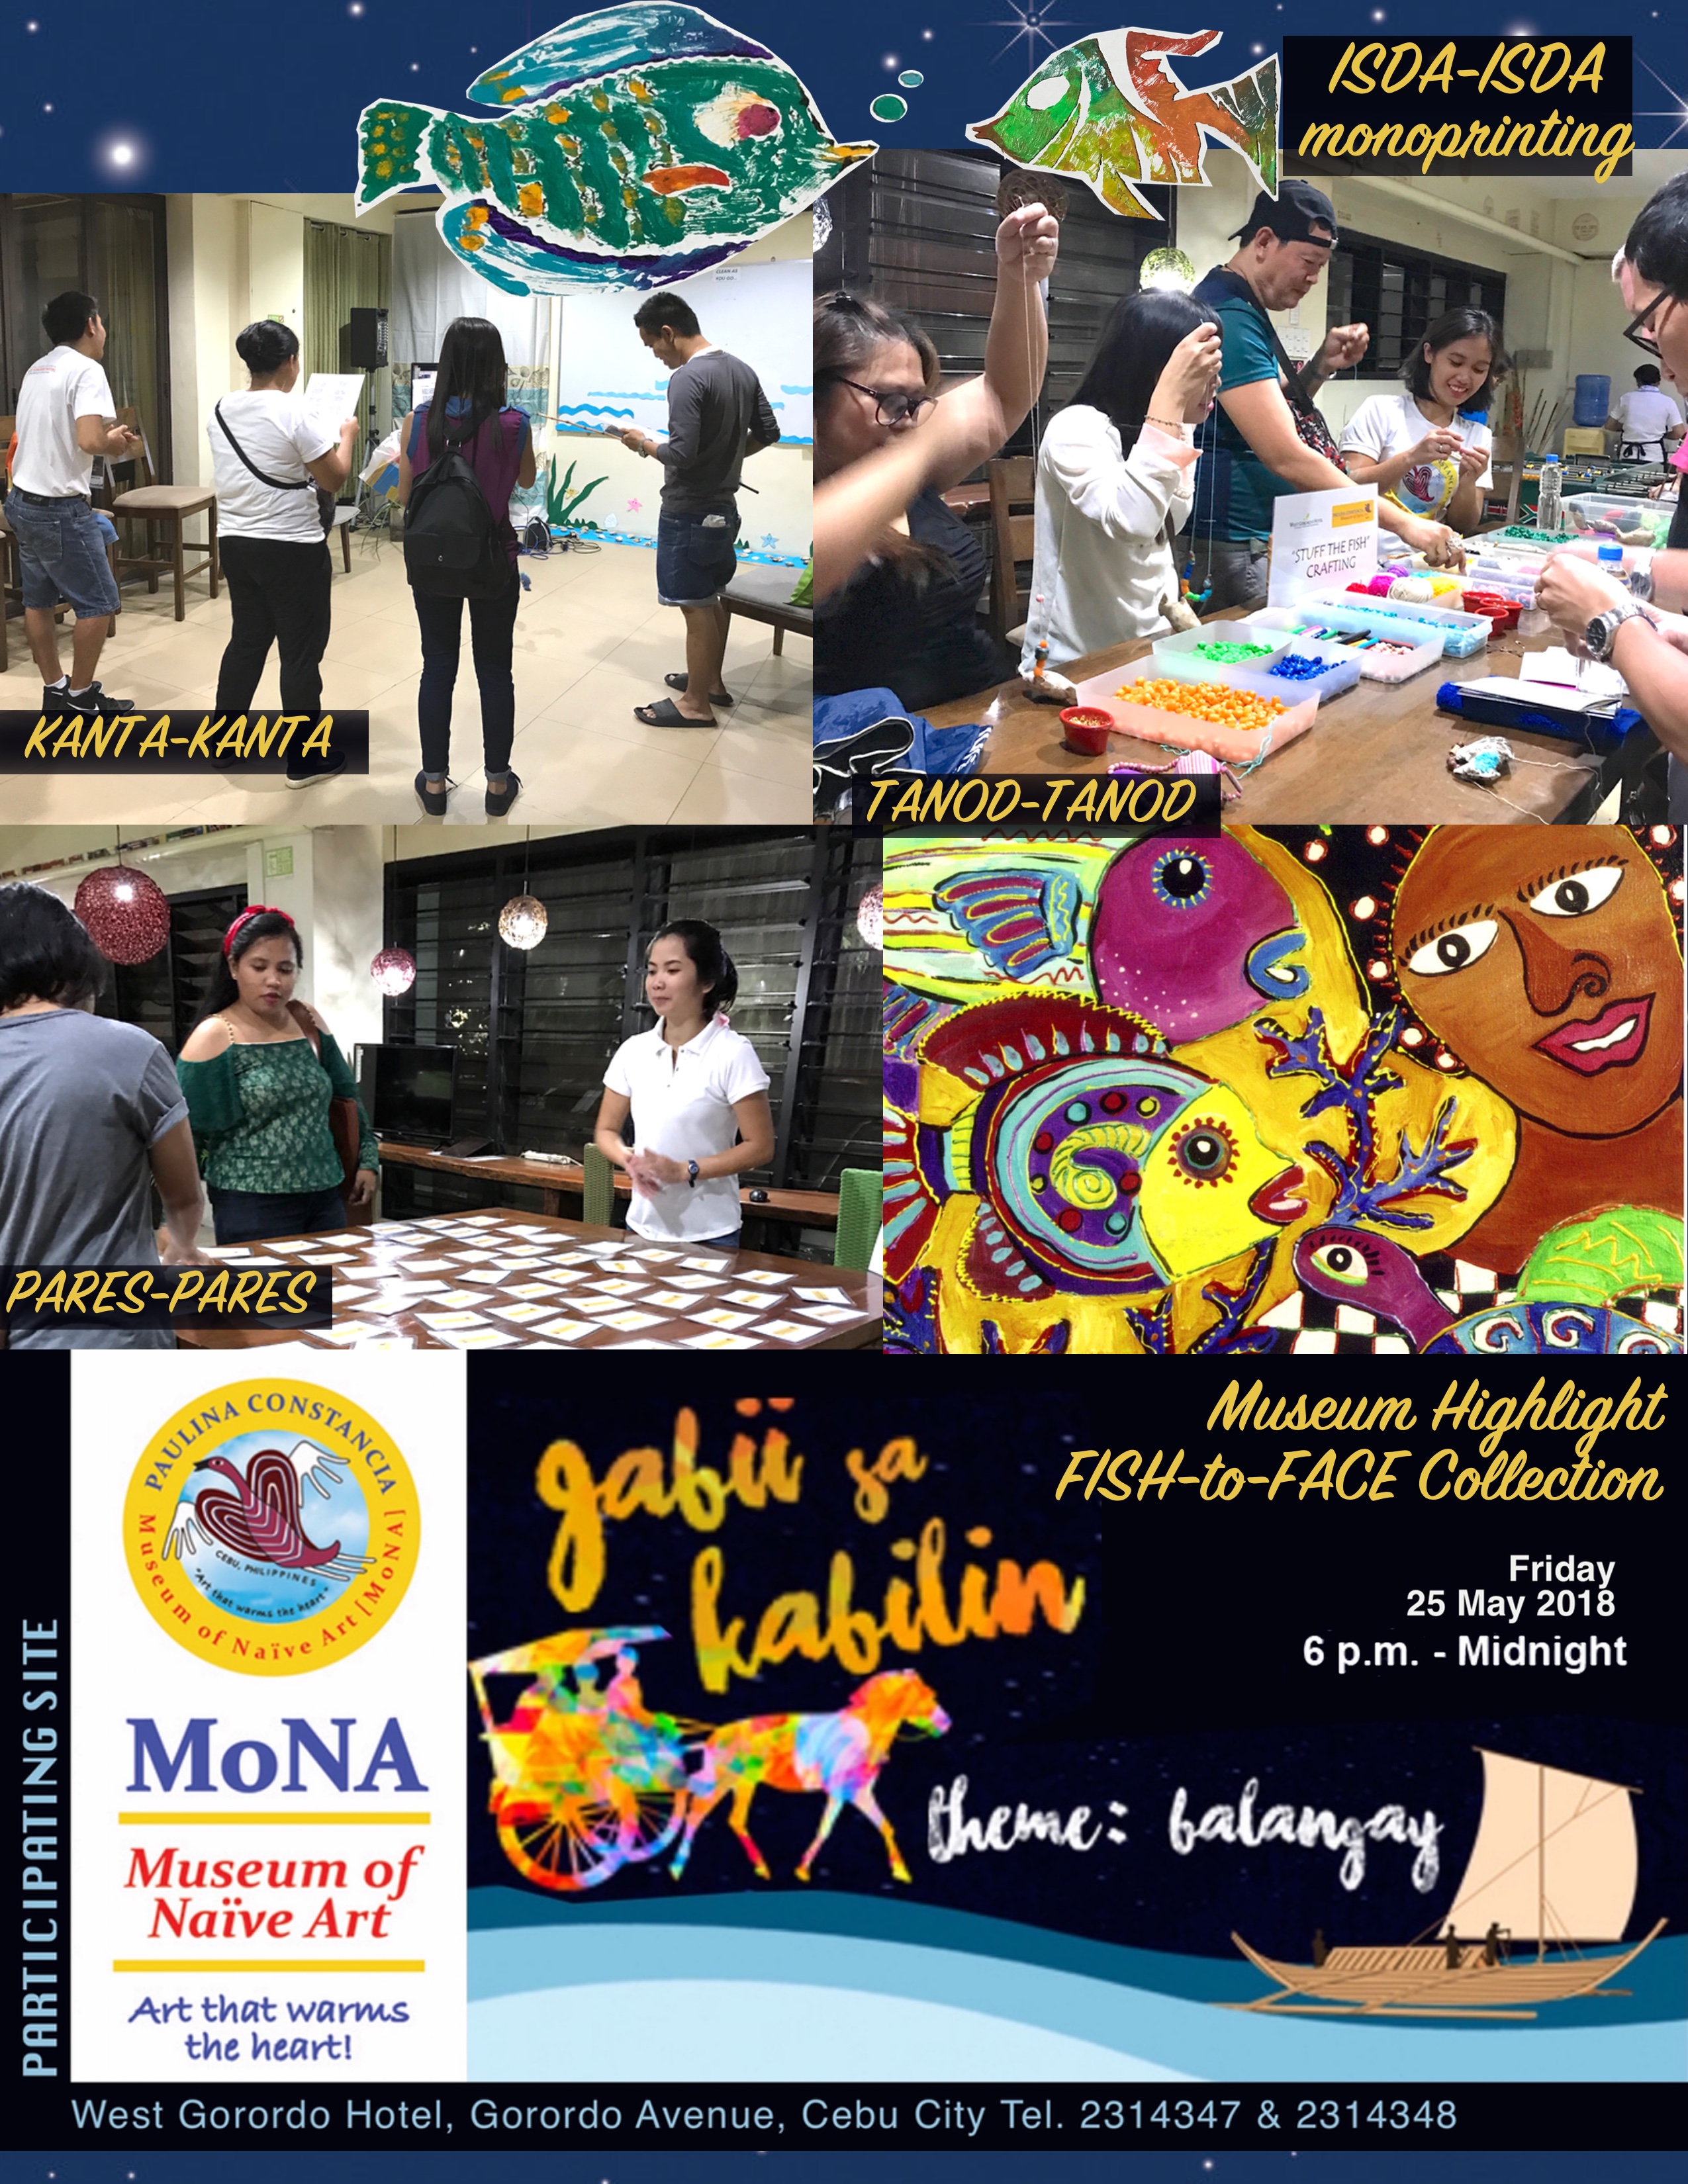
MONA -Museum visit

Our teenage participants gather at the meditation garden at the Justice German Lee Nature Sanctuary

Thank you for joining us for a fun learning adventure at the Sanctuary. We hope you will apply the things you learned here today – Care for the earth, care for each other, care for the future and care to laugh, lots! And believe that you are resilient, you have the capacity to bounce back from the adversities life may throw your direction.

Advertisement

The ME TREE Self Portraits

Today we share with you more detail on the expressive arts session on Saturday which was the making of the Me Tree Self-Portraits.
Click here to learn more about this workshop from previous post

Here you will find the individual creations of our teenage workshop participants from the St Alfonso Maria Fusco Home, Compostela.

The portraits with their corresponding hand carved camote stamps

Awesome camote carving and leaf pattern prints, young men! Thank you for sharing your insights and reflections too. We wish you all the best in your learning and development. Care for the earth, care for each other, care for the future and care to laugh, lots!

LEARNING FROM NATURE’S RESILIENCE 3: TREES

On Saturday, my siblings and I co-taught  part 3 of our Learning from Nature’s Resilience workshop series. This time we took inspiration from the surviving trees and the regrowth of their leaves and worked with a group of teenage scholars from the St Alfonso Maria Fusco Home, Compostela.

My brother Joel Lee, Permaculture and Aprotech Solutions educator, facilitated the warmup laughter yoga and encouraged its regular practice as a way to health and relaxation. 

My sister Eddy Lee, a conservation educator and ecotherapist, led the nature walk, inviting our teen participants to pay attention to the various species of the trees that survived Super-Typhoon Odette and their leaf patterns. They were able to identify most of our fruit trees and surprisingly some of the native trees. When asked why they had some familiarity with the native trees, most of them said that they still had these trees in their mountain villages.

The ME Tree Self-Portrait
(the camote stamps)

We were recently gifted with some camote (sweet potato) and I thought of using this as a medium for the day’s expressive arts session which is the making of The Me Tree Self Portrait.  

I used two medium camote and cut them into thick slices and distributed them among the participants.  They were each provided a dull knife as a simple carving tool to make their leaf stamps.

Paulina Constancia demonstrates how to make the camote stamp and design The ME TREE Self-Portrait

P.Constancia sample ME TREE

The instruction for the activity was :
If you were a tree, what kind would you be, what leaves would you bear and as you createyour portrait focus on your pesonal resilient trait and be ready to share this with the group.

How to Make Your Stamped ME TREE Self Portrait using a camote slice:

  1. Choose leaf design (shape, veins,etc)
  2. Cut the camote slice to shape/margin of your leaf of choice
  3. Using the dull knife provided start carving out the pattern, bearing in mind that the part you remove from the camote is what won’t print or register on your paper.
  4. Practice stamping on scrap paper before doing your prints and composition on the artboard.
  5. Use watercolor or stamp pad for the color and allow to dry before adding design details with ballpen and pencil crayons
  6. Prepare to share your work and personal resilient trait with the group.
Our camote carvers…
Stampin’ away…
Museum visit after the workshop (inside the MONA)
Our teenage participants in front of the museum
Teenage scholars from the St Alfonso Maria Fusco Home at the
Justice Lee Nature Sanctuary. With them are Paulina Constancia, Sr. Vicenta “Inday” Yap, Sr. Salve Narvaja, Eddy Lee and the goldens- Gabby and Sunny

Thank you Sr. Inday, Sr Salve and our teenage workshop participants for the learning adventure that we shared at the sanctuary. Till the next time!

Creative Remix 4 – Mini Monoprints

I share with you the sixth art-ivity that my students and I did in the Creative Remix sessions I facilitated at the Roundhouse Centre… Mini Monoprints!

The materials we used:

  • foam sheet, preferably with stickie back
  • card stock/drawing/watercolour paper (whatever you have)
    (ATC/artist trading card size – 2 1/2 x 3 1/2 inches
  • ballpoint pen
  • scissors
  • brushes
  • watercolour
  • water dish
  • rag/towel
  • 9-card Artist Trading Card Plastic Sleeve

materials

Learn about the history of ARTIST TRADING CARDS

STEPS

1. The Printing Plate —Cut the foam sheet to ATC size 2 1/2 x 3 1/2 inches, mount on cardboard or anything sturdy.

foam printing plate setup

2. Using a ballpoint pen, draw on the foam printing plate. Try to create just one big image rather than a multitude of little figures/details.

1

A simple rainbow-design on a mini foam printing plate

3. Using a brush, apply watercolor onto the foam plate, then quickly press the paper onto the plate. It is best to rub palm onto paper to ensure that it picks up as much detail from the plate.

4. Pull your paper/print, and try another color combination, and make more prints.

2

Nine mini monoprints from one foam printing plate

I asked my students to make a minimum of 9 prints each. It was fun to see the different color combinations they came up with. Check out their creations below:

9

This is a great example of a simple and very focused design that creates a most striking effect. The bird’s colors do not change just the background.

5

POPSICLE – what a perfect summer print (and treat)!!!

Here are six more print series by my students. Bear in mind that these are kids ages 5 to 10 making monoprints for the first time.


The children were quite proud of their mini monoprints. At first they thought I was asking too much when I said they have to produce a minimum of 9 prints, but they did it!  CONGRATS kids!

Salamat GSK Goers

Salamat/ Thank you for making MoNA a part of your Gabii sa Kabilin/Heritage Night Adventure.

Below is an image summary of the fun activities on May 25th at the MoNA

image summary

Here are the activities at the MoNA for GSK 2018:

Museum Highlight: FISH-to-FACE Collection
For GSK 2018, the MoNa highlights the collection called Fish-to-Face. The balangays traveled on our pre-colonial seas and under the surface was a rich and diverse marine life.  These were the same species of fish and corals that artist Paulina Constancia encountered on her diving trips in Bohol and Cebu in the 90’s.

It is imperative for us to protect our oceans, home to the families of fish that fed our ancestors, continue to feed us, and hopefully nourish generations to come…

Kanta-Kanta: Community Singing Ocean-themed songs

Tanod-Tanod: Stuff and Decorate a FISH Decor

Isda-Isda: Fish Monoprinting

Pares-Pares: Ocean-themed Memory Card Game

Once again, our deep gratitude for joining us at GSK. See you again next year! But remember, the MoNA is open throughout the year from MONDAY TO SATURDAY – 10AM TO 4 PM (CLOSED SUNDAYS & PUBLIC HOLIDAYS). So come see us again with your family and friends. You don’t have to wait till the next GSK. Ali namo pag-usab sa MoNA!

Note: The FISH monoprints featured on this post were created by GSK goers  at the Monoprinting Workshop at the MoNA on Heritage Night/Gabii sa Kabilin.


PRINTS CHARMING 3: The Textured Plate

I bring you the the last of the 3 part printmaking workshop series that I recently conducted at my son’s elementary school – Monoprinting with a Textured *Plate.
(*a surface upon which a printing process is carried out)

Materials needed:
textured materials like silicon trivets, bubble wrap, plastic mats, plastic fruits trays with raised textured patterns
watercolor paper or card stock (plain index card works perfectly fine, too)
watercolor, tempera or acrylic paint
brushes
water dish
heart-shaped plastic

Here are the steps in photos:

This slideshow requires JavaScript.

If you figure out a registration system for your printmaking process then it will be much easier for you to do more stuff to your print. Example, after this step, allow paint to dry then go back and print more design over that heart.

2- texture plate

Monoprint using a trivet and watercolor

Here are some of the hearts created by the young printmakers (6 to 7 year olds) at the workshop – absolutely stunning work!

This slideshow requires JavaScript.

heart poster

A Parade of Hearts for your folks. Happy Valentine’s…from our hearts to yours!


PRINTS CHARMING 2: The Foam Plate

We continue with our  PRINTS CHARMING series.This time we will use a Foam Plate.
Yes, foam, but not just any foam. What I find to be the best one as mono printing *plate is the material used in foam take out containers.  So, please next time you get those foam food boxes or containers… clean it and save it for a day of printing fun. (*Plate- a surface upon which a printing process is carried out)

Materials needed:
Foam
Ballpoint pen for making impression on foam
printing ink
cardstock or watercolor paper
watercolor, tempera or acrylic colors for background color on paper
inking plate (plexiglass)
rubber brayer

Here are some images of the steps:

This slideshow requires JavaScript.

Here are some photos of my students foam plates ( impressions on the foam were made using a ballpoint pen)

This slideshow requires JavaScript.

So to make the prints more interesting, I got the kids to paint the paper using watercolor. When watercolor dried, we then did the printing with the foam plate and printing ink.
Look at this slideshow of all the works of my young printmakers…

This slideshow requires JavaScript.

This slideshow requires JavaScript.

FullSizeRender.jpg-10-4

Paint your paper and then do the actual monoprint with foam plate and black printing ink.

DSCF7151 2

Notice the letters on the foam plate are on reverse…

FullSizeRender.jpg-4

Make a lovely monoprint to frame or some mini monoprints to make bookmarks for your loved ones this Valentine’s.

Try out this simple monoprinting technique…if my 6 and 7 year old students could do it, so can you!!!

PRINTS CHARMING 1: The Foil Plate

I recently conducted a special workshop series at my son’s elementary school on simple ways children could do *monoprinting.
*Monoprinting – is a form of printmaking that has lines or images that can only be made once, unlike most printmaking, where there are multiple originals

I called the series PRINTS CHARMING and here are the techniques that I taught them in 3 different sessions.
Workshop 1-  Making Monoprints using a Foil Plate
Workshop 2- Making Monoprints using  a Foam Plate
Workshop 3- Making Monoprints using a Textured Plate
(*Plate- a surface upon which a printing process is carried out)

Let’s start with the first session PRINTS CHARMING 1: The Foil Plate
Yes, you heard that right…foil, as in aluminum foil. So, please next time you have some used foil, clean it and save it for a day of printing fun.

Materials needed:  aluminum foil mounted on something sturdy like cardboard or plexi-glass, tempera or acrylic paint, brushes, water dish and water color paper or plain index card works too…

Here are some images of the steps:


This slideshow requires JavaScript.

Check out the photos of my eager young participants at work…


This slideshow requires JavaScript.

And here are the awesome creations of my little printmakers…


Try out this simple monoprinting technique and create lovely one-of-a-kind Valentine’s cards for the dearest people in your life.Cover 1 copy