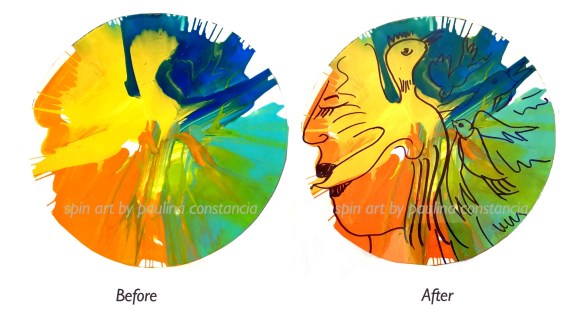
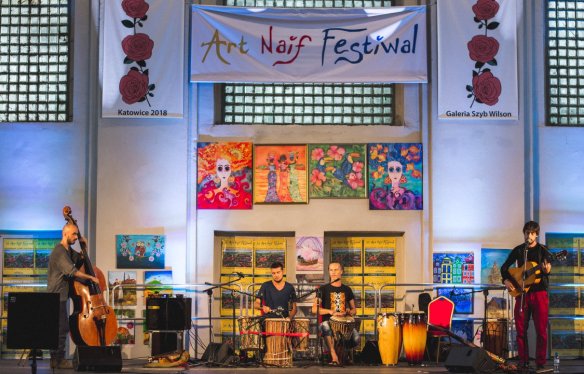
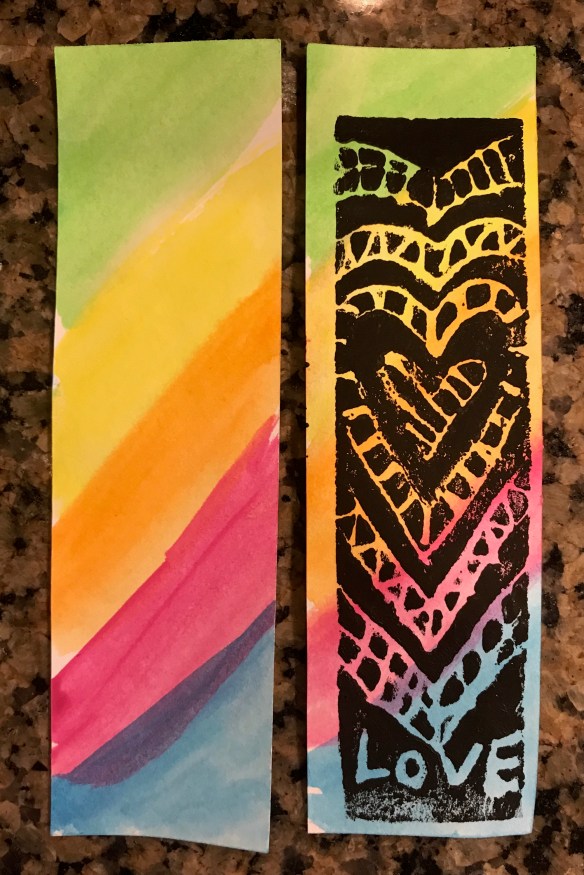
As my personal interpretation of the Cherokee Tale of Two Wolves entitled ” A Heart’s Choice” hangs at the Window Gallery of the Roundhouse Community Centre in Vancouver, I would like to invite us all to reflect on the enlightening words of PEMA CHÖDRÖN.
Feed the Right Wolf
by PEMA CHÖDRÖN
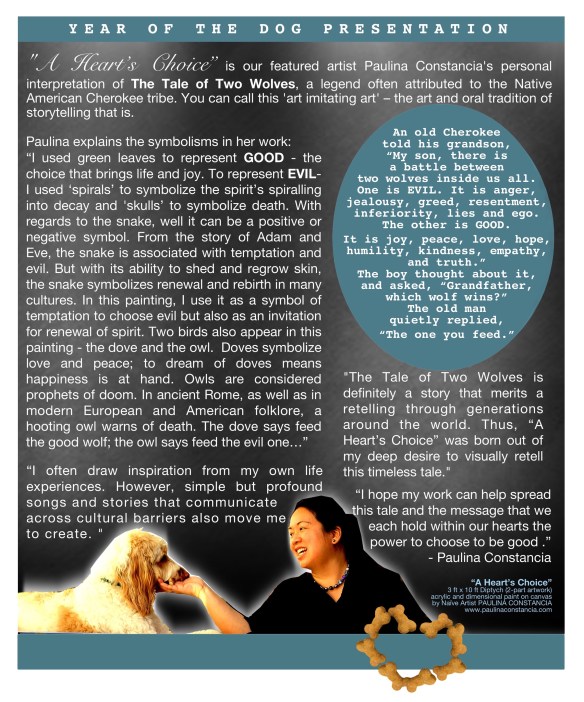
…A Native American grandfather was speaking to his grandson about violence and cruelty in the world and how it comes about. He said it was as if two wolves were fighting in his heart. One wolf was vengeful and angry, and the other wolf was understanding and kind. The young man asked his grandfather which wolf would win the fight in his heart. And the grandfather answered, “The one that wins will be the one I choose to feed.”
So this is our challenge, the challenge for our spiritual practice and the challenge for the world—how can we train right now, not later, in feeding the right wolf? How can we call on our innate intelligence to see what helps and what hurts, what escalates aggression and what uncovers our good-heartedness? With the global economy in chaos and the environment of the planet at risk, with war raging and suffering escalating, it is time for each of us in our own lives to take the leap and do whatever we can to help turn things around. Even the slightest gesture toward feeding the right wolf will help. Now more than ever, we are all in this together.
Taking the leap involves making a commitment to ourselves and to the earth itself-making a commitment to let go of old grudges, to not avoid people and situations and emotions that make us feel uneasy, to not cling to our fears, our closed-mindedness, our hardheartedness, our hesitation. Now is the time to develop trust in our basic goodness and the basic goodness of our sisters and brothers on this earth; a time to develop confidence in our ability to drop our old ways of staying stuck and to choose wisely. We could do that right here and right now.
In our everyday encounters, we can live in a way that will help us learn to do this. When we talk to someone we don’t like and don’t agree with — maybe a family member or a person at work — we tend to spend a great amount of energy sending anger their way. Yet our resentments and self-centeredness, as familiar as they are, are not our basic nature. We all have the natural ability to interrupt old habits. All of us know how healing it is to be kind, how transformative it is to love, what a relief it is to have old grudges drop away. With just a slight shift in perspective, we can realize that people strike out and say mean things for the same reasons we do. With a sense of humor we can see that our sisters and brothers, our partners, our children, our coworkers are driving us crazy the same way we drive other people crazy.
The first step in this learning process is to be honest with ourselves. Most of us have gotten so good at empowering our negativity and insisting on our rightness that the angry wolf gets shinier and shinier, and the other wolf is just there with its pleading eyes. But we’re not stuck with this way of being. When we’re feeling resentment or any strong emotion, we can recognize that we are getting worked up, and realize that right now we can consciously make the choice to be aggressive or to cool off. It comes down to choosing which wolf we want to feed.
Of course, if we intend to test out this approach, we need some pointers. We need ways to train in this path of choosing wisely. This path entails uncovering three qualities of being human, three basic qualities that have always been with us but perhaps have gotten buried and been almost forgotten. These qualities are natural intelligence, natural warmth, and natural openness. When I say that the potential for goodness exists in all beings, that is acknowledging that everyone, everywhere, all over the globe, has these qualities and can call on them to help themselves and others.
Natural intelligence is always accessible to us. When we’re not caught in the trap of hope and fear, we intuitively know what’s the right thing to do. If we’re not obscuring our intelligence with anger, self-pity, or craving, we know what will help and what will make things worse. Our well-perfected emotional reactions cause us to do and say a lot of crazy things. We desire to be happy and at peace, but when our emotions are aroused, somehow the methods we use to achieve this happiness only make us more miserable. Our wishes and our actions are, all too frequently, not in synch. Nevertheless, we all have access to a fundamental intelligence that can help to solve our problems rather than making them worse.
Natural warmth is our shared capacity to love, to have empathy, to have a sense of humor. It is also our capacity to feel gratitude and appreciation and tenderness. It’s the whole gamut of what often are called the heart qualities, qualities that are a natural part of being human. Natural warmth has the power to heal all relationships — -the relationship with ourselves as well as with people, animals, and all that we encounter every day of our lives.
The third quality of basic goodness is natural openness, the spaciousness of our sky-like minds. Fundamentally, our minds are expansive, flexible, and curious; they are pre-prejudice, so to speak. This is the condition of mind before we narrow down into a fear-based view where everyone is either an enemy or a friend, a threat or an ally, someone to like, dislike, or ignore. Fundamentally, this mind that we have, that you and I each have, is open.
We can connect with that openness at any time. For instance, right now, for three seconds, just stop reading and pause.
If you were able to stop briefly like that, perhaps you experienced a thought-free moment.
Another way to appreciate natural openness is to think of a time when you were angry, when someone said or did something that you didn’t like, a time when you wanted to get even or you wanted to vent. Now, what if you had been able to stop, breathe deeply, and slow the process down? Right on the spot you could connect with natural openness. You could stop, give space, and empower the wolf of patience and courage instead of the wolf of aggression and violence. In that moment when we pause, our natural intelligence often comes to our rescue. We have time to reflect: why do we want to make that nasty phone call, say that mean word, or for that matter, drink the drink, or smoke the substance or whatever it might be?
…To honestly face the pain in our lives and the problems in the world, let’s start by looking compassionately and honestly at our own minds. We can become intimate with the mind of hatred, the mind that polarizes, the mind that makes somebody “other” and bad and wrong. We come to know, unflinchingly, and with great kindness, the angry, unforgiving, hostile wolf. Over time, that part of ourselves becomes very familiar, but we no longer feed it. Instead, we can make the choice to nurture openness, intelligence, and warmth. This choice, and the attitudes and actions that follow from it, are like a medicine that has the potential to cure all suffering.
Excerpted from Taking the Leap by Pema Chödrön © 2009 by Pema Chödrön. Published by arrangement with Shambhala Publications, Inc. Boulder, CO. www.shambhala.com
Read the complete “Feed the Right Wolf” chapter online on lions roar


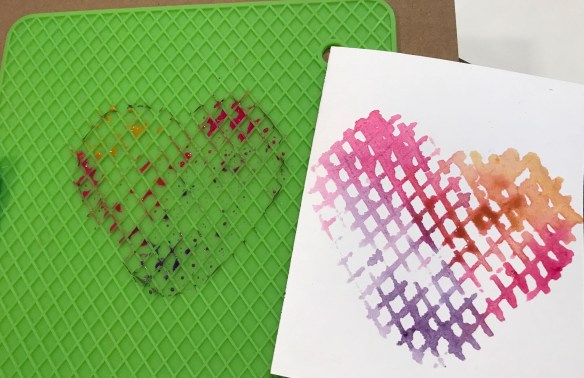
 Optional: Spritz a bit of water if you want the paint to flow more (as long as paper quality allows it).